Making A Camera Stand for Animation
Click on any image for a more detailed view
A while back I made a few test animations, and rapidly concluded I needed a camera stand for my webcam. The low end camera stands were $500 so I built one from about $25 in PVC piping. It cost me $60, but I made some errors. I hope this helps some budding low budget animator.
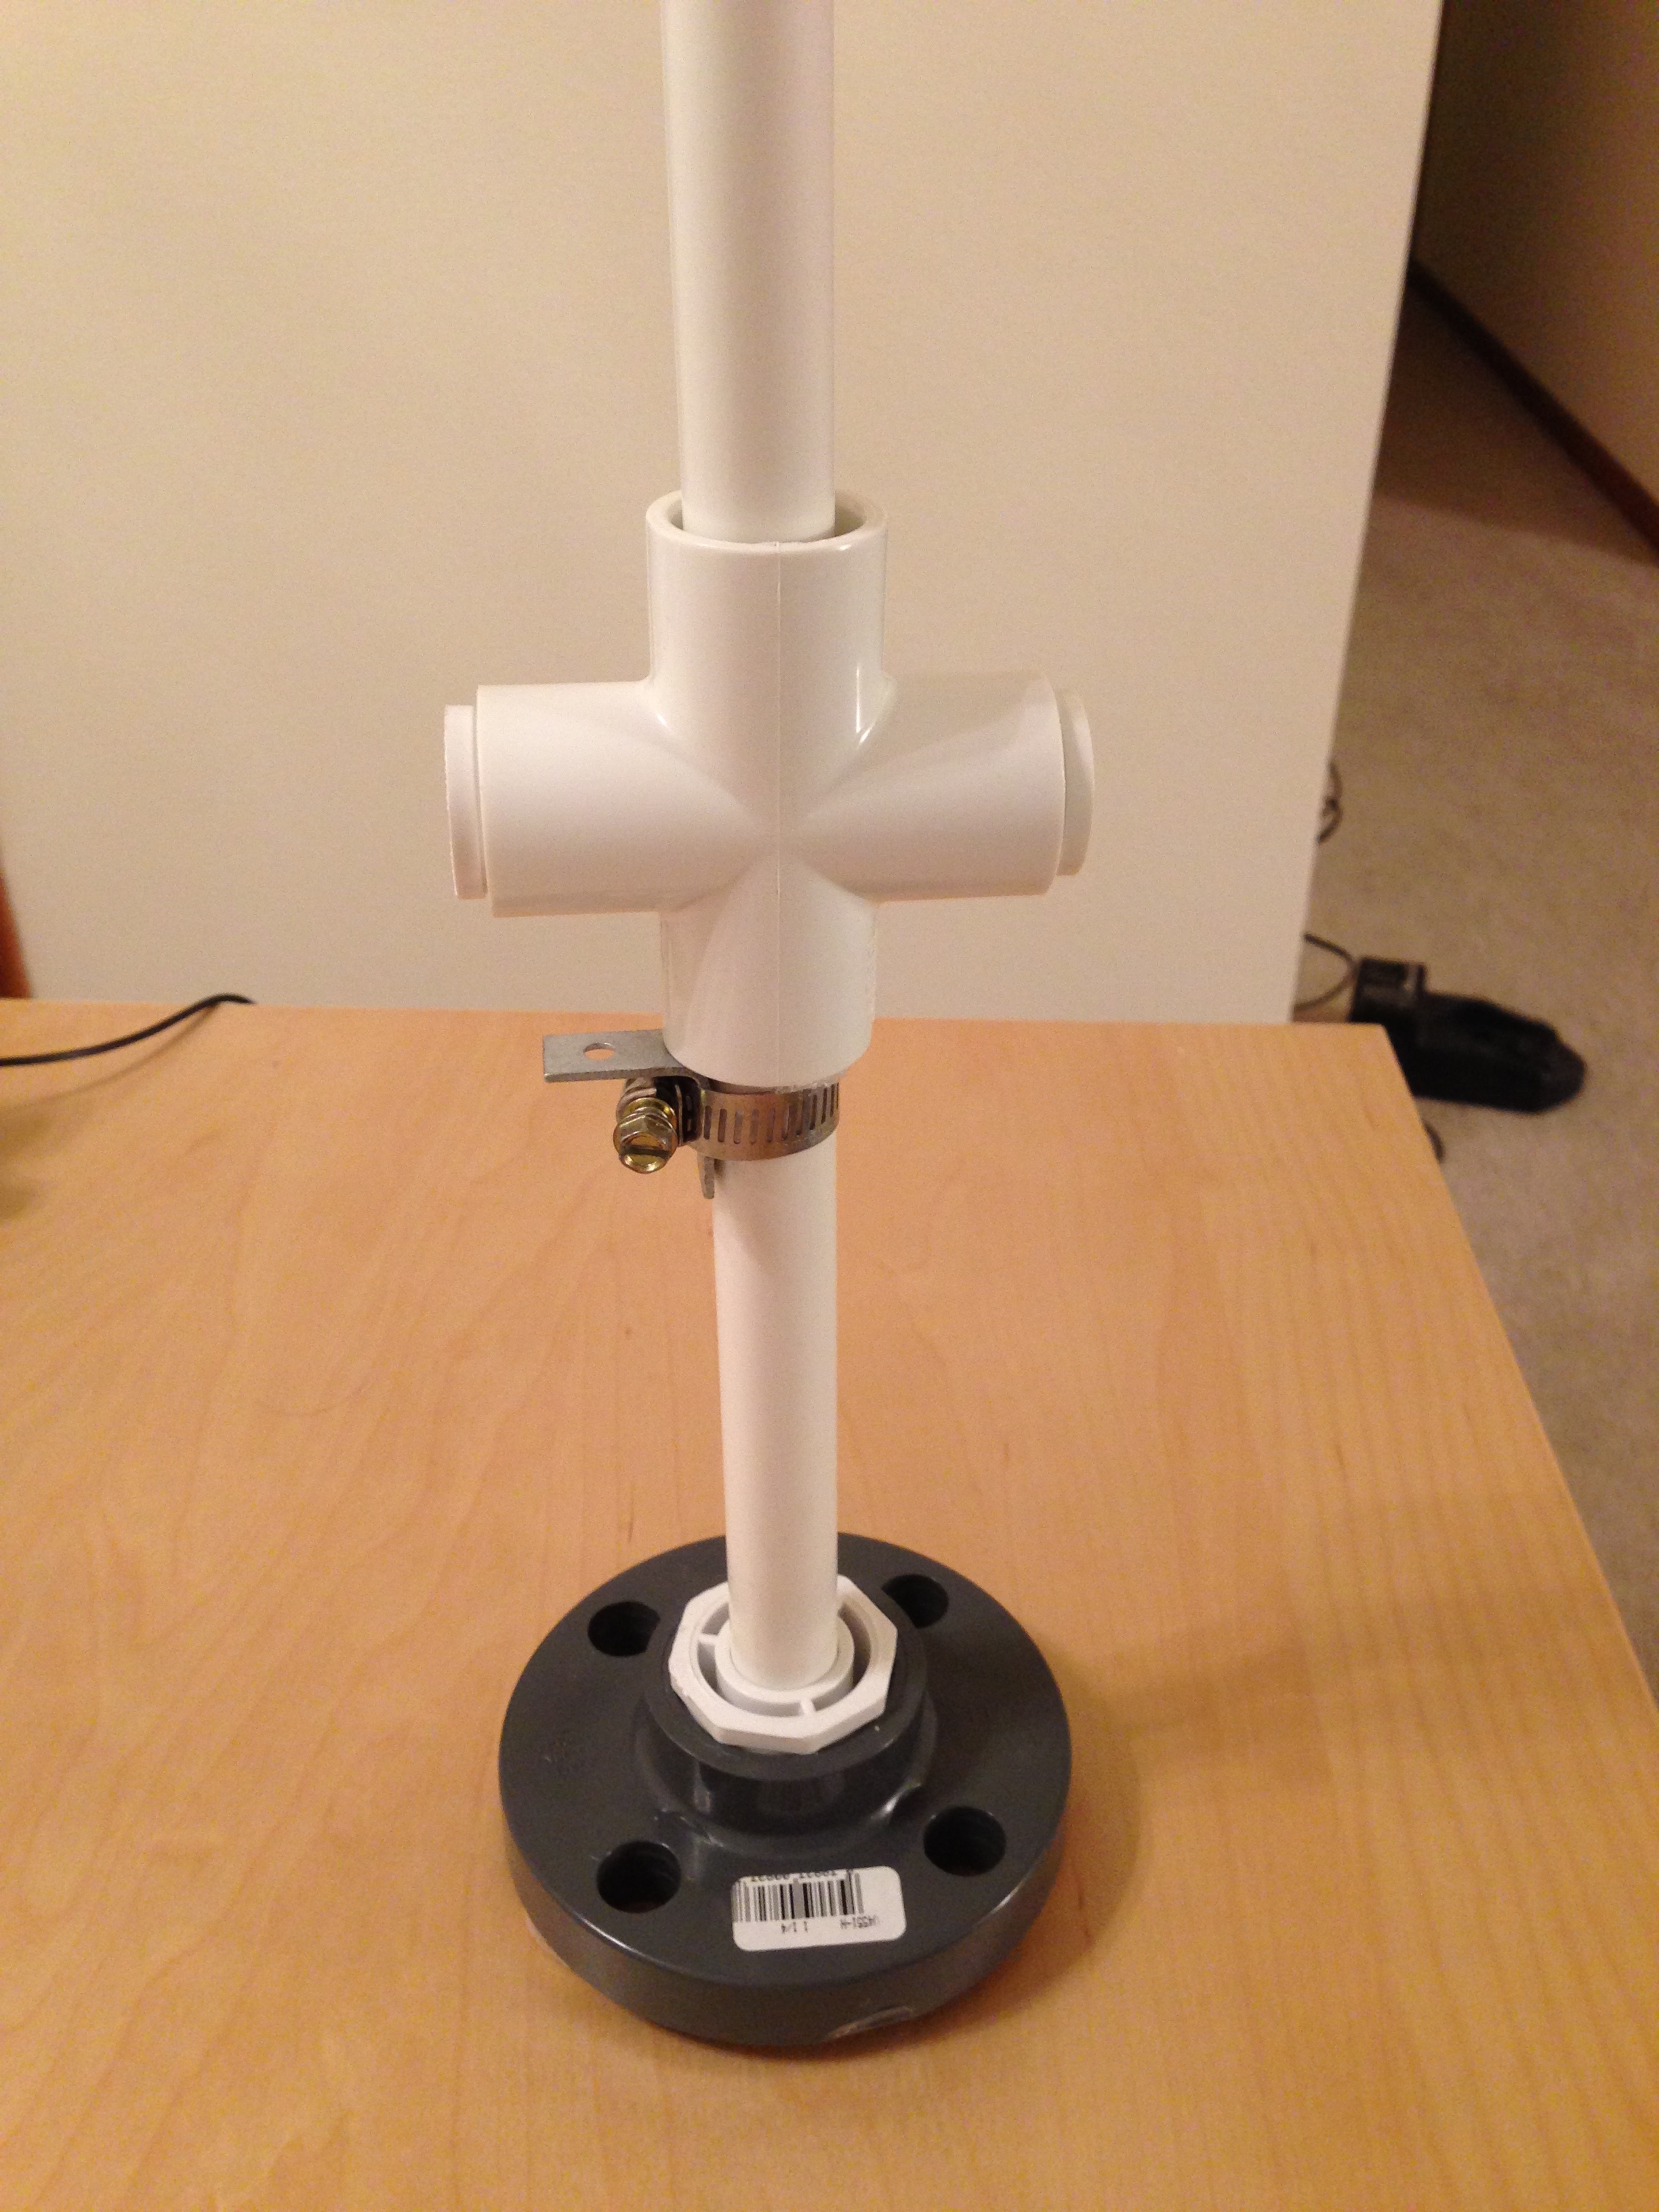
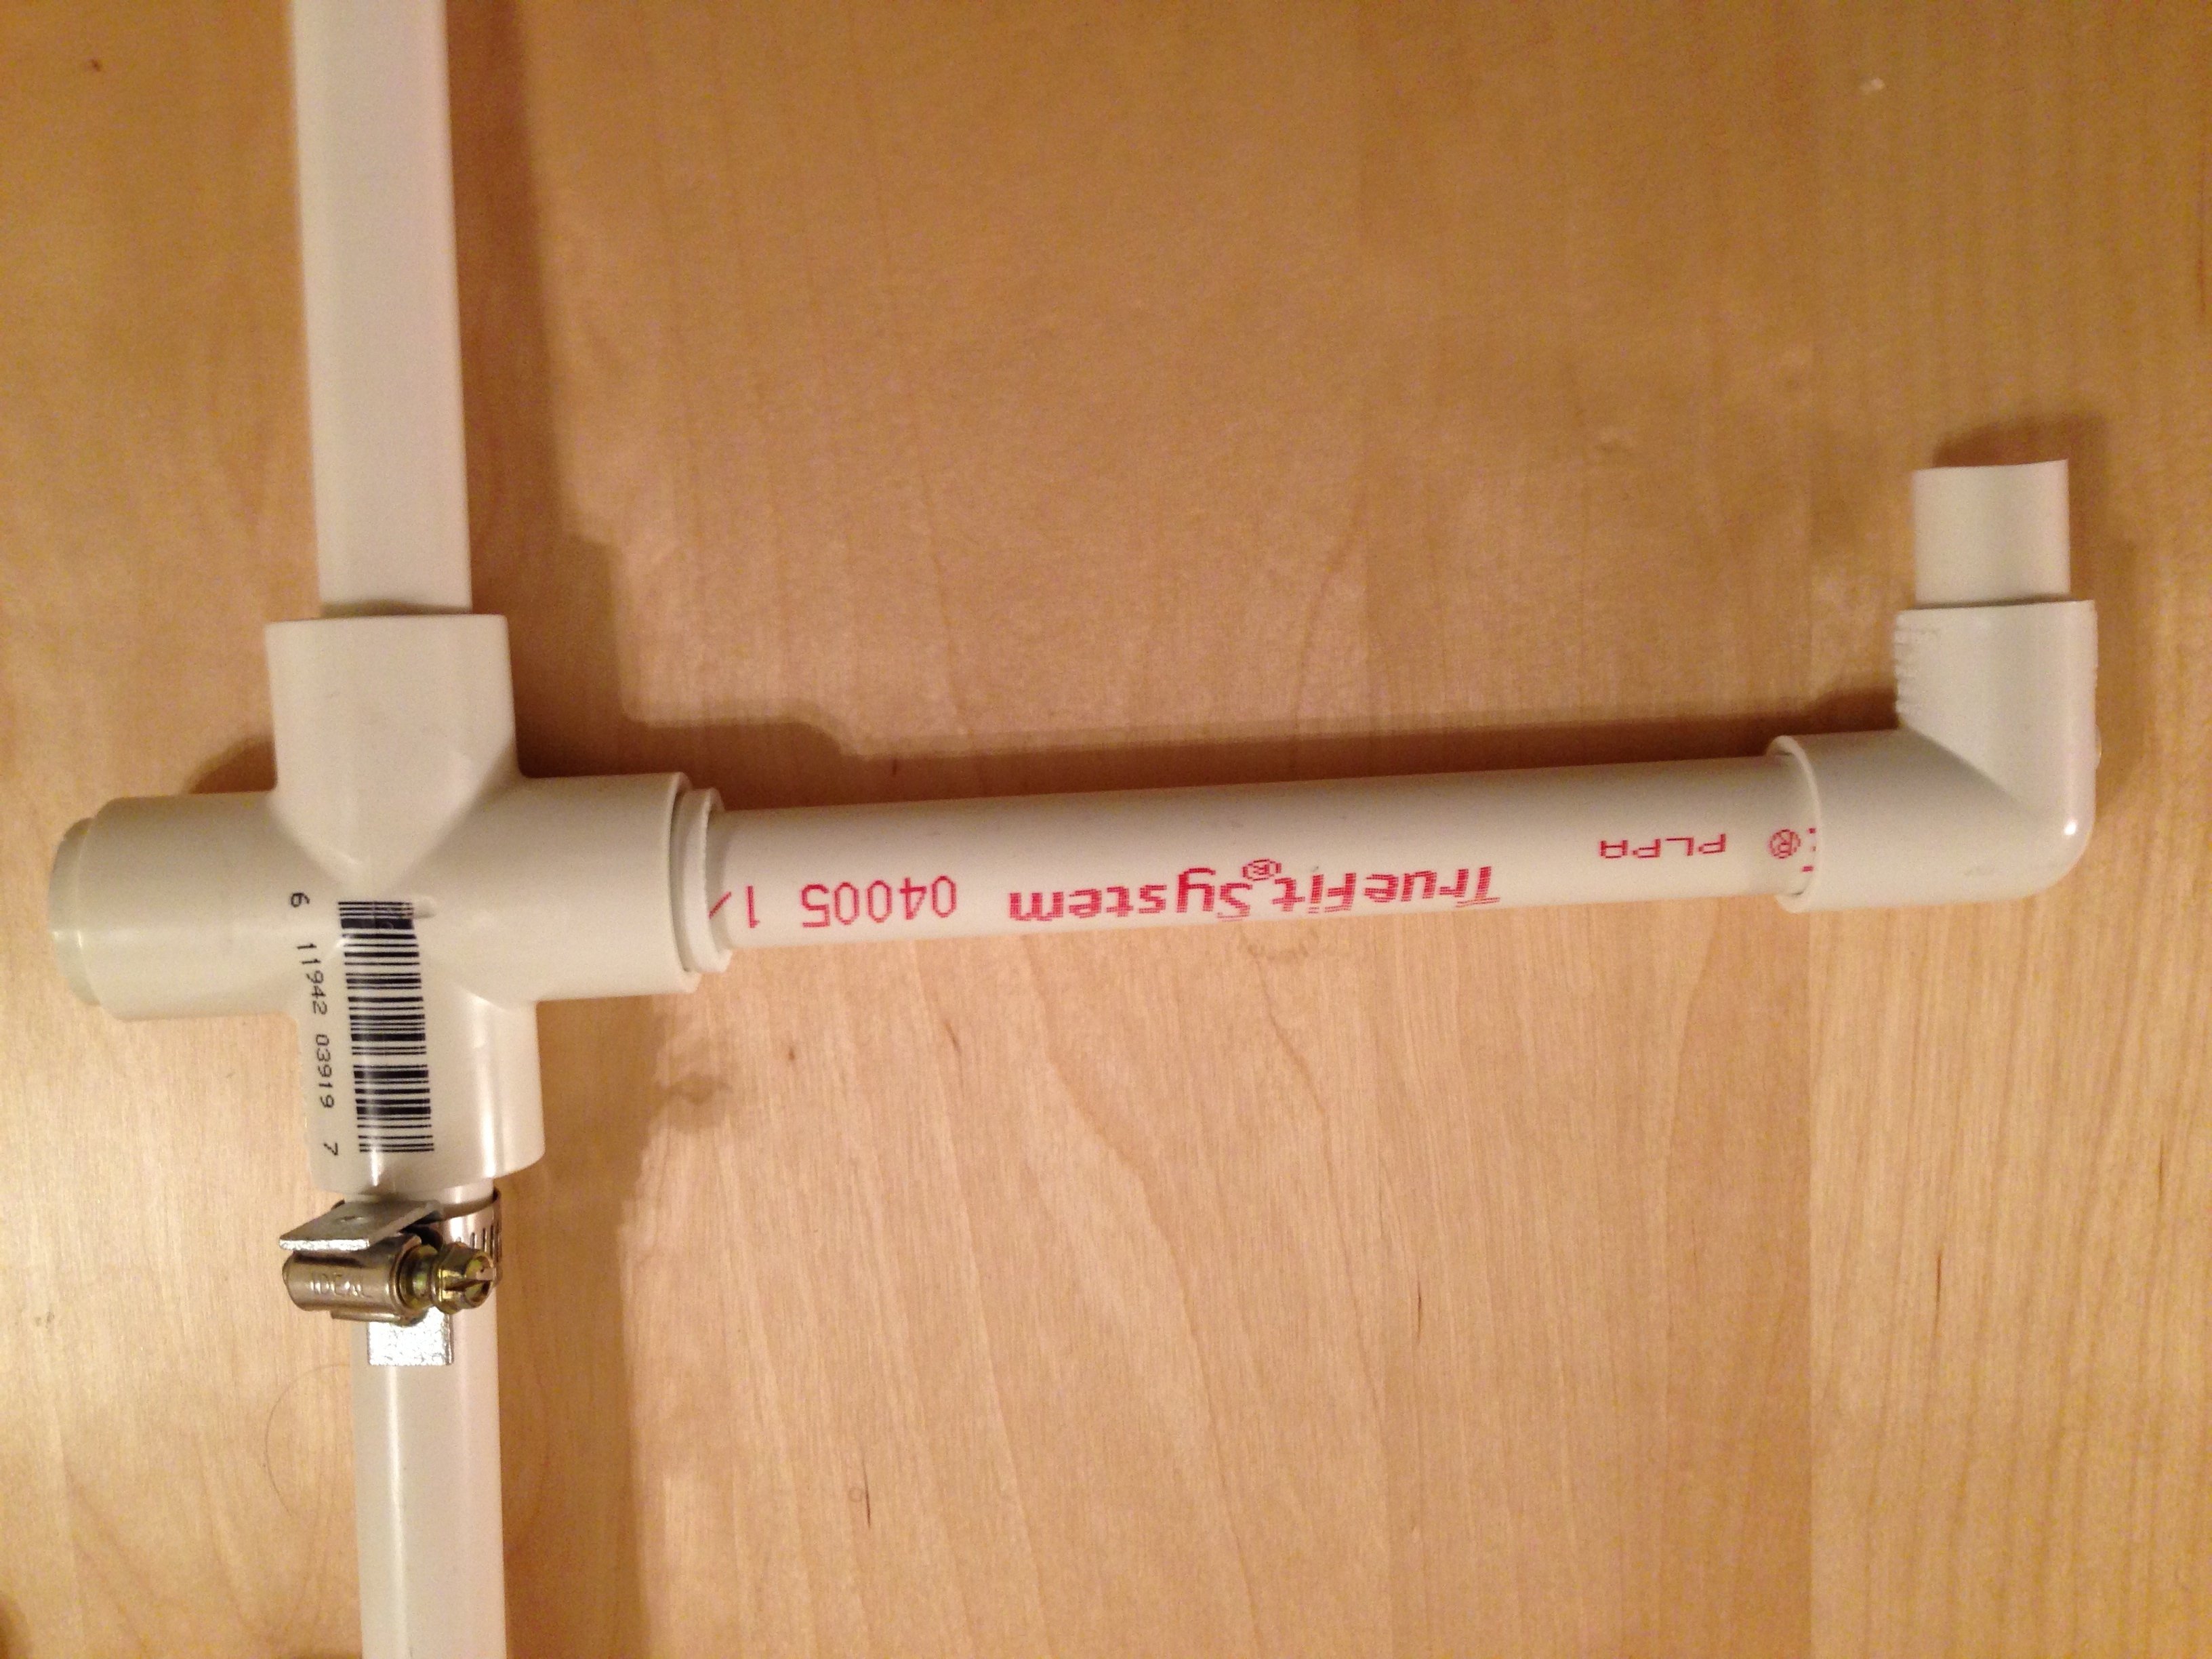
So, this is what we are building:
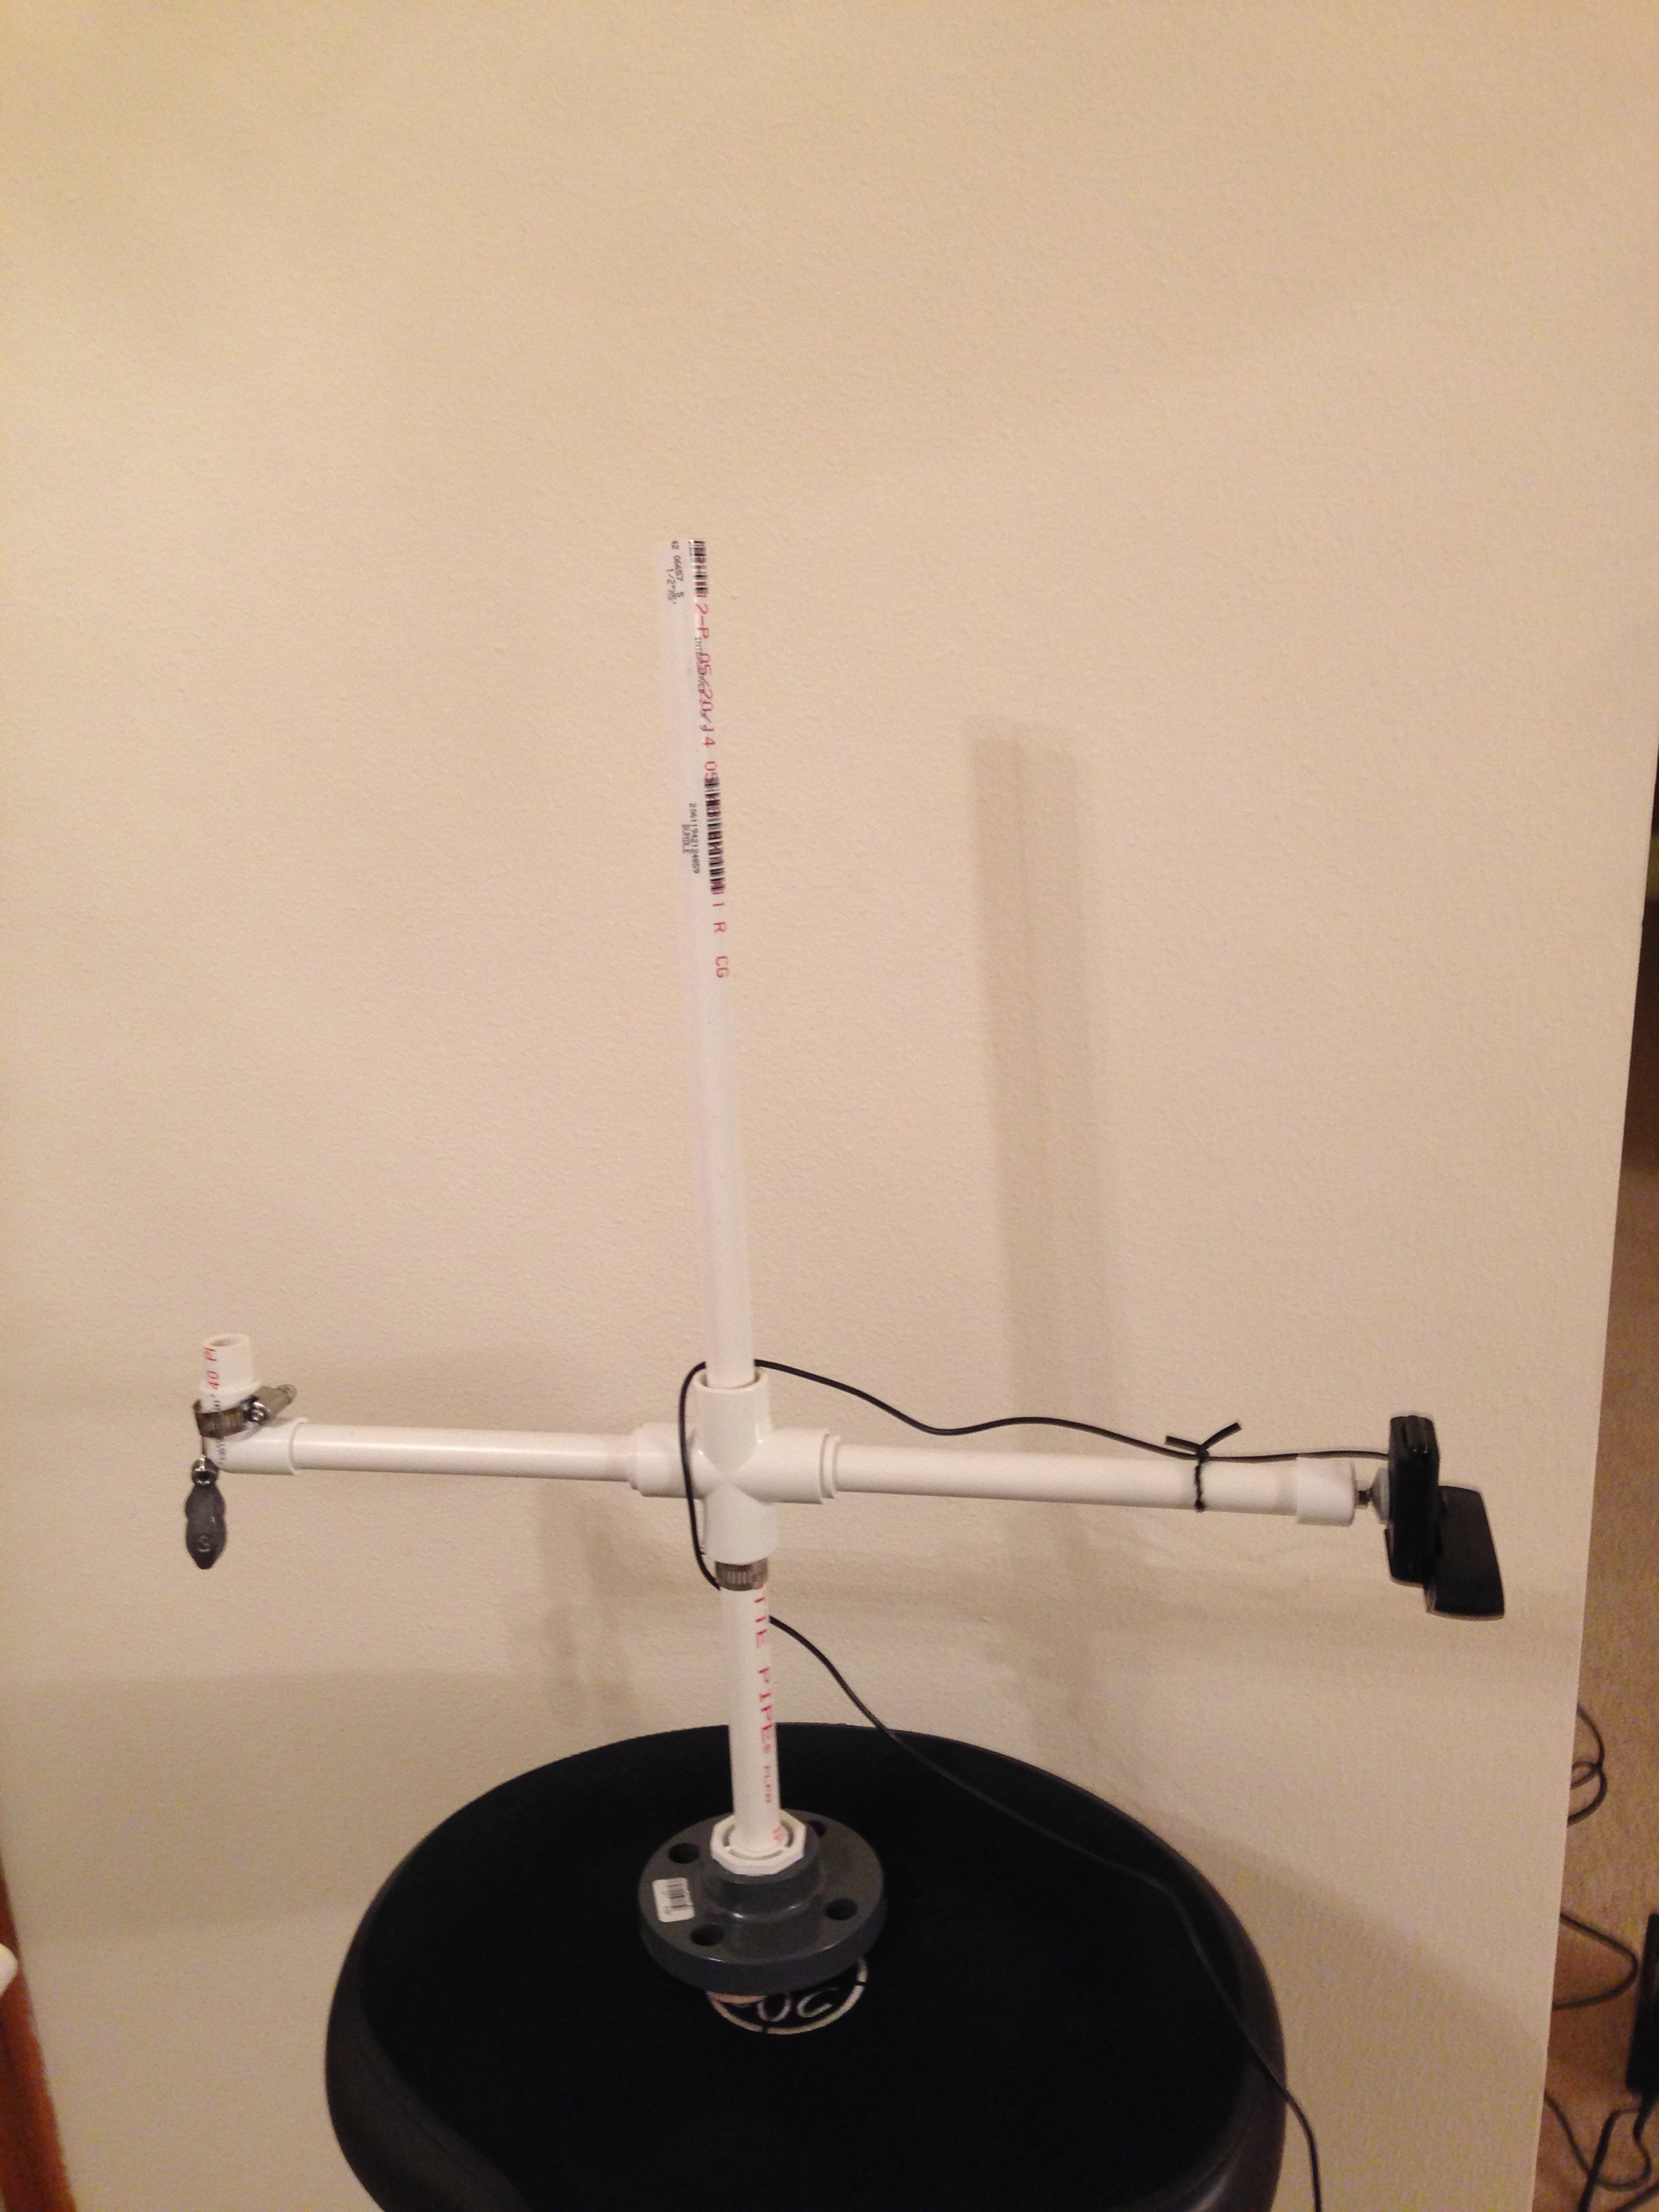
Note that we can attach the webcam pointing down, to animate from a whiteboard, or we can attach it on the other end on the 90 degree angle and point toward a wall, or, we can use a 45 degree attachment, and use this as a document camera to scan books.
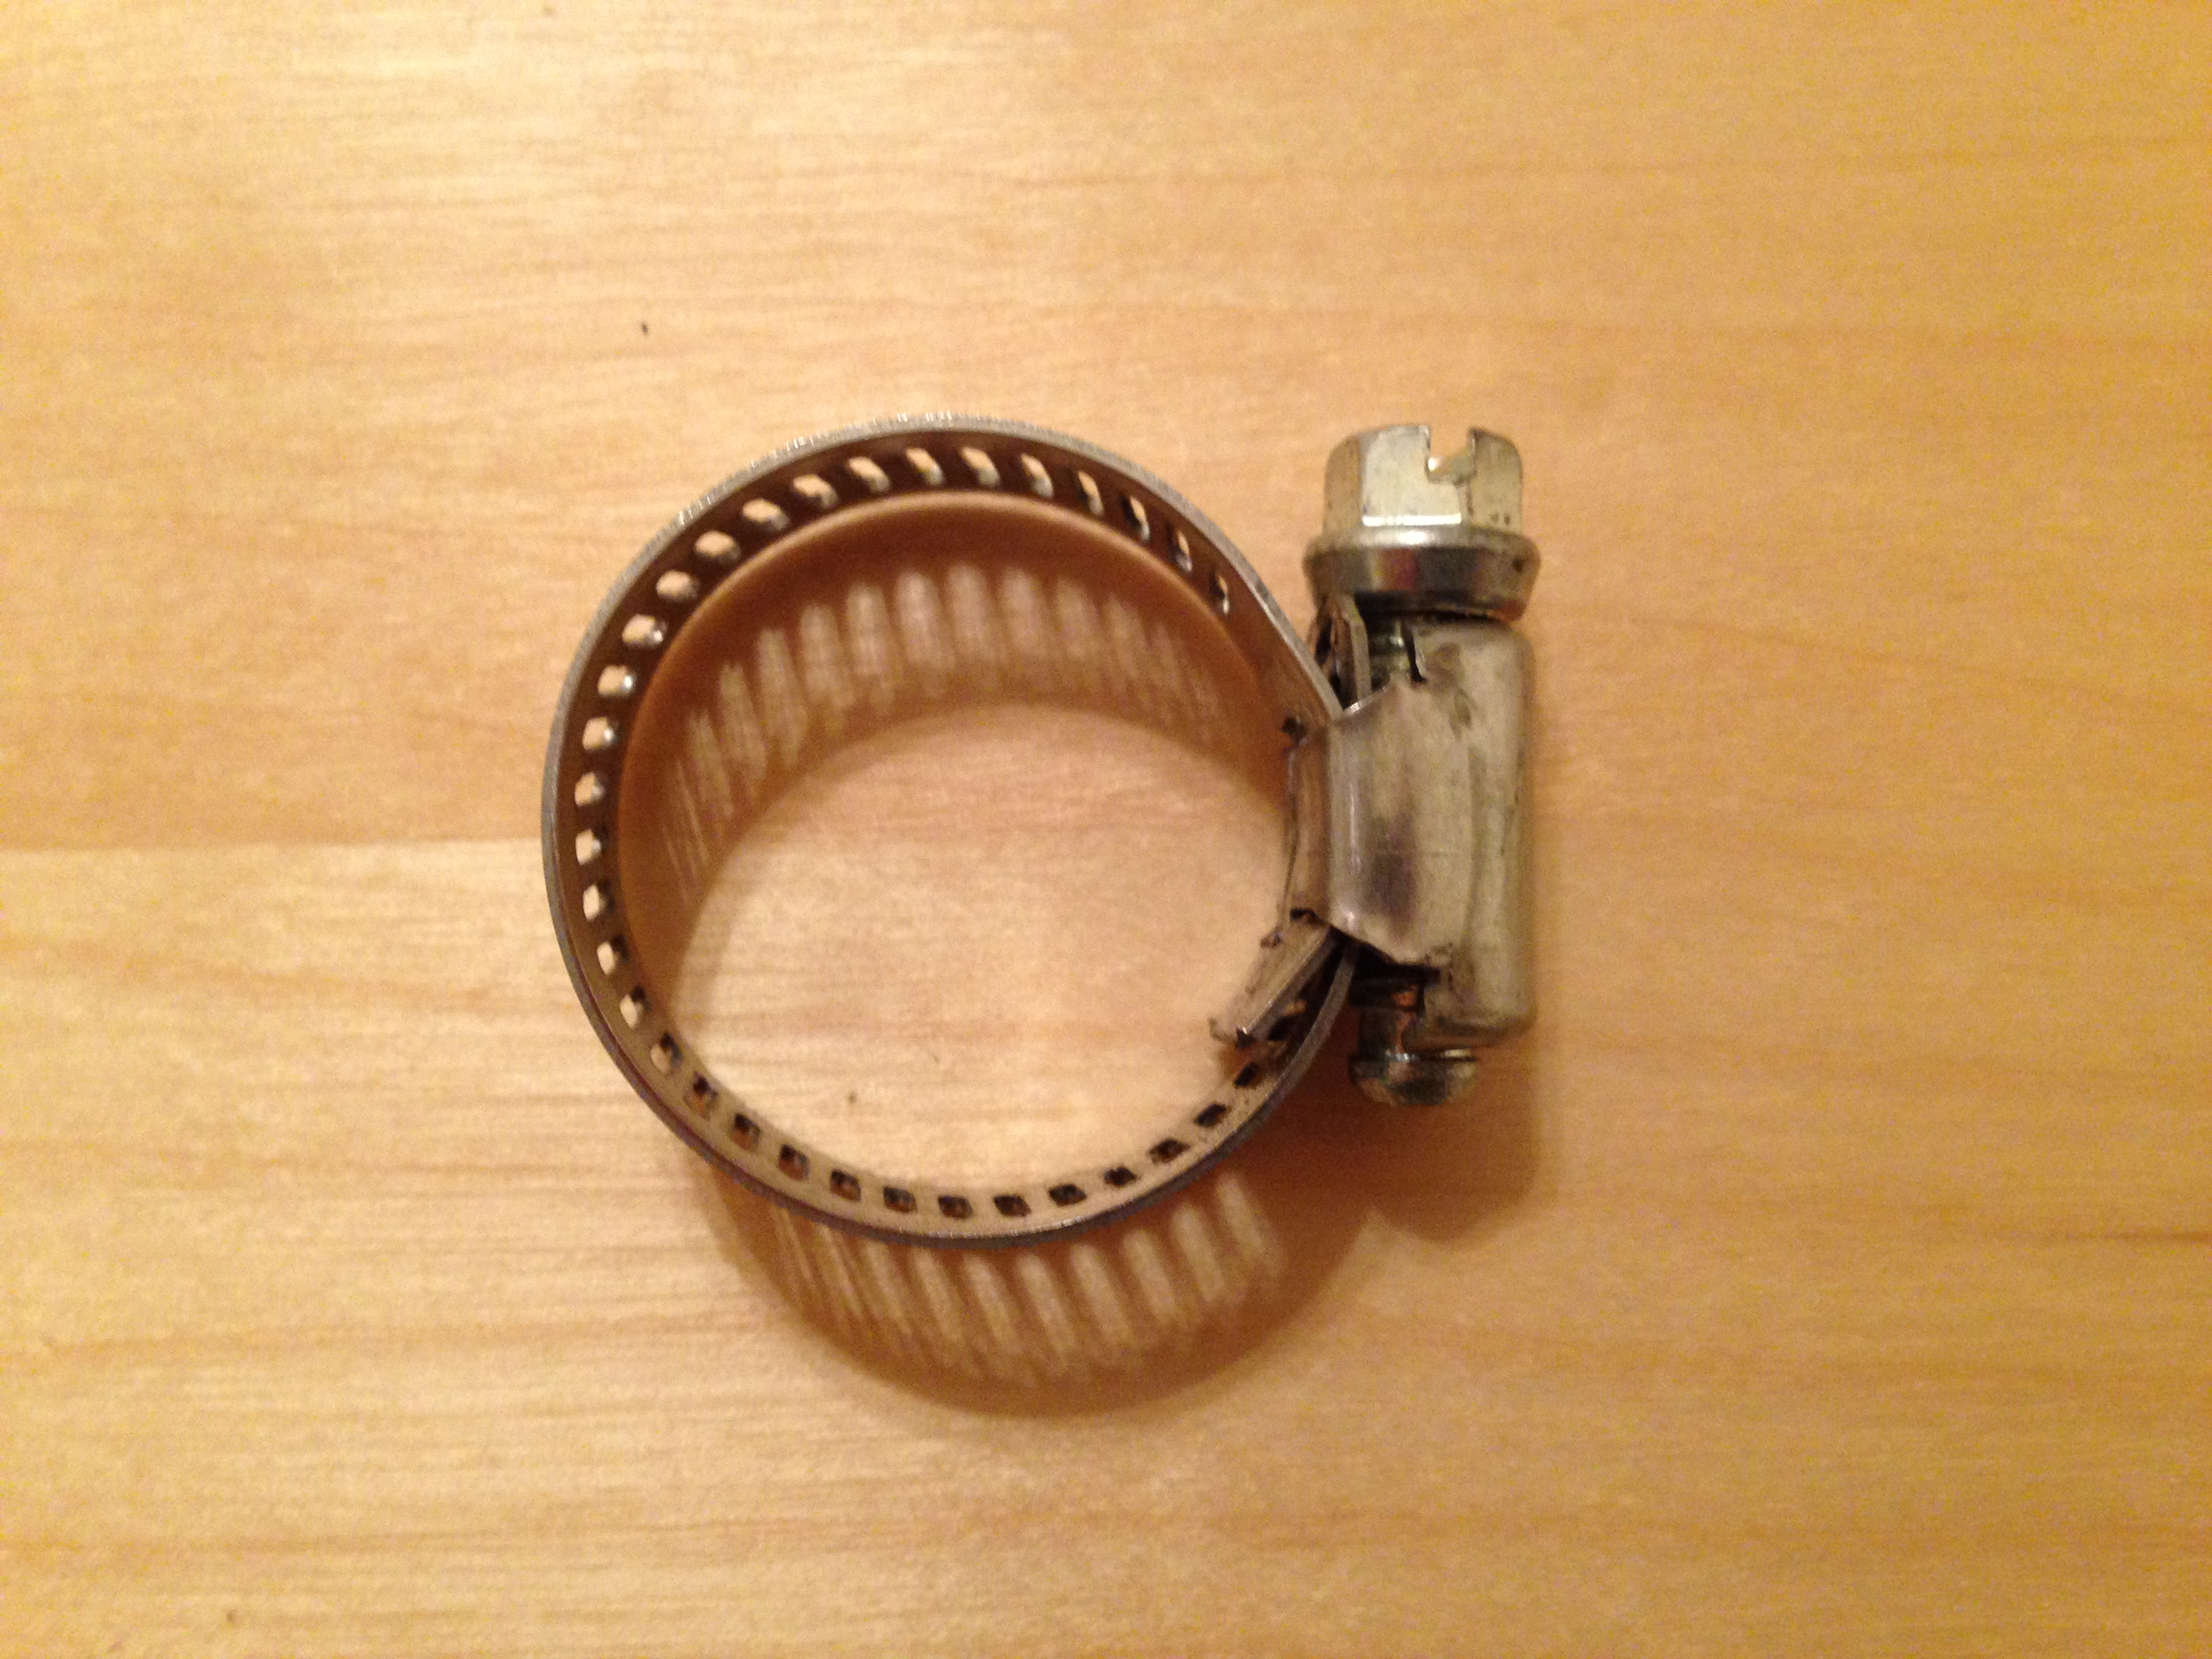
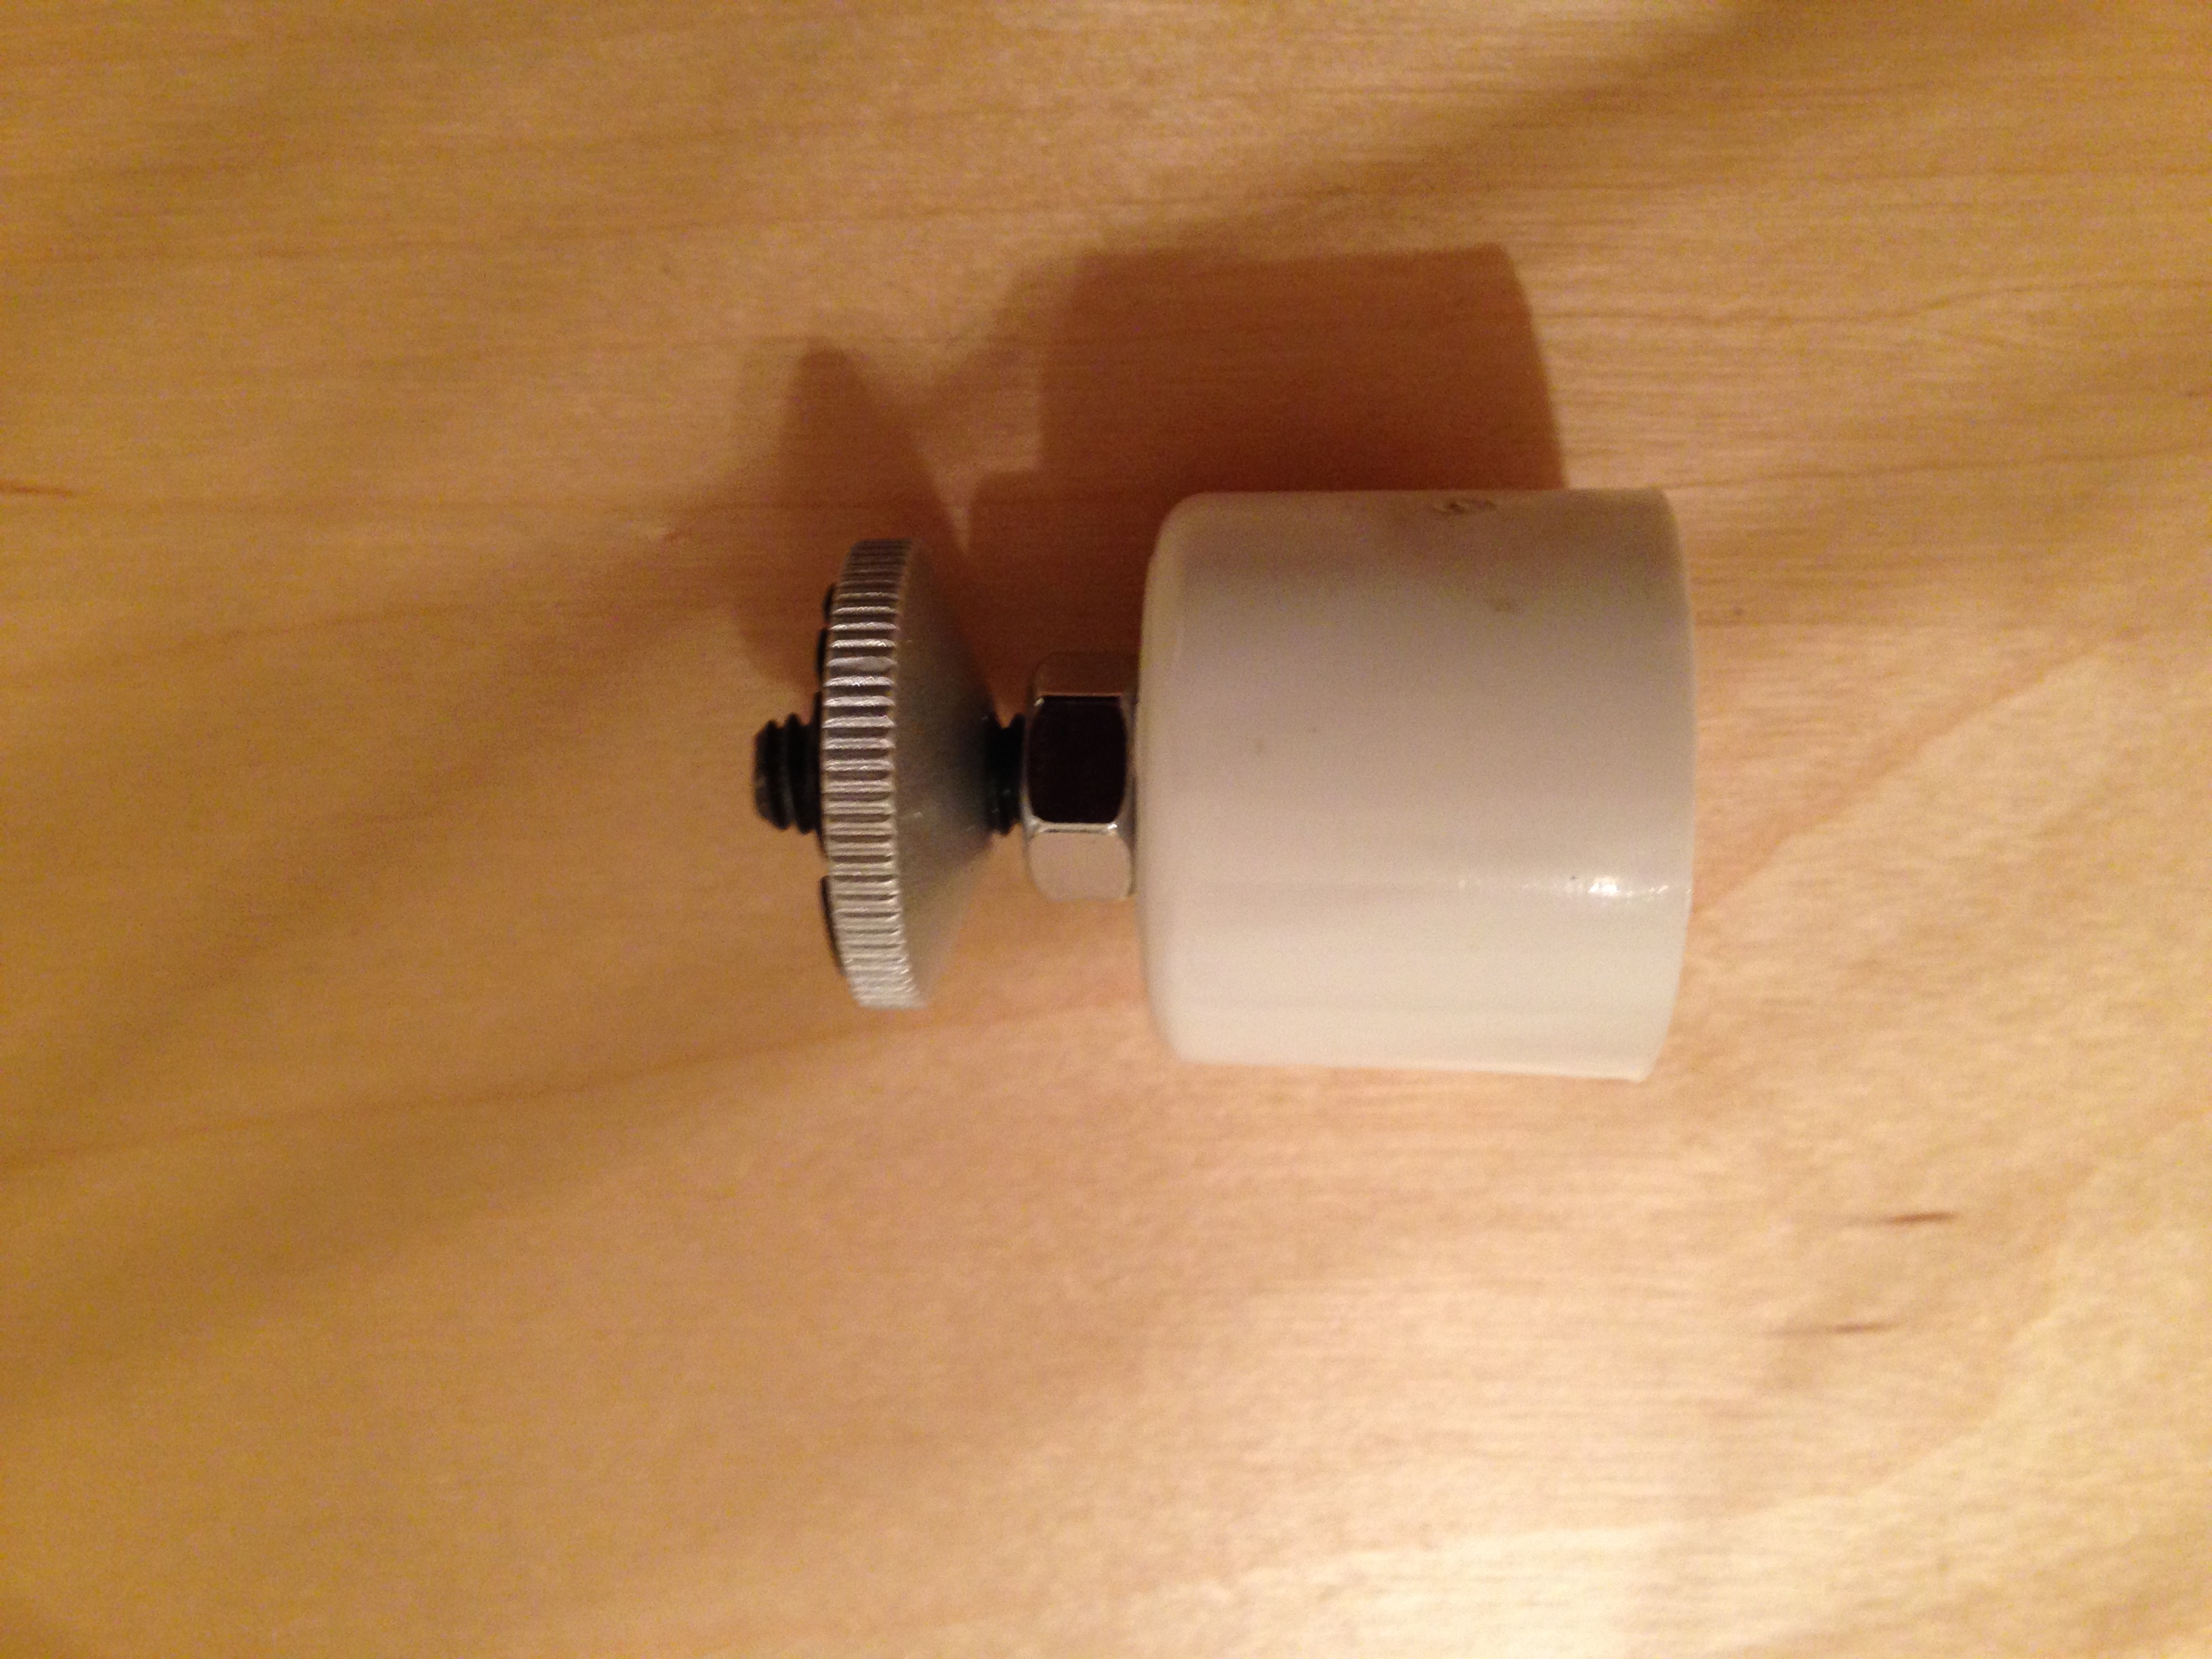
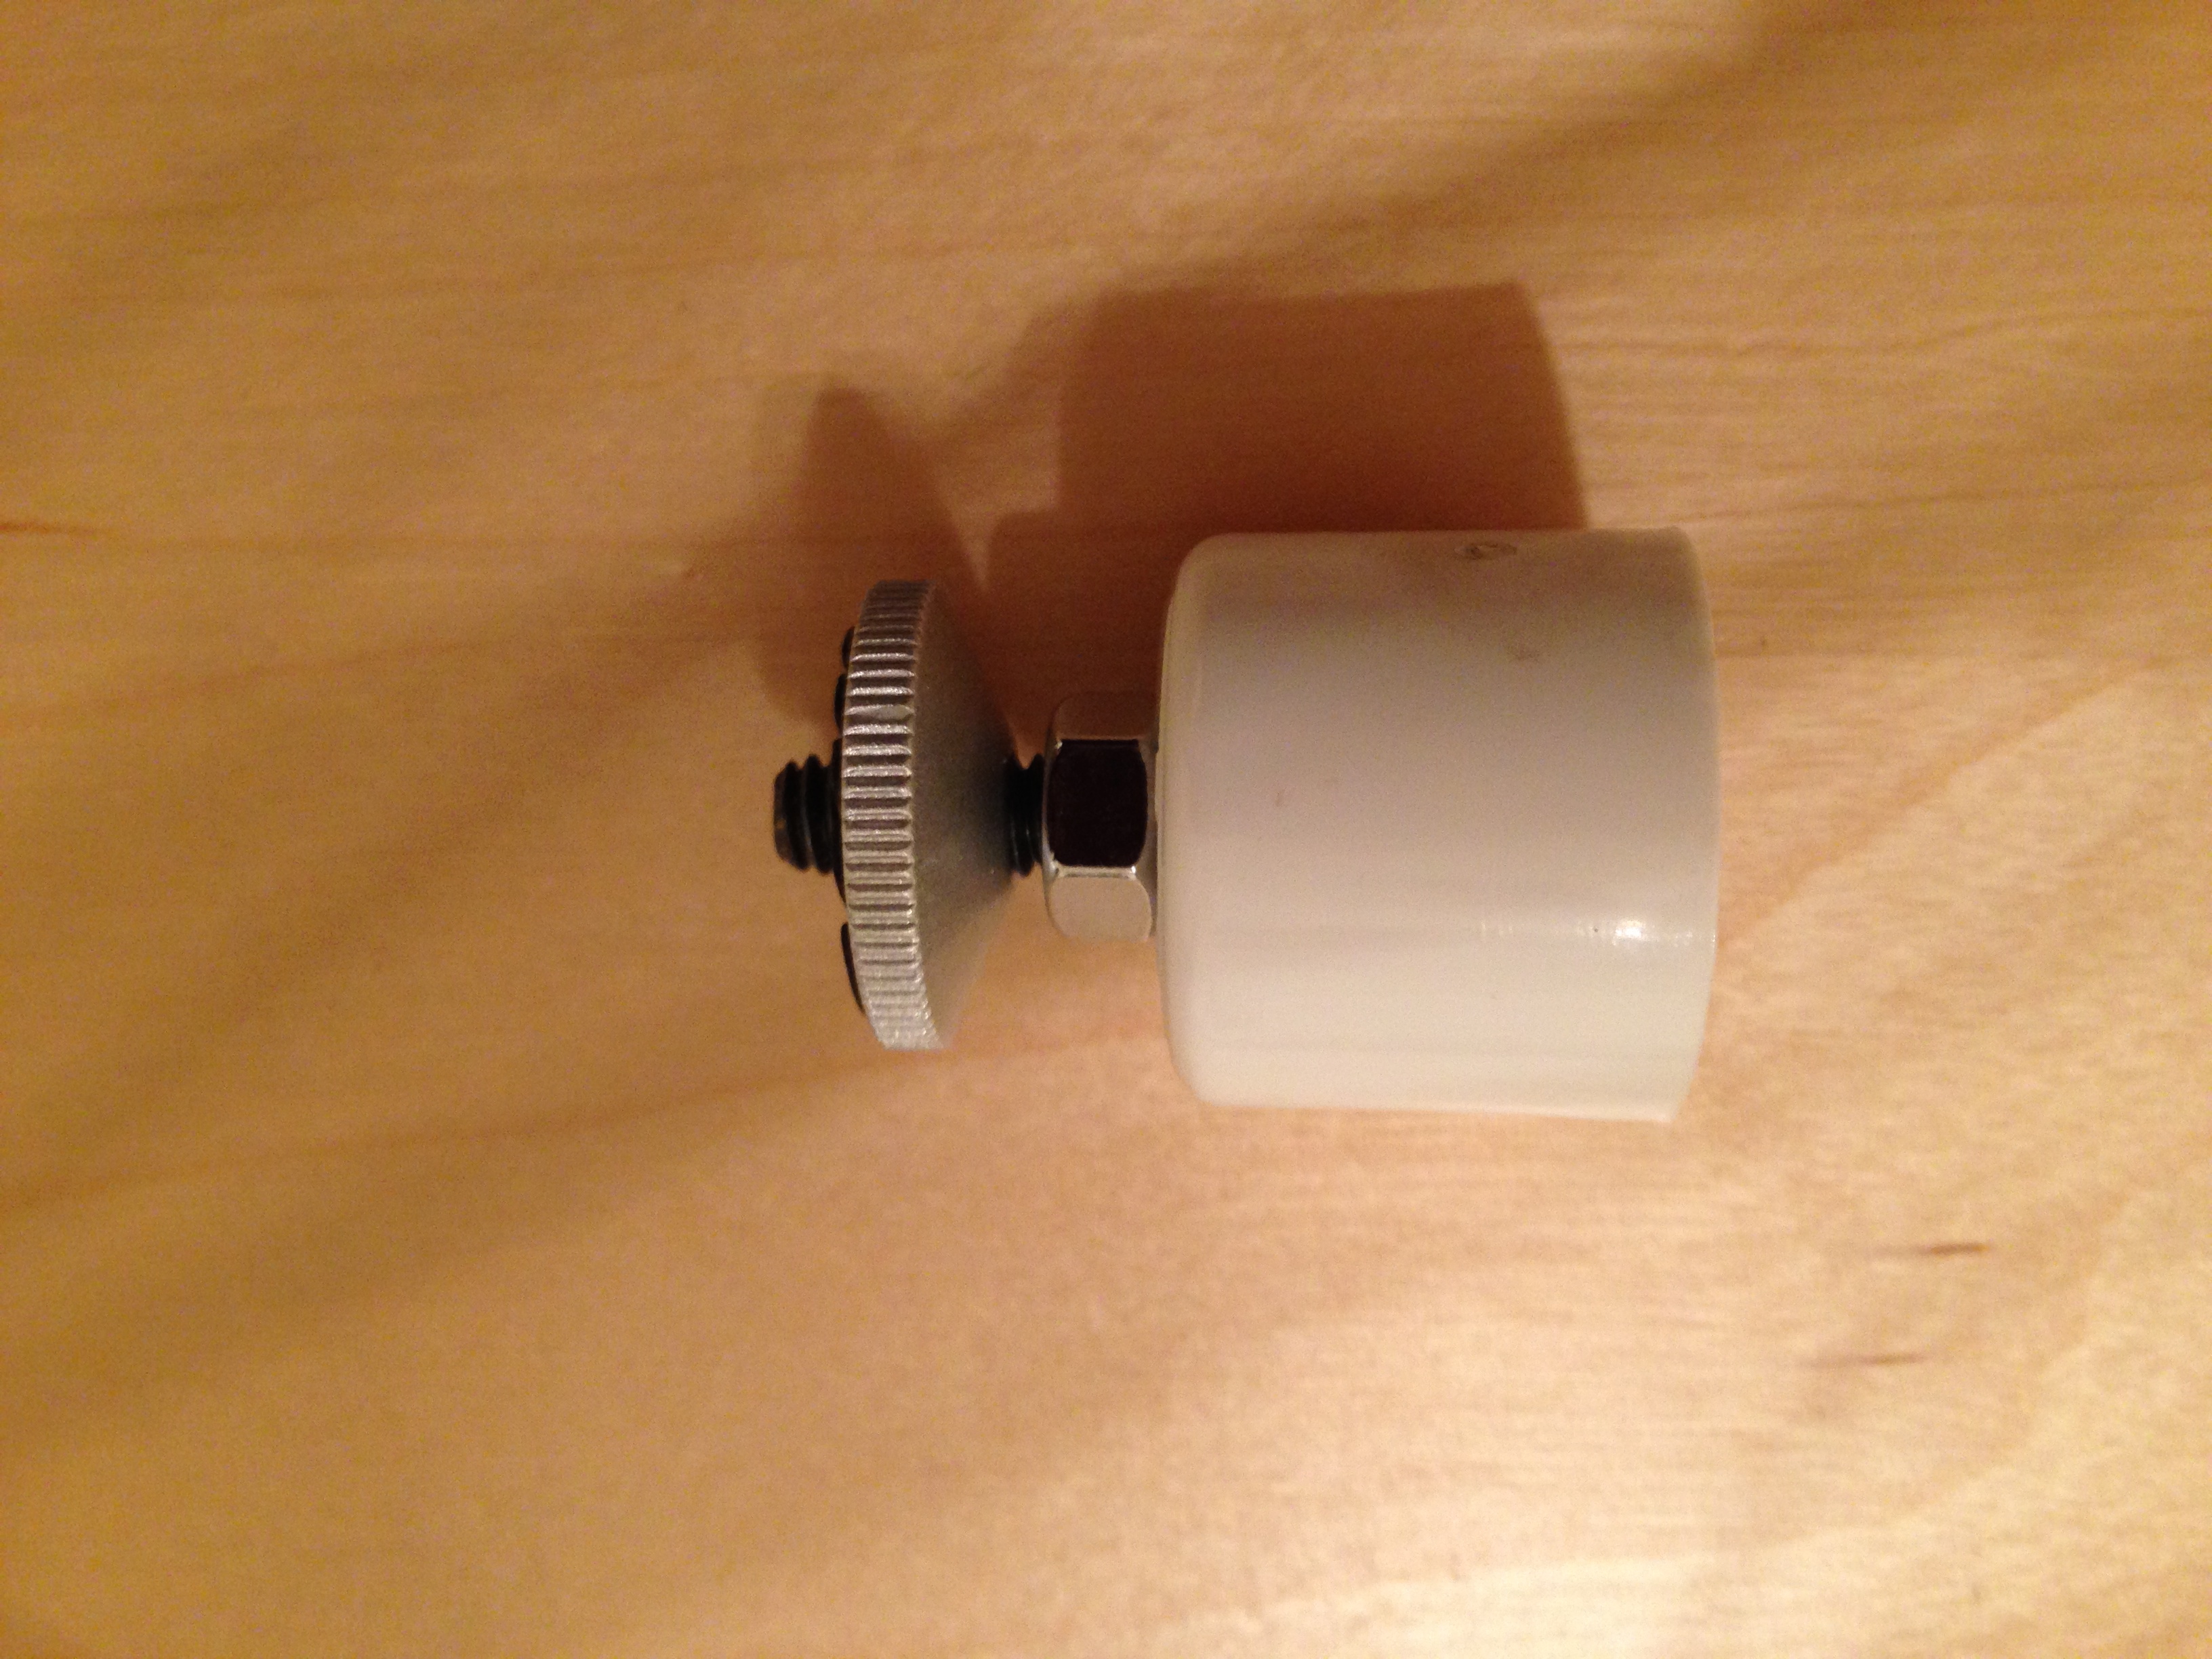
The intent is to make a larger and more flexible version of this miniature tripod:
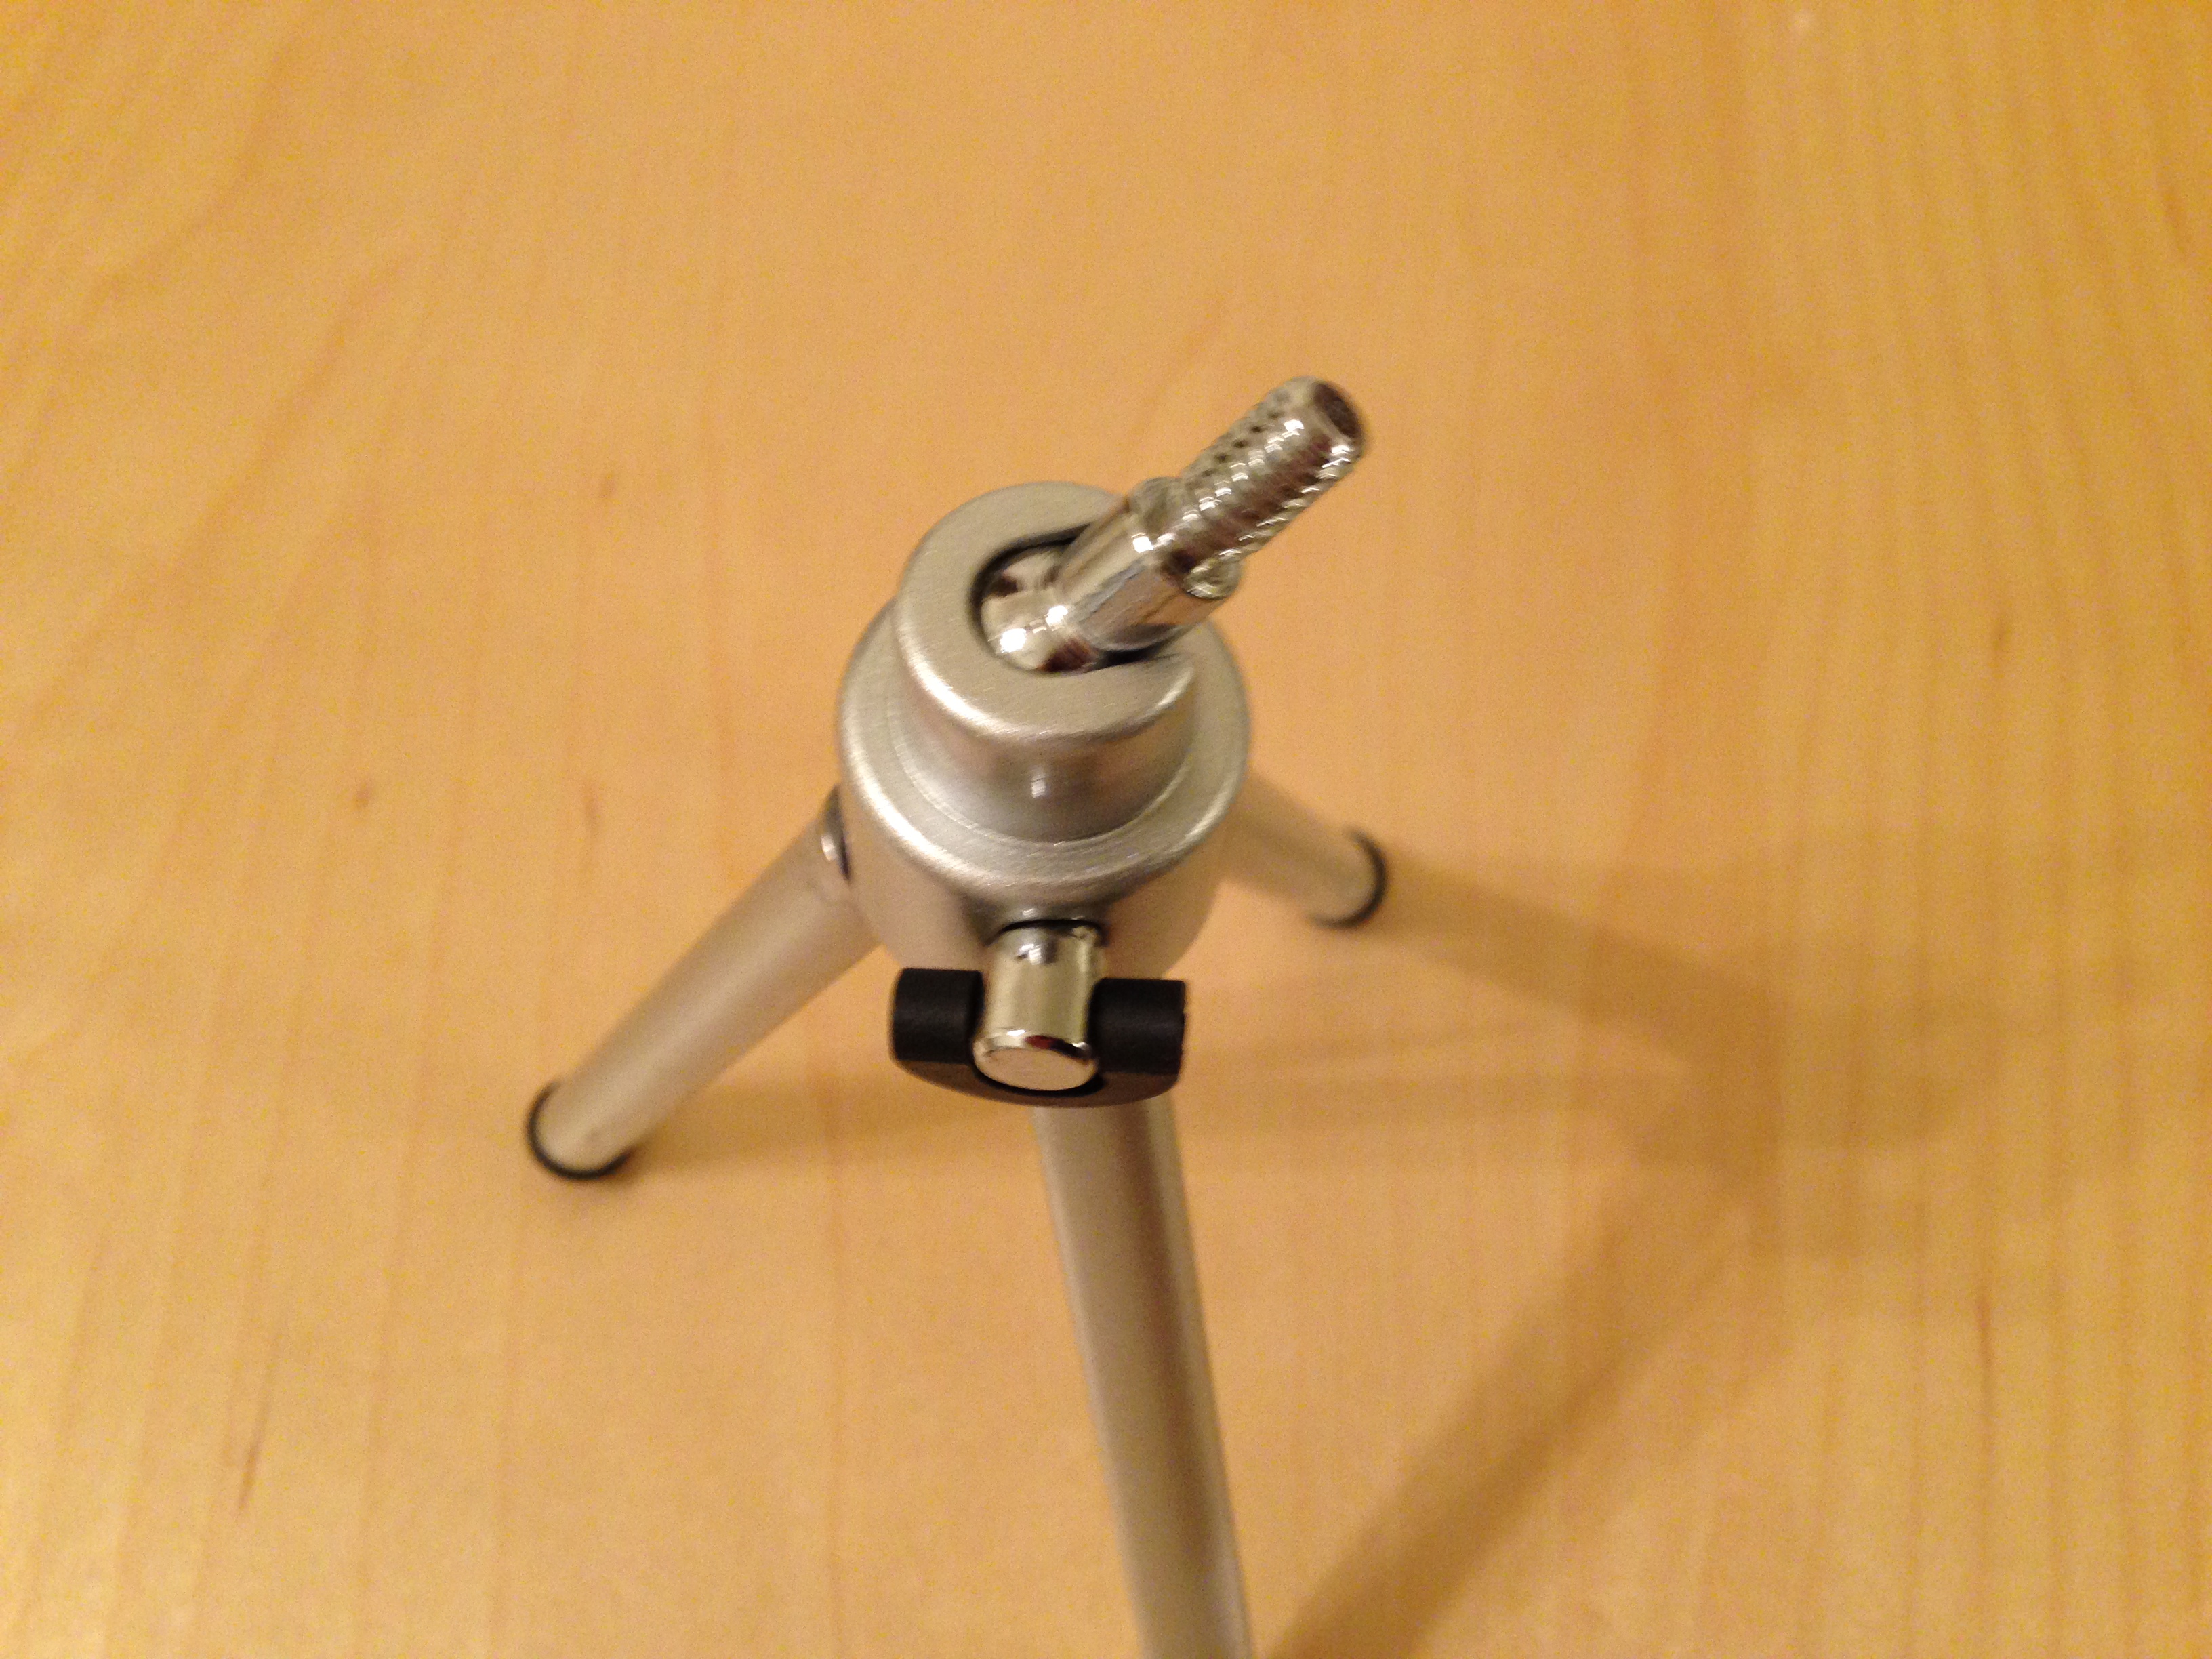
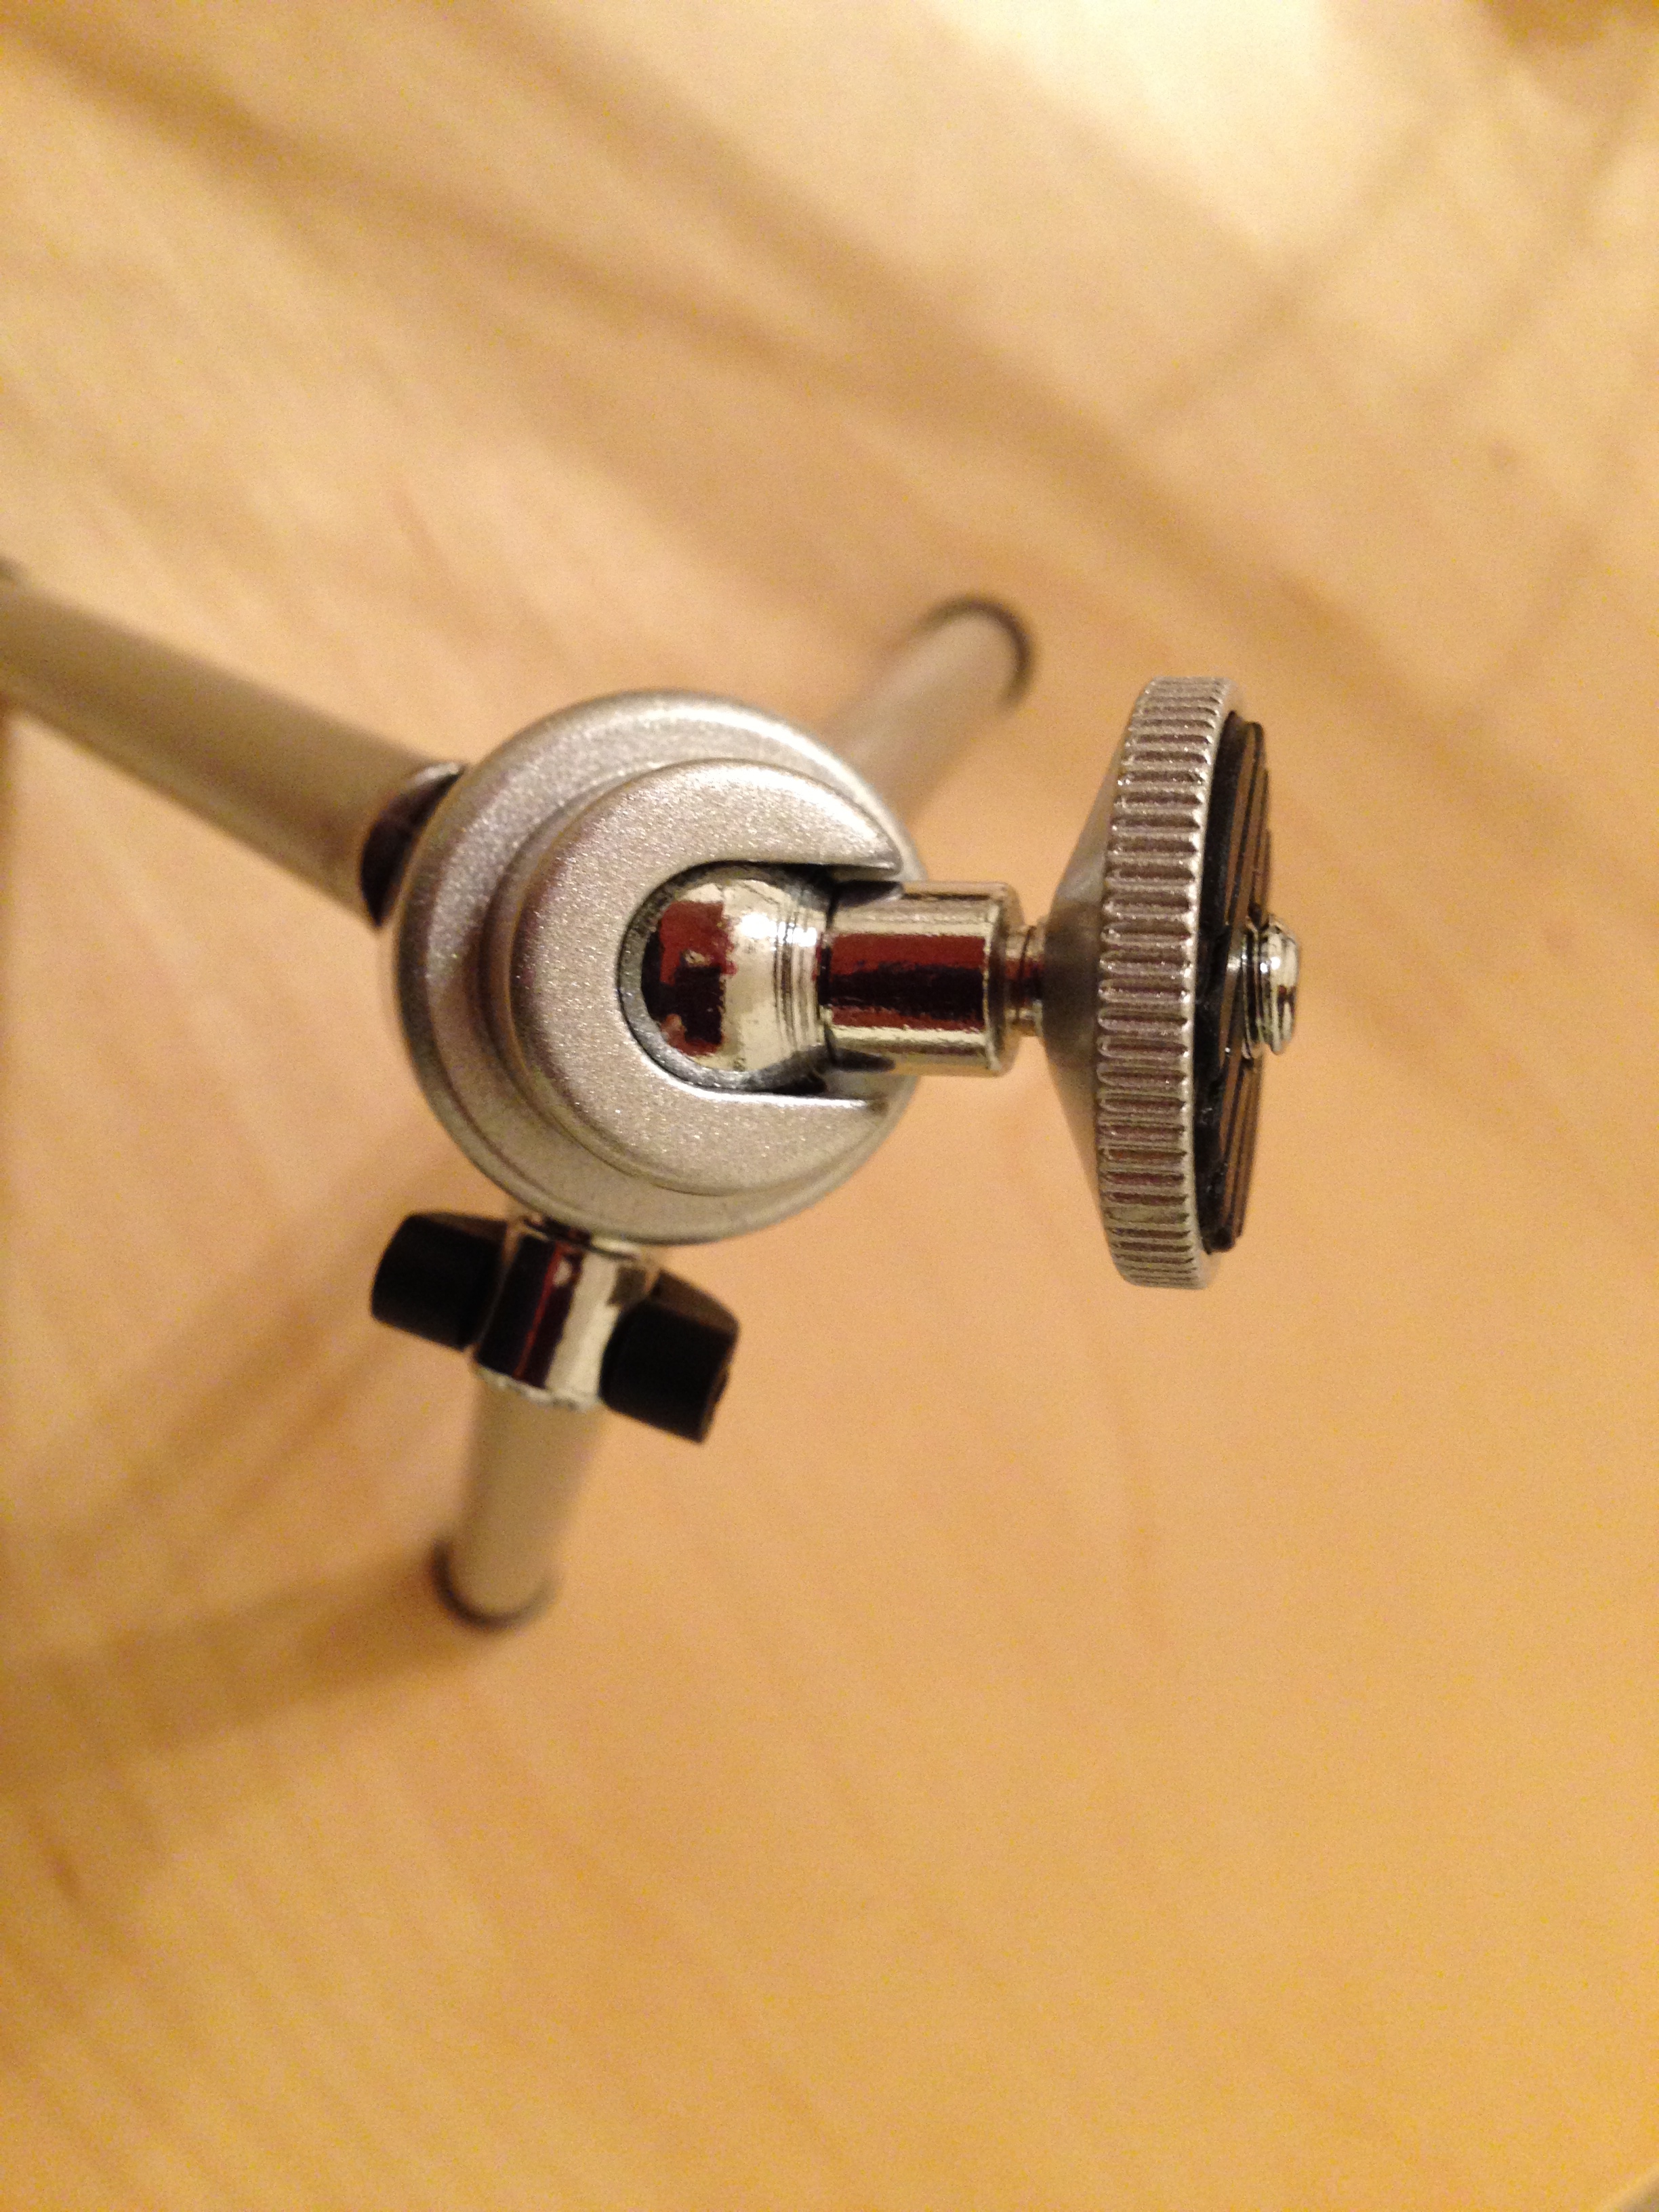 Note that the mini-tripod uses a standard 1/4" x #20 blot for the camera mount, just like any camera has. It only has a nice, wide locknut on the end, but we will be using a 1/4" x #20 locknut. And, also note, only some web cams have a standard camera mount, so when buying a webcam, ensure it has a standard camera mount.
- What We Need:
- Tools:
- A drill and 1/4" drill bit to drill a 1/4" hole. Seek help if you are not comfortable drilling a 1/4" hole in the end of a 1/2" PVC end cap.
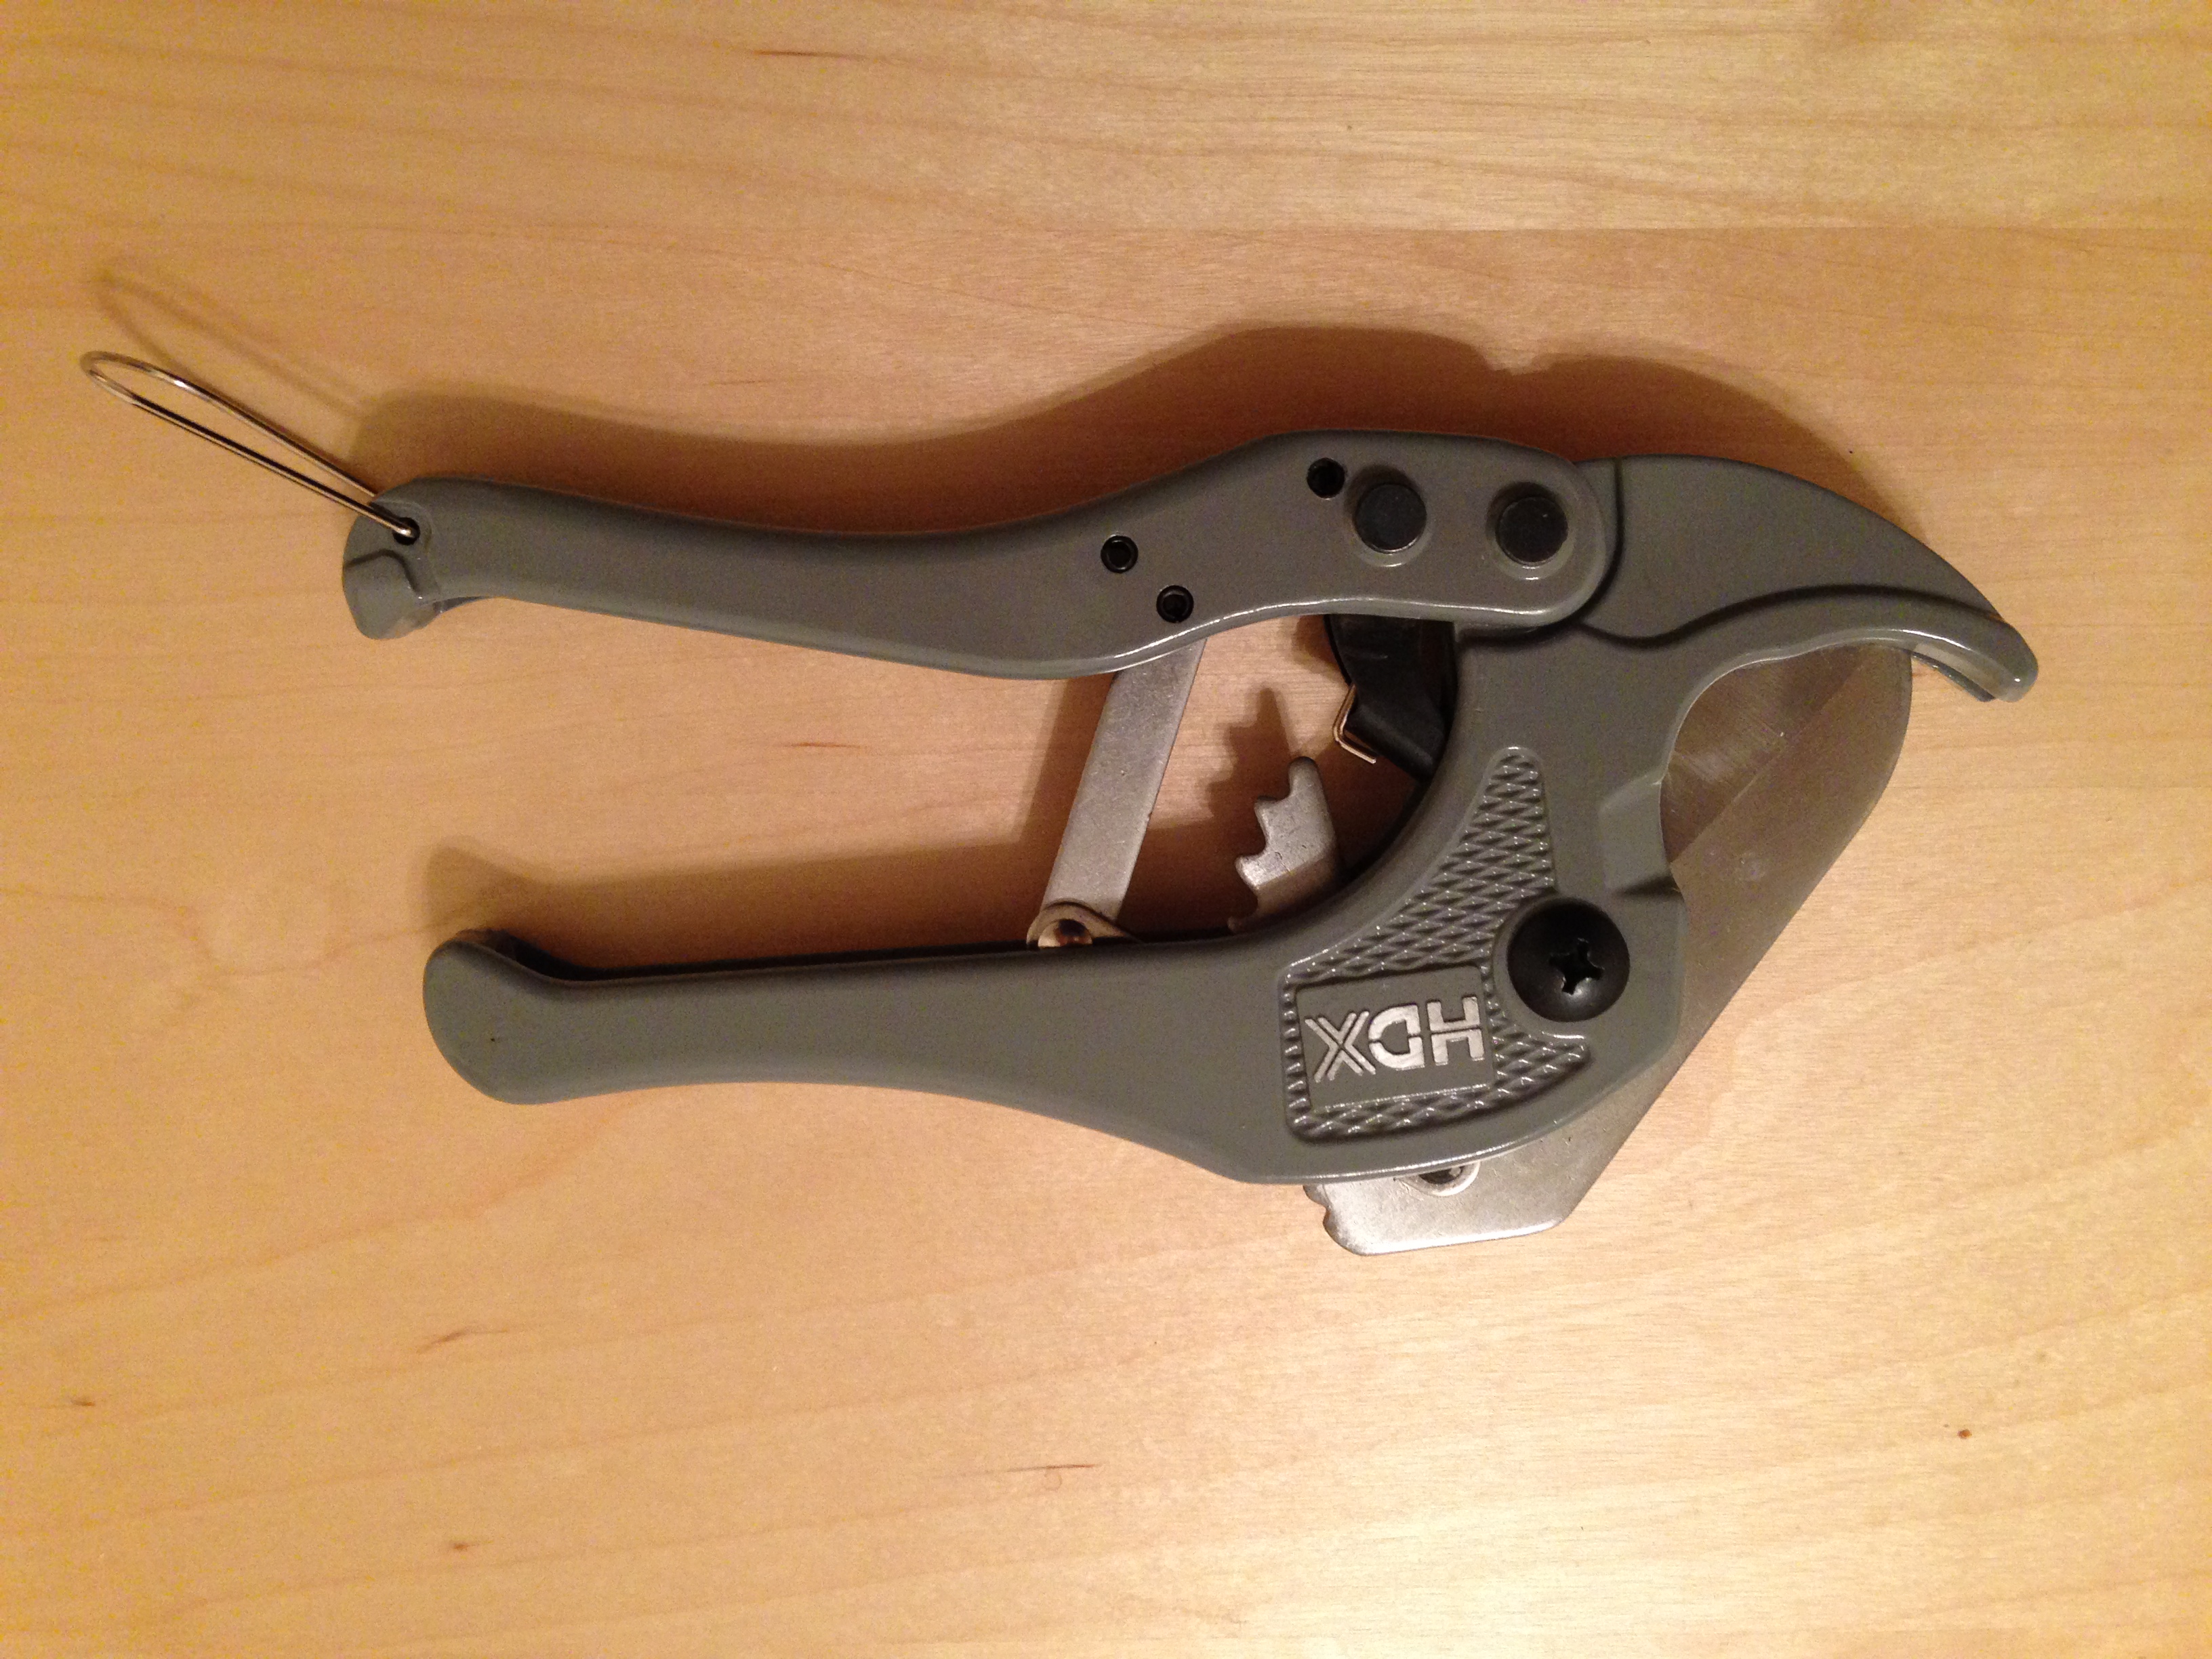
- A PVC pipe cutter. Cost: $12
- A flathead screwdriver.
- A pocket knife to remove the rough edges after drilling.
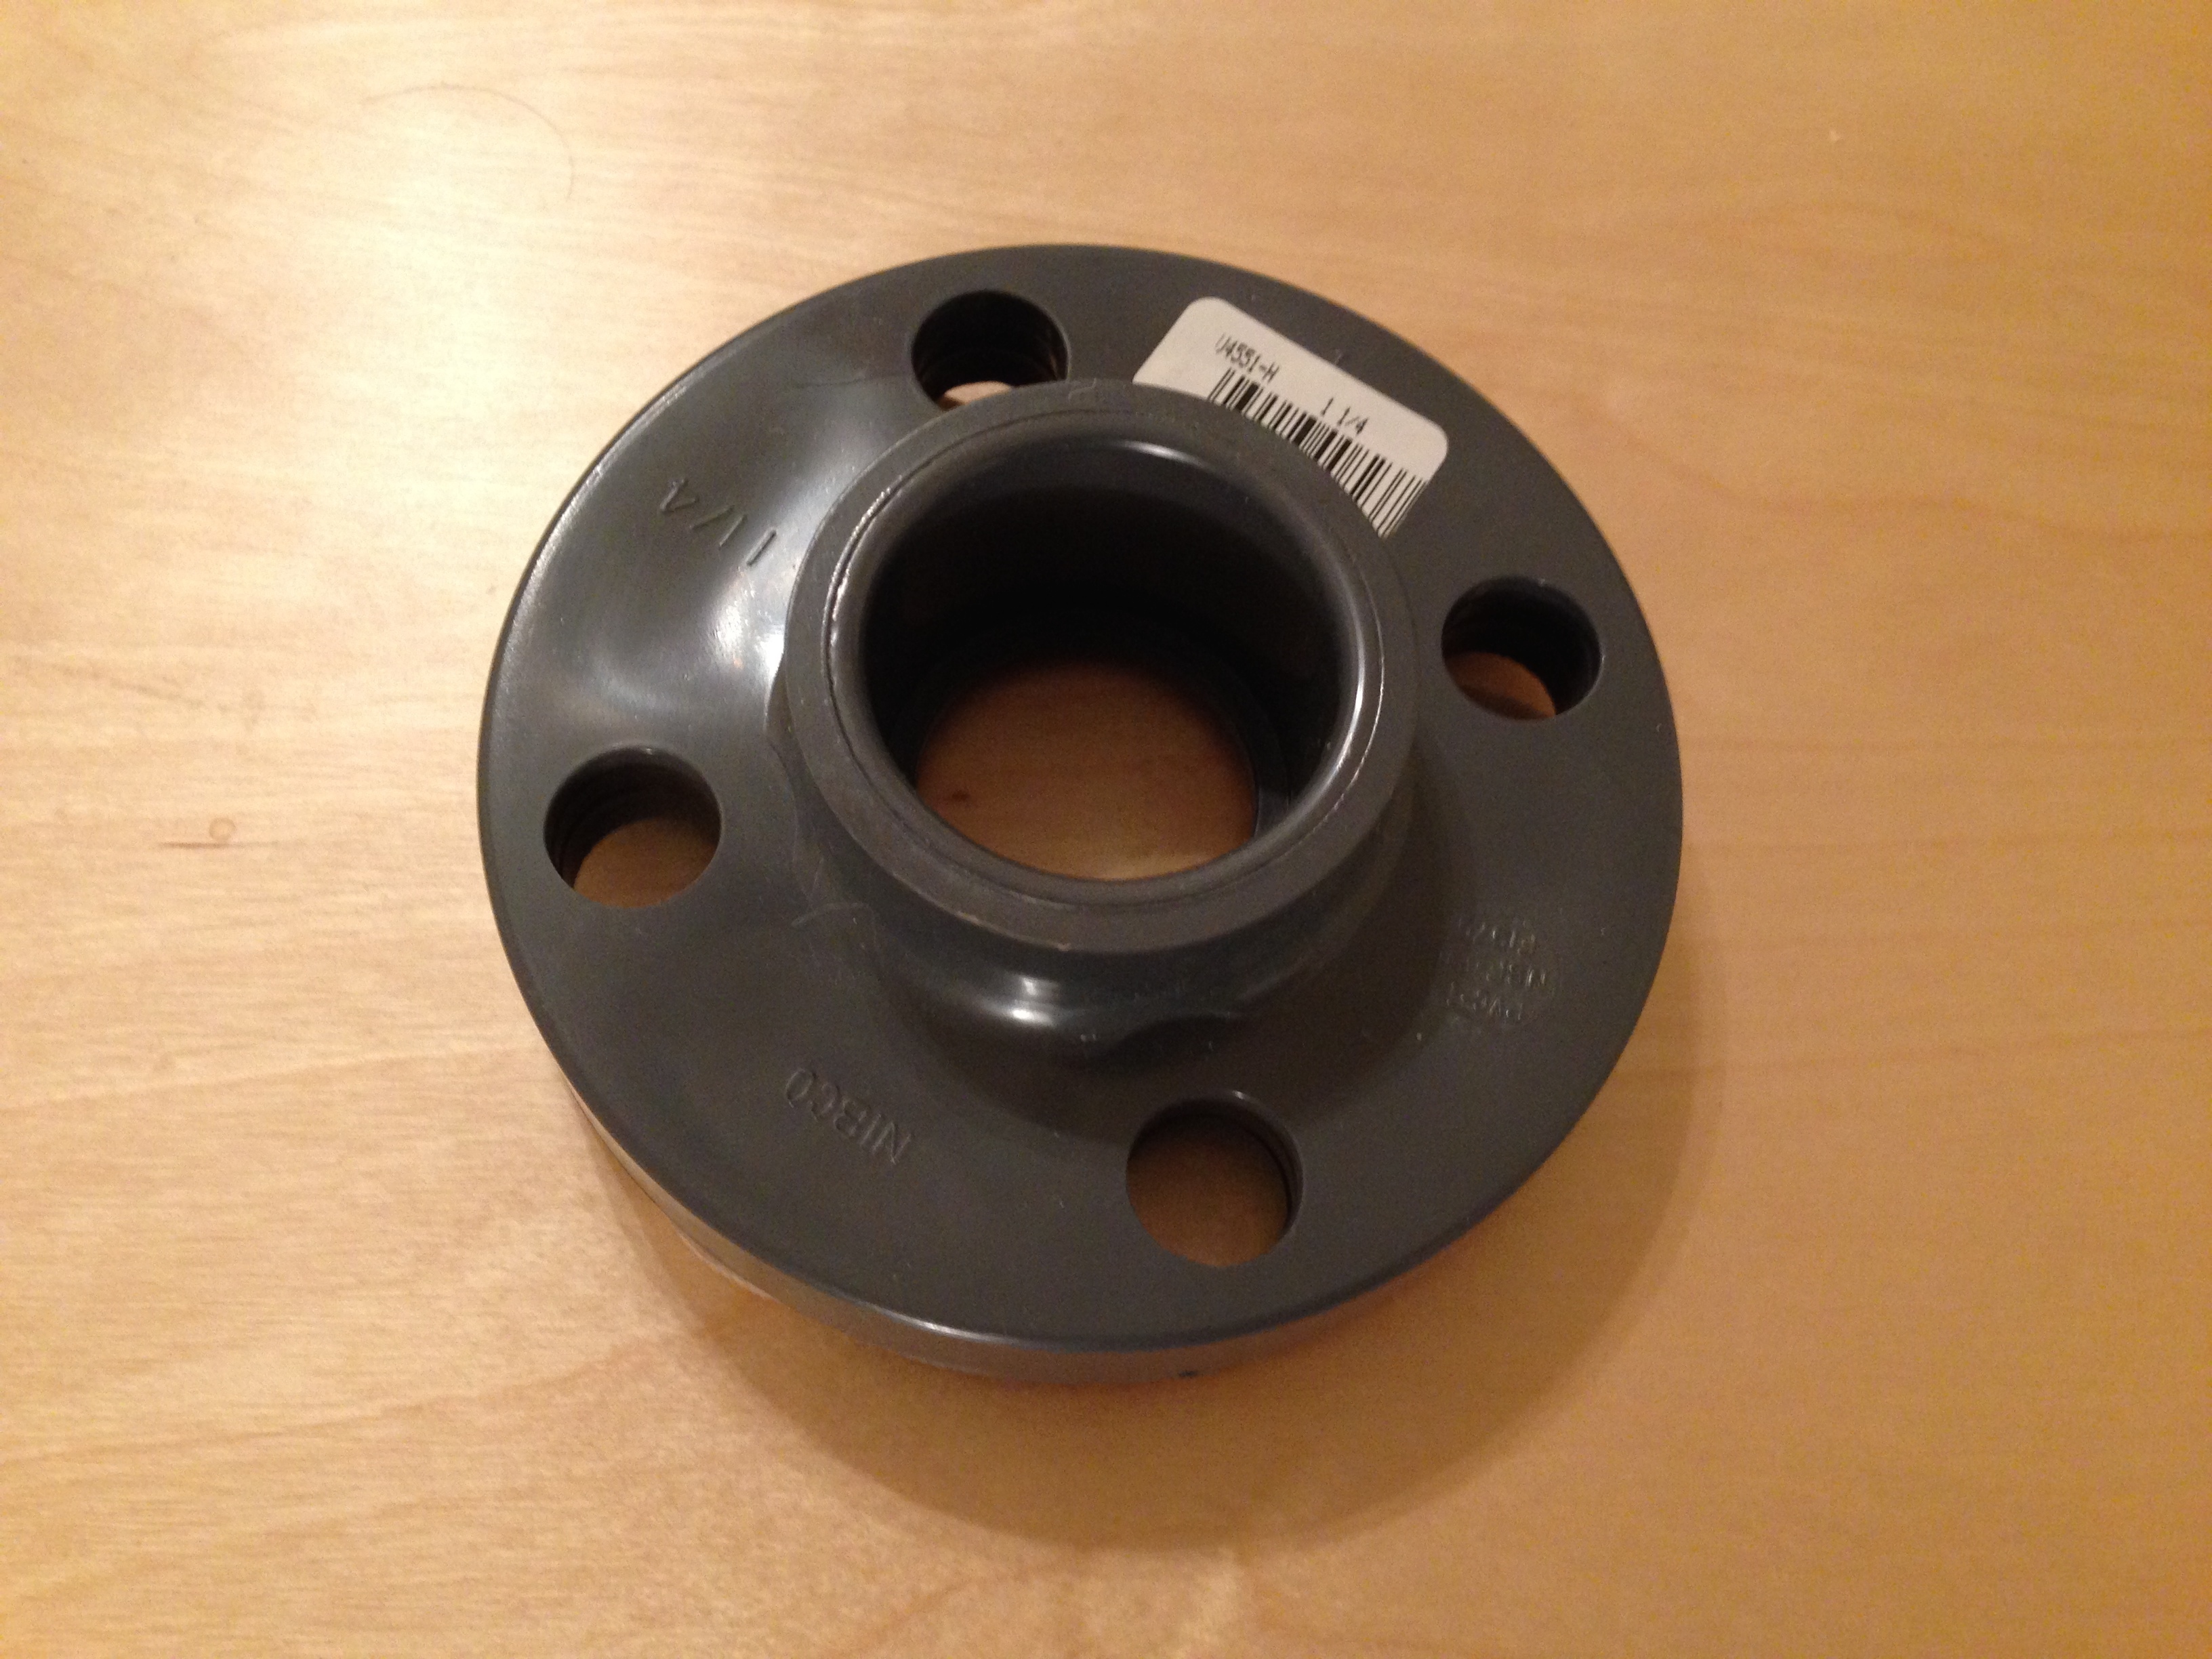
- A Heavy PVC Flange for 1-1/4" pipe. It will provide the base for the stand.
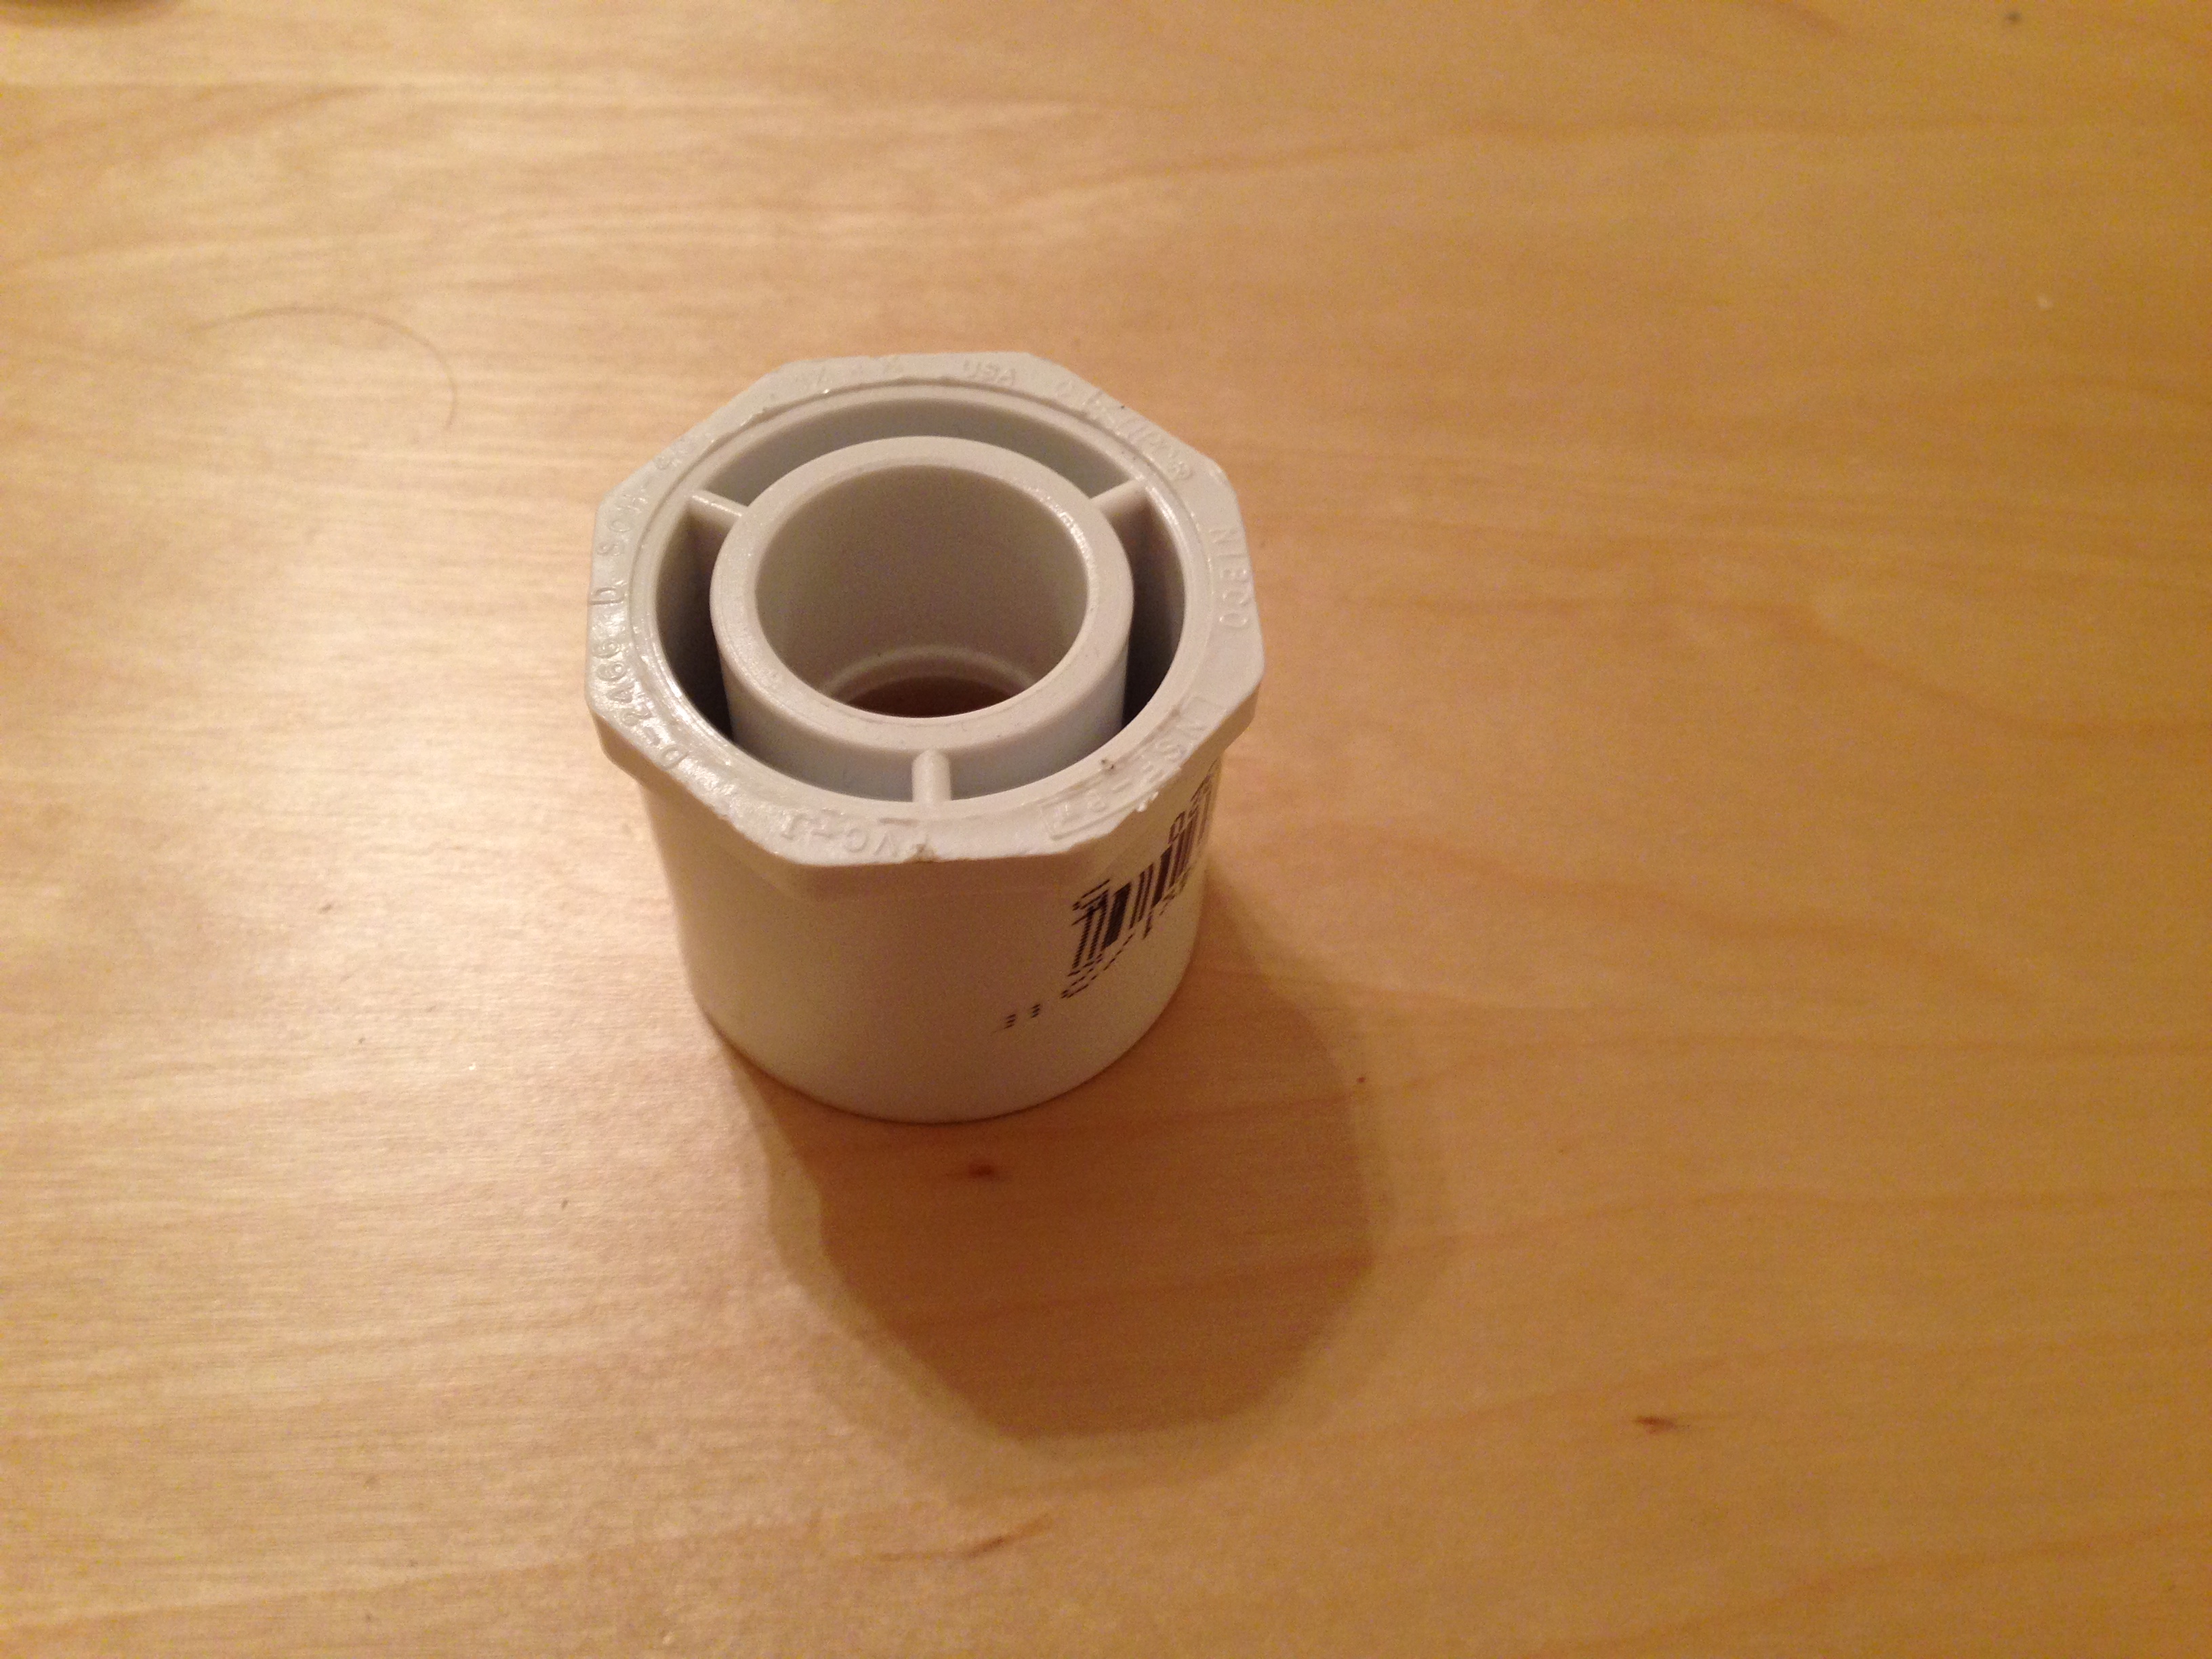
- A 1-1/4" to 1/2" reducer. It will adapt the large hole in the flange to the PVC pipe we make the stand from.
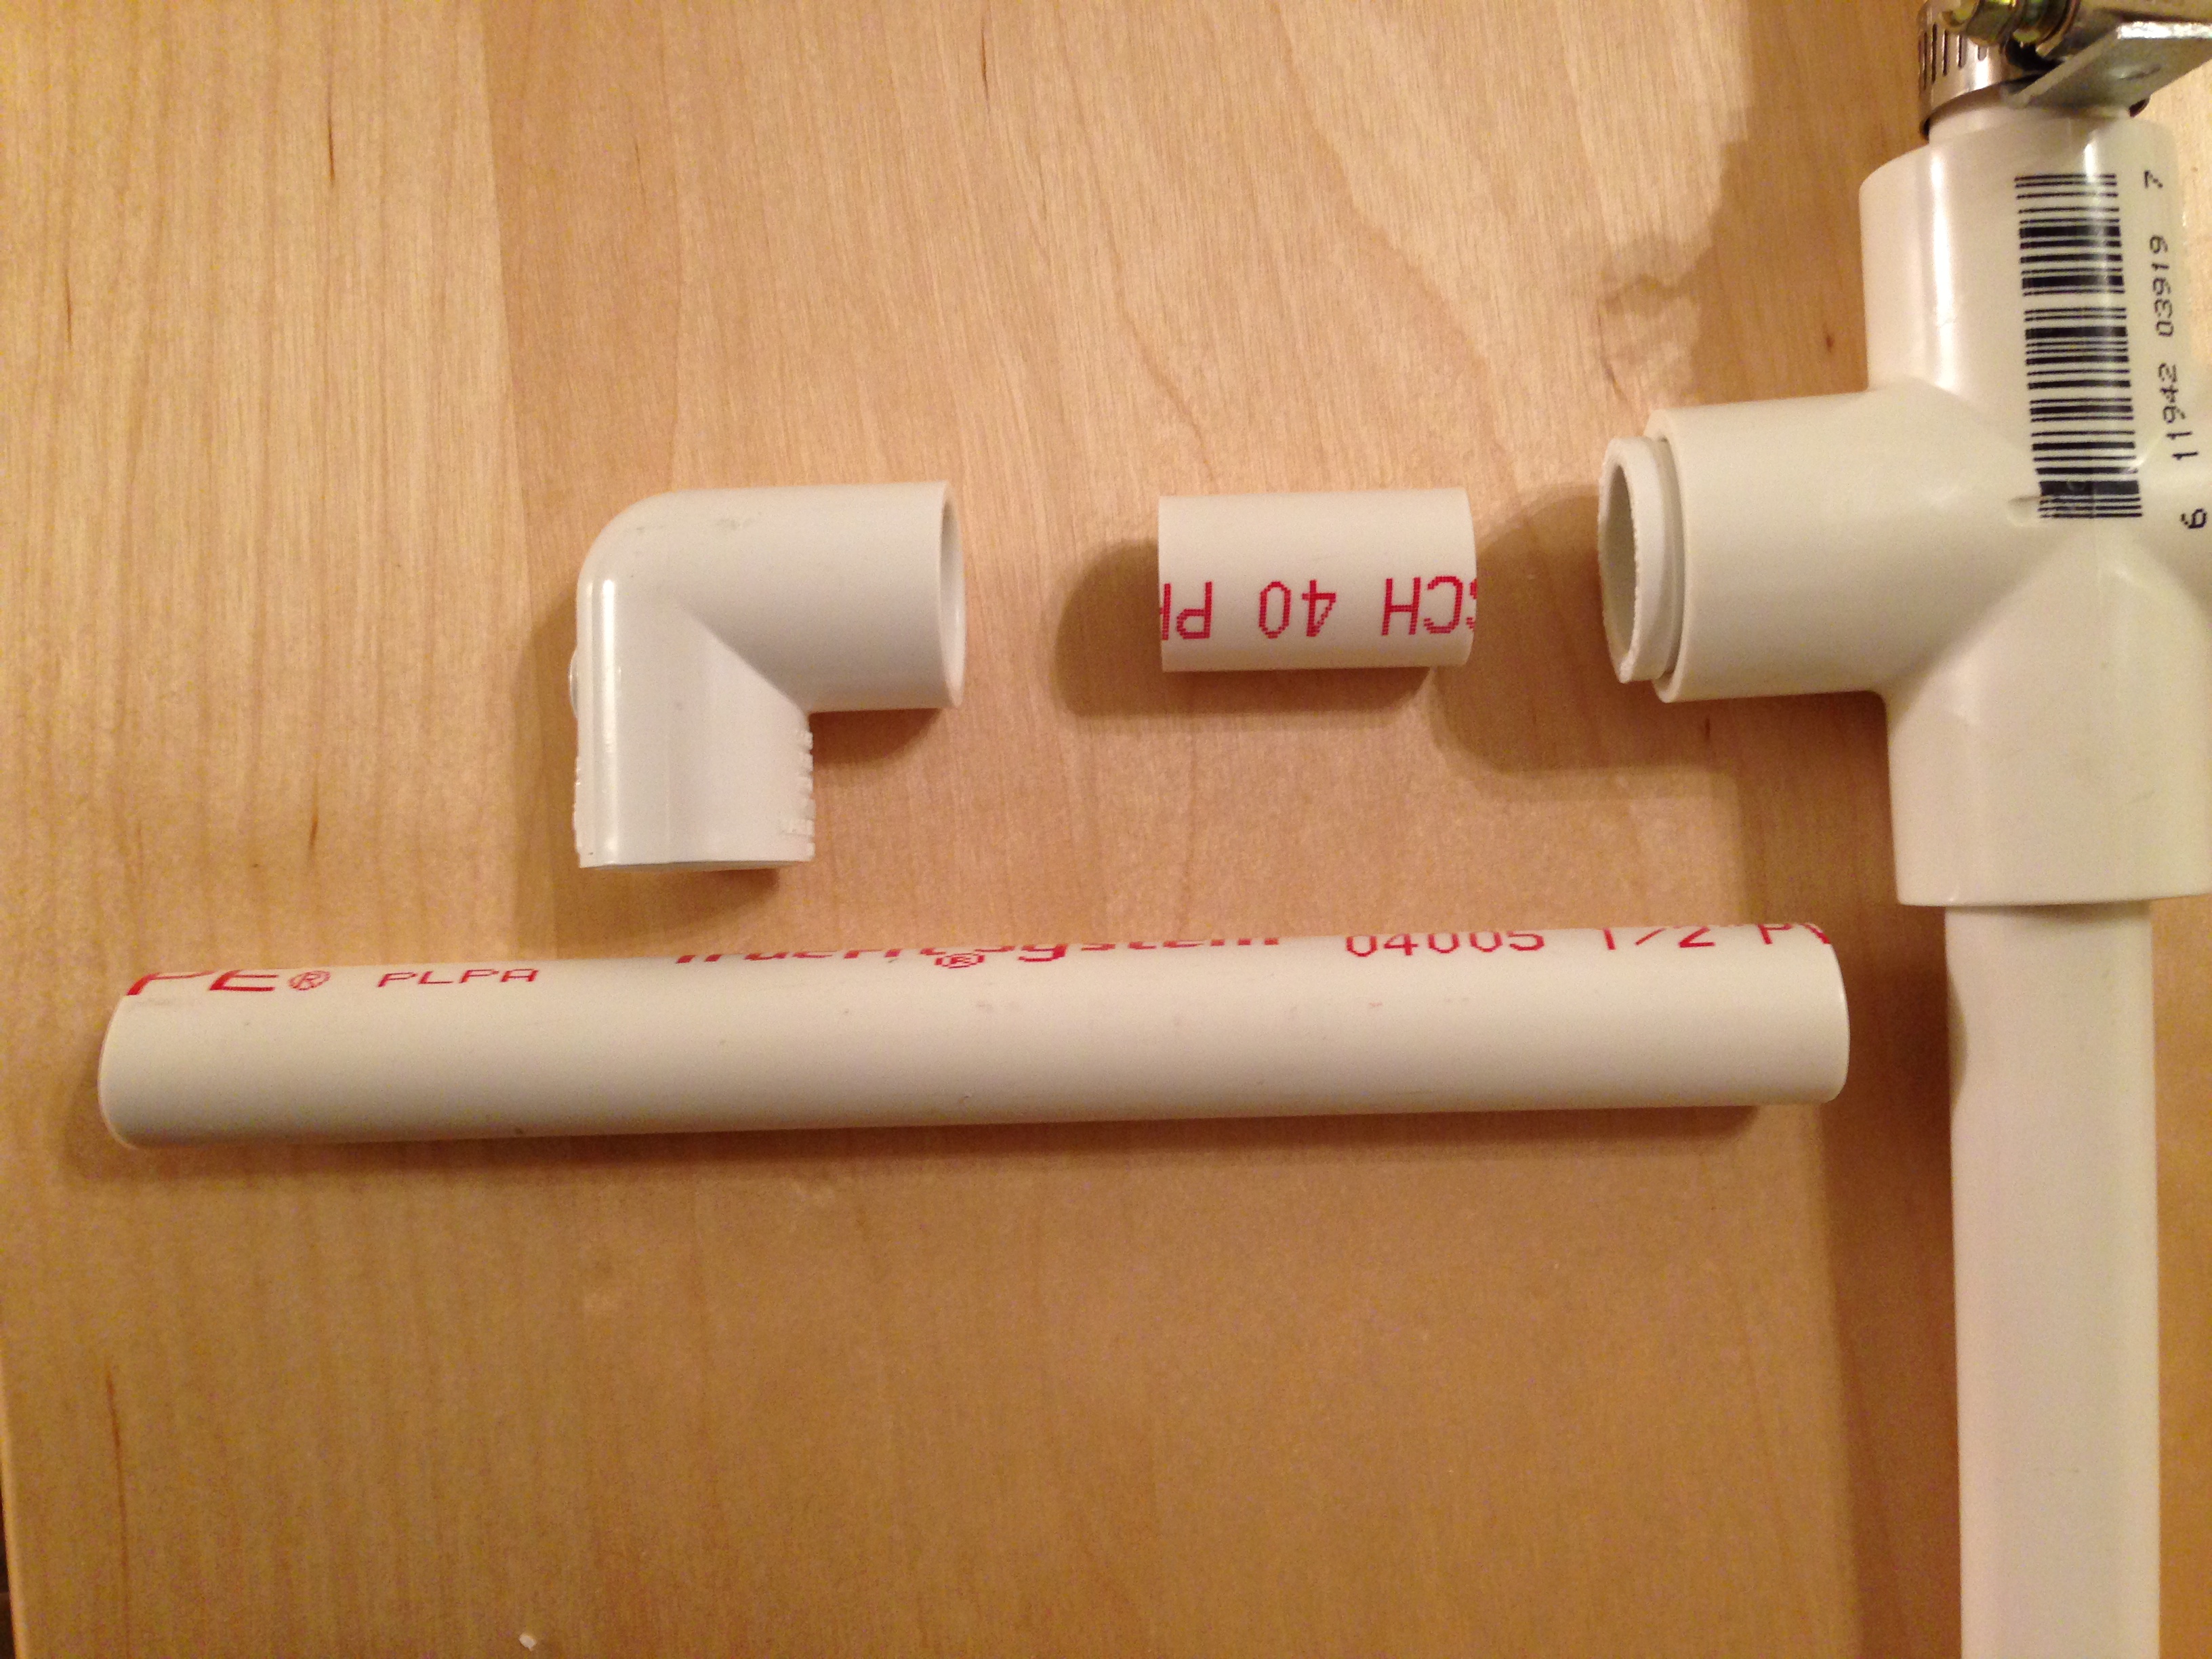
- A 4' piece of 1/2" PVC pipe. Note that CPVC pipe will be cream colored and slightly different in size. We want PVC pipe. We will cut this into a 2' piece for the stand, a 1' piece for the camera arm, and a 9" and 3" piece to hold the counterweights. Cost: $4
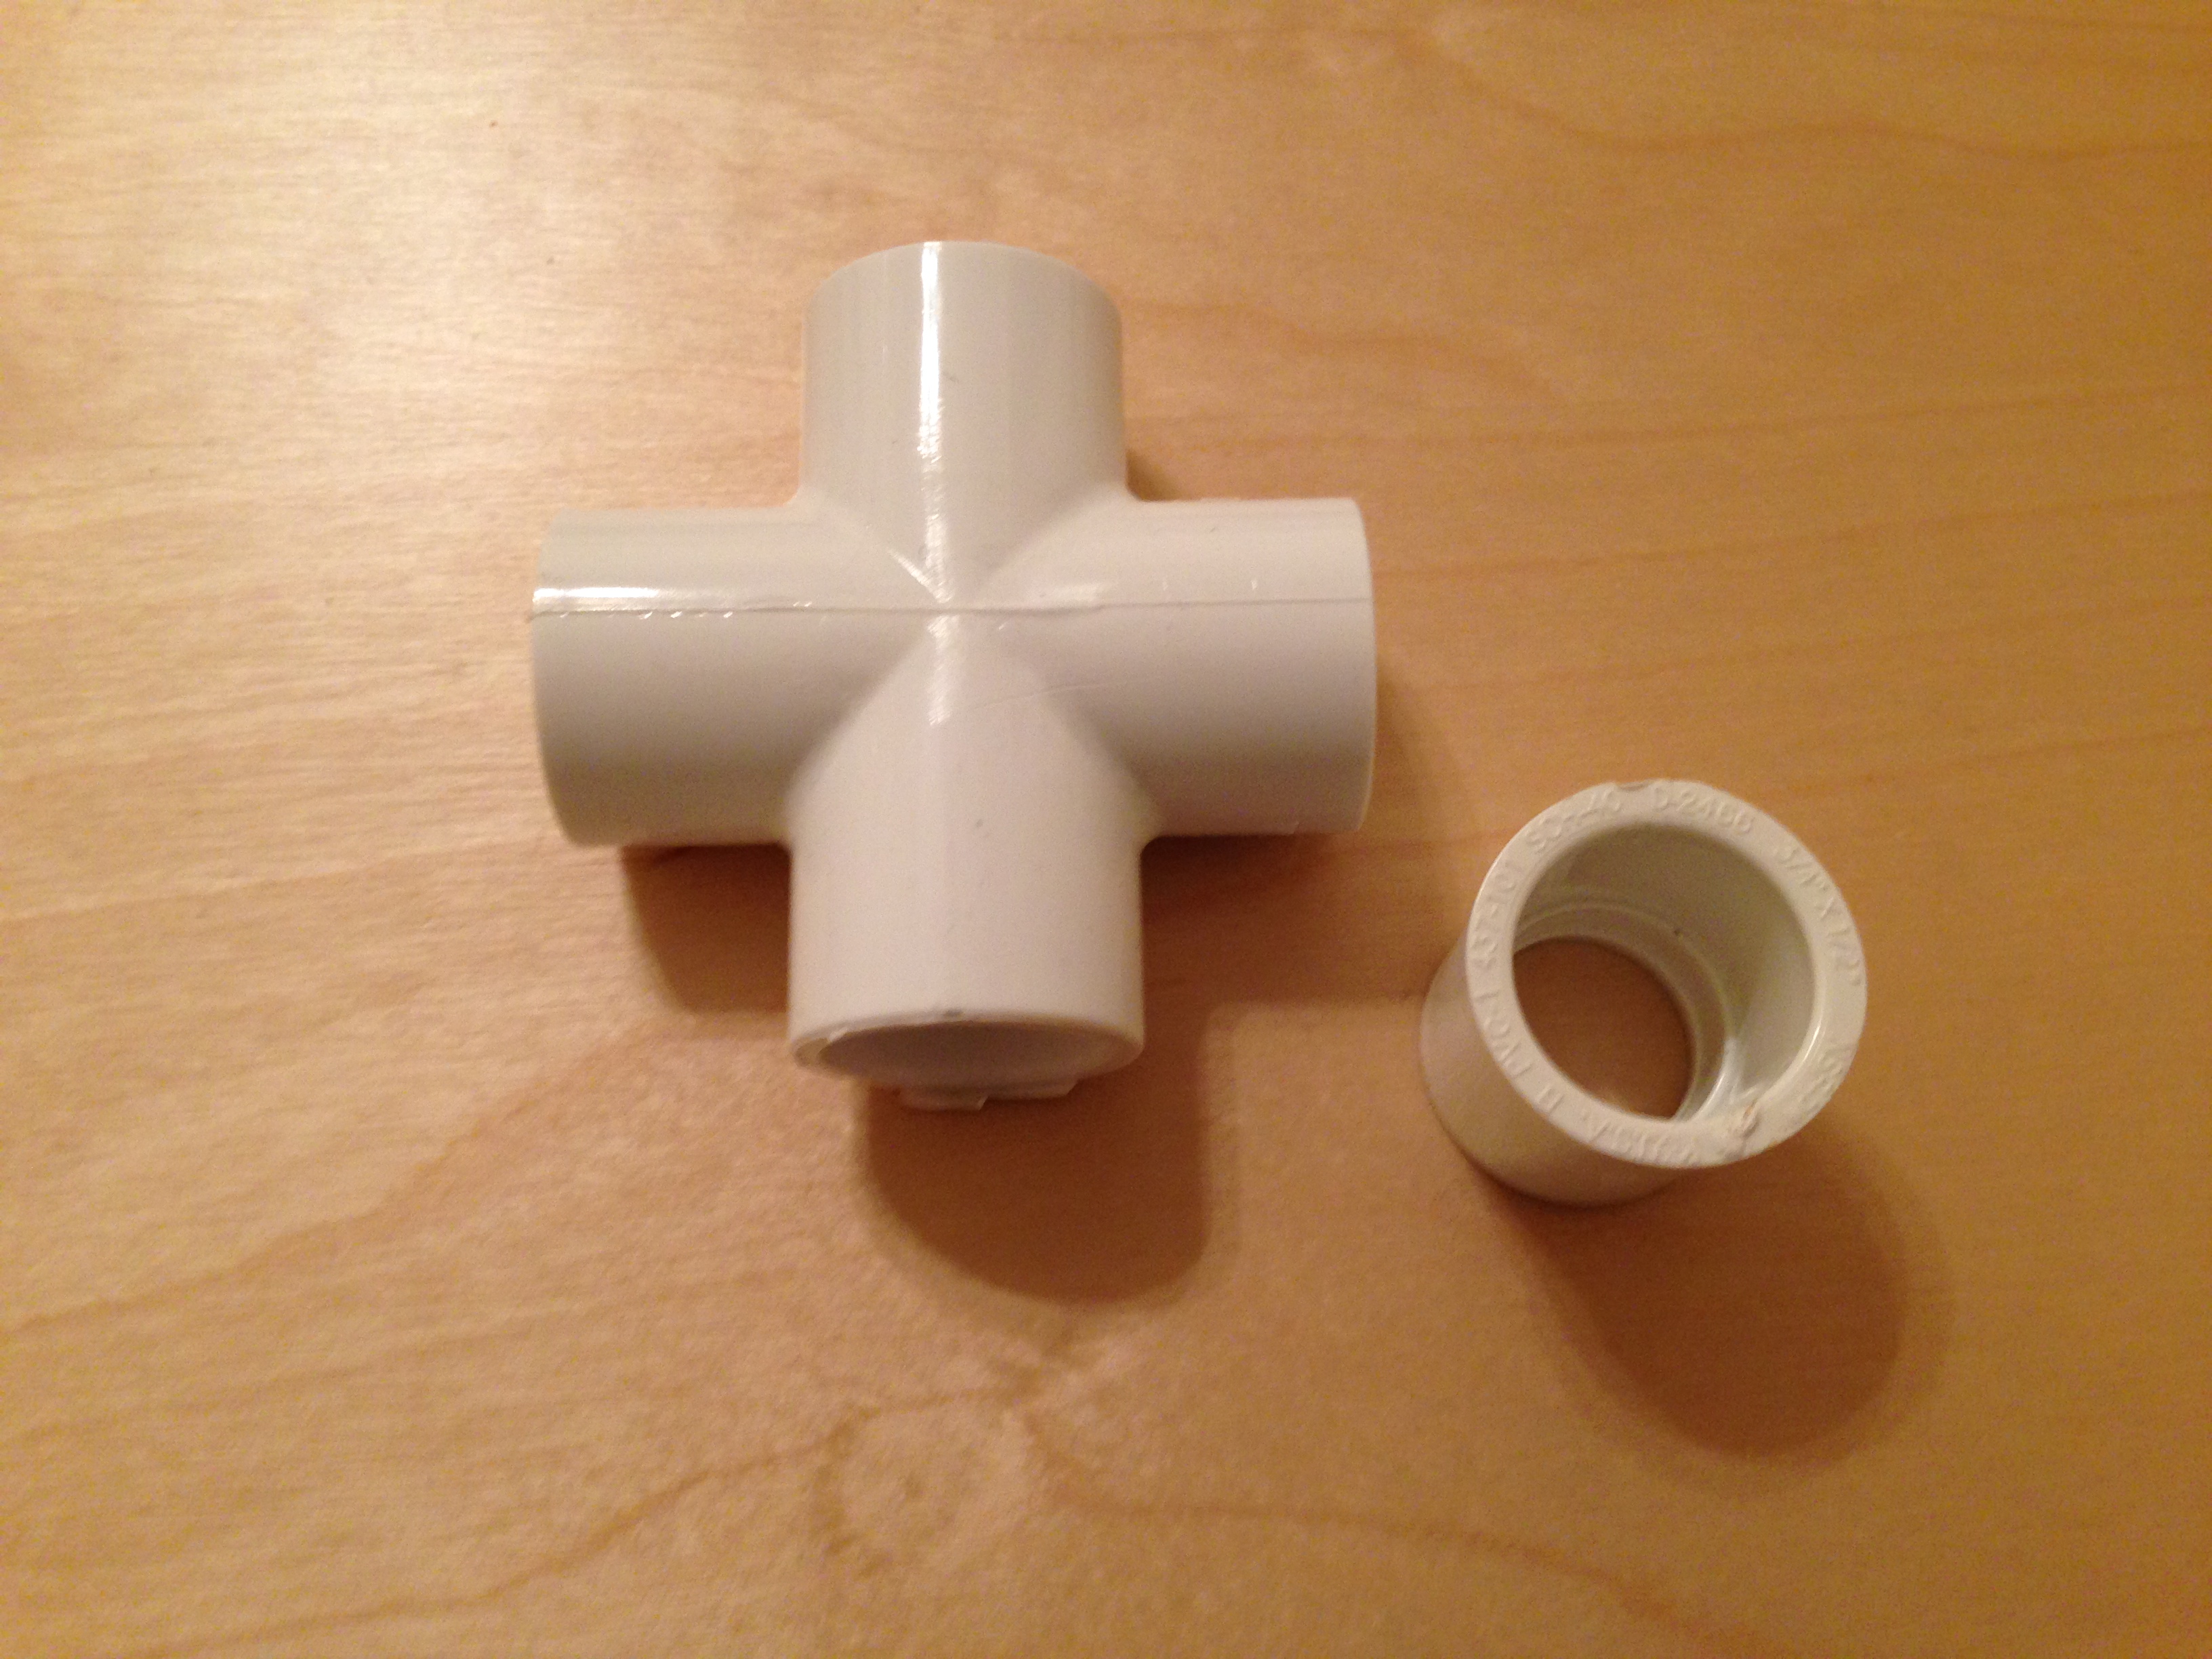
- A 3/4" PVC Cross (the four way fitting in the middle). We need a 3/4" cross so it slides easily over the 1/2" pipe.
- 2 3/4" to 1/2" reducers. This will let us attach 1/2" PVC pipe arms into the left and right side of the 3/4" PVC 4way cross.
- Misc. Hardware
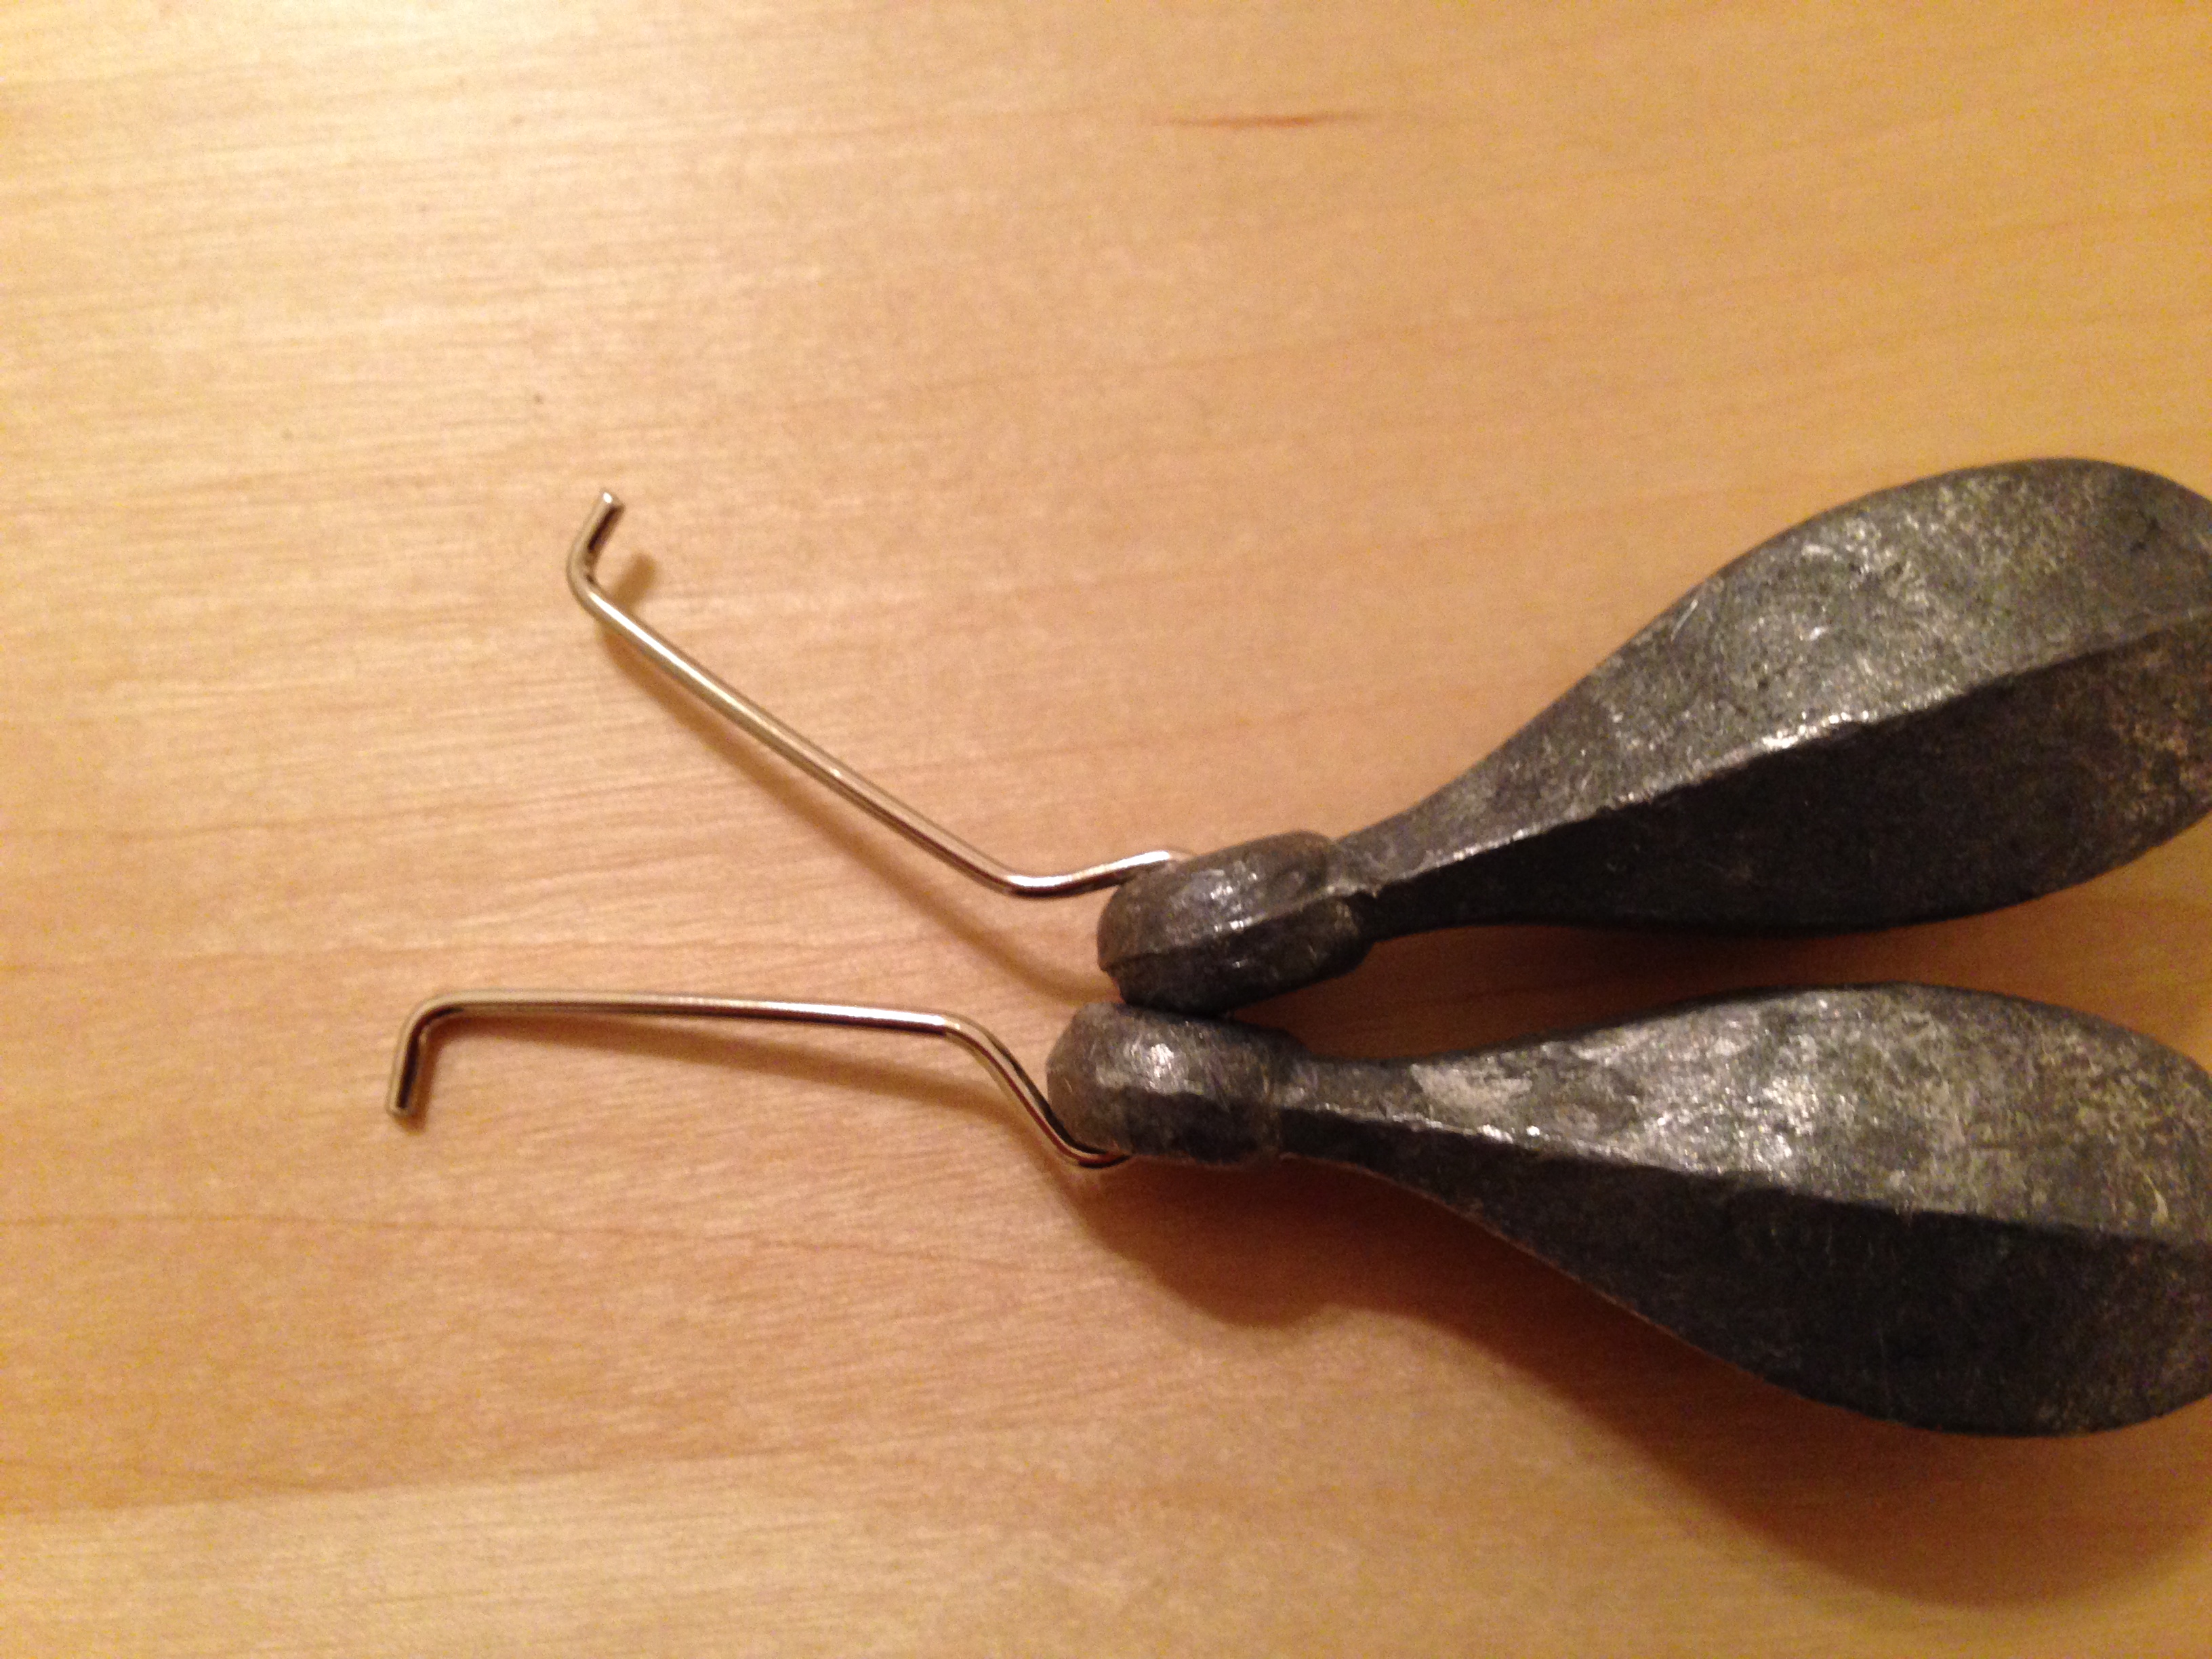
- A couple 3oz lead weights.
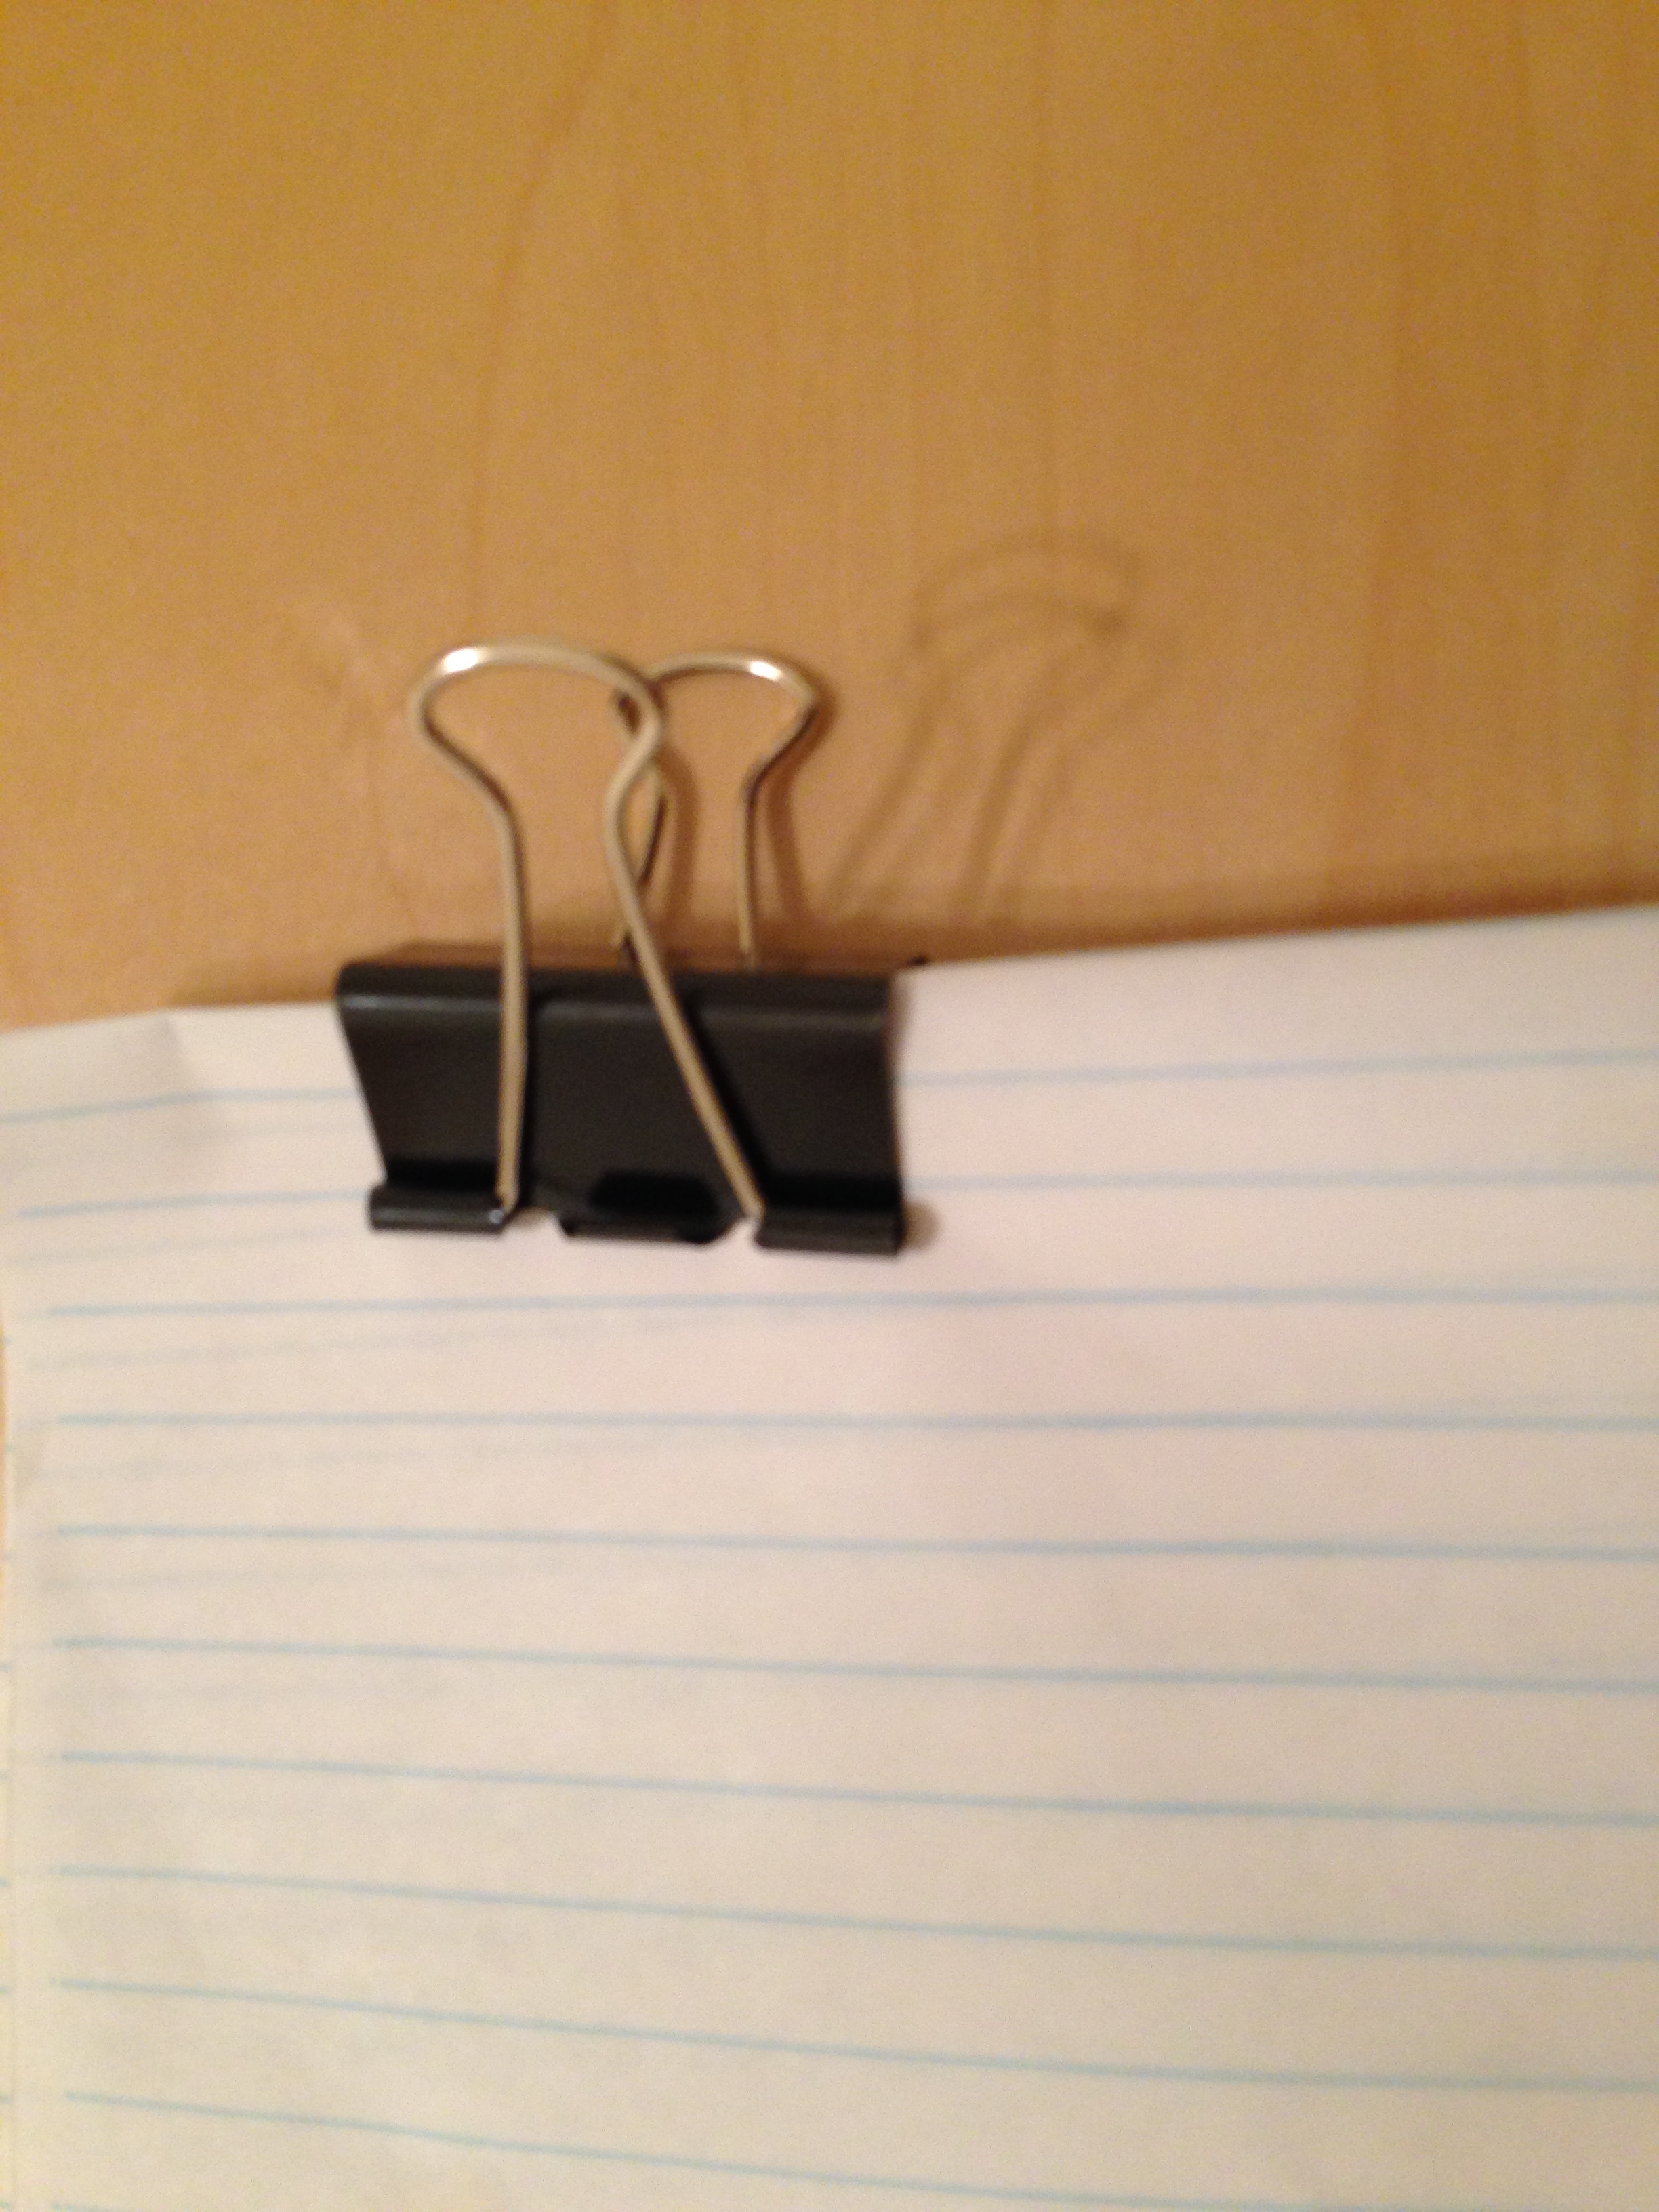
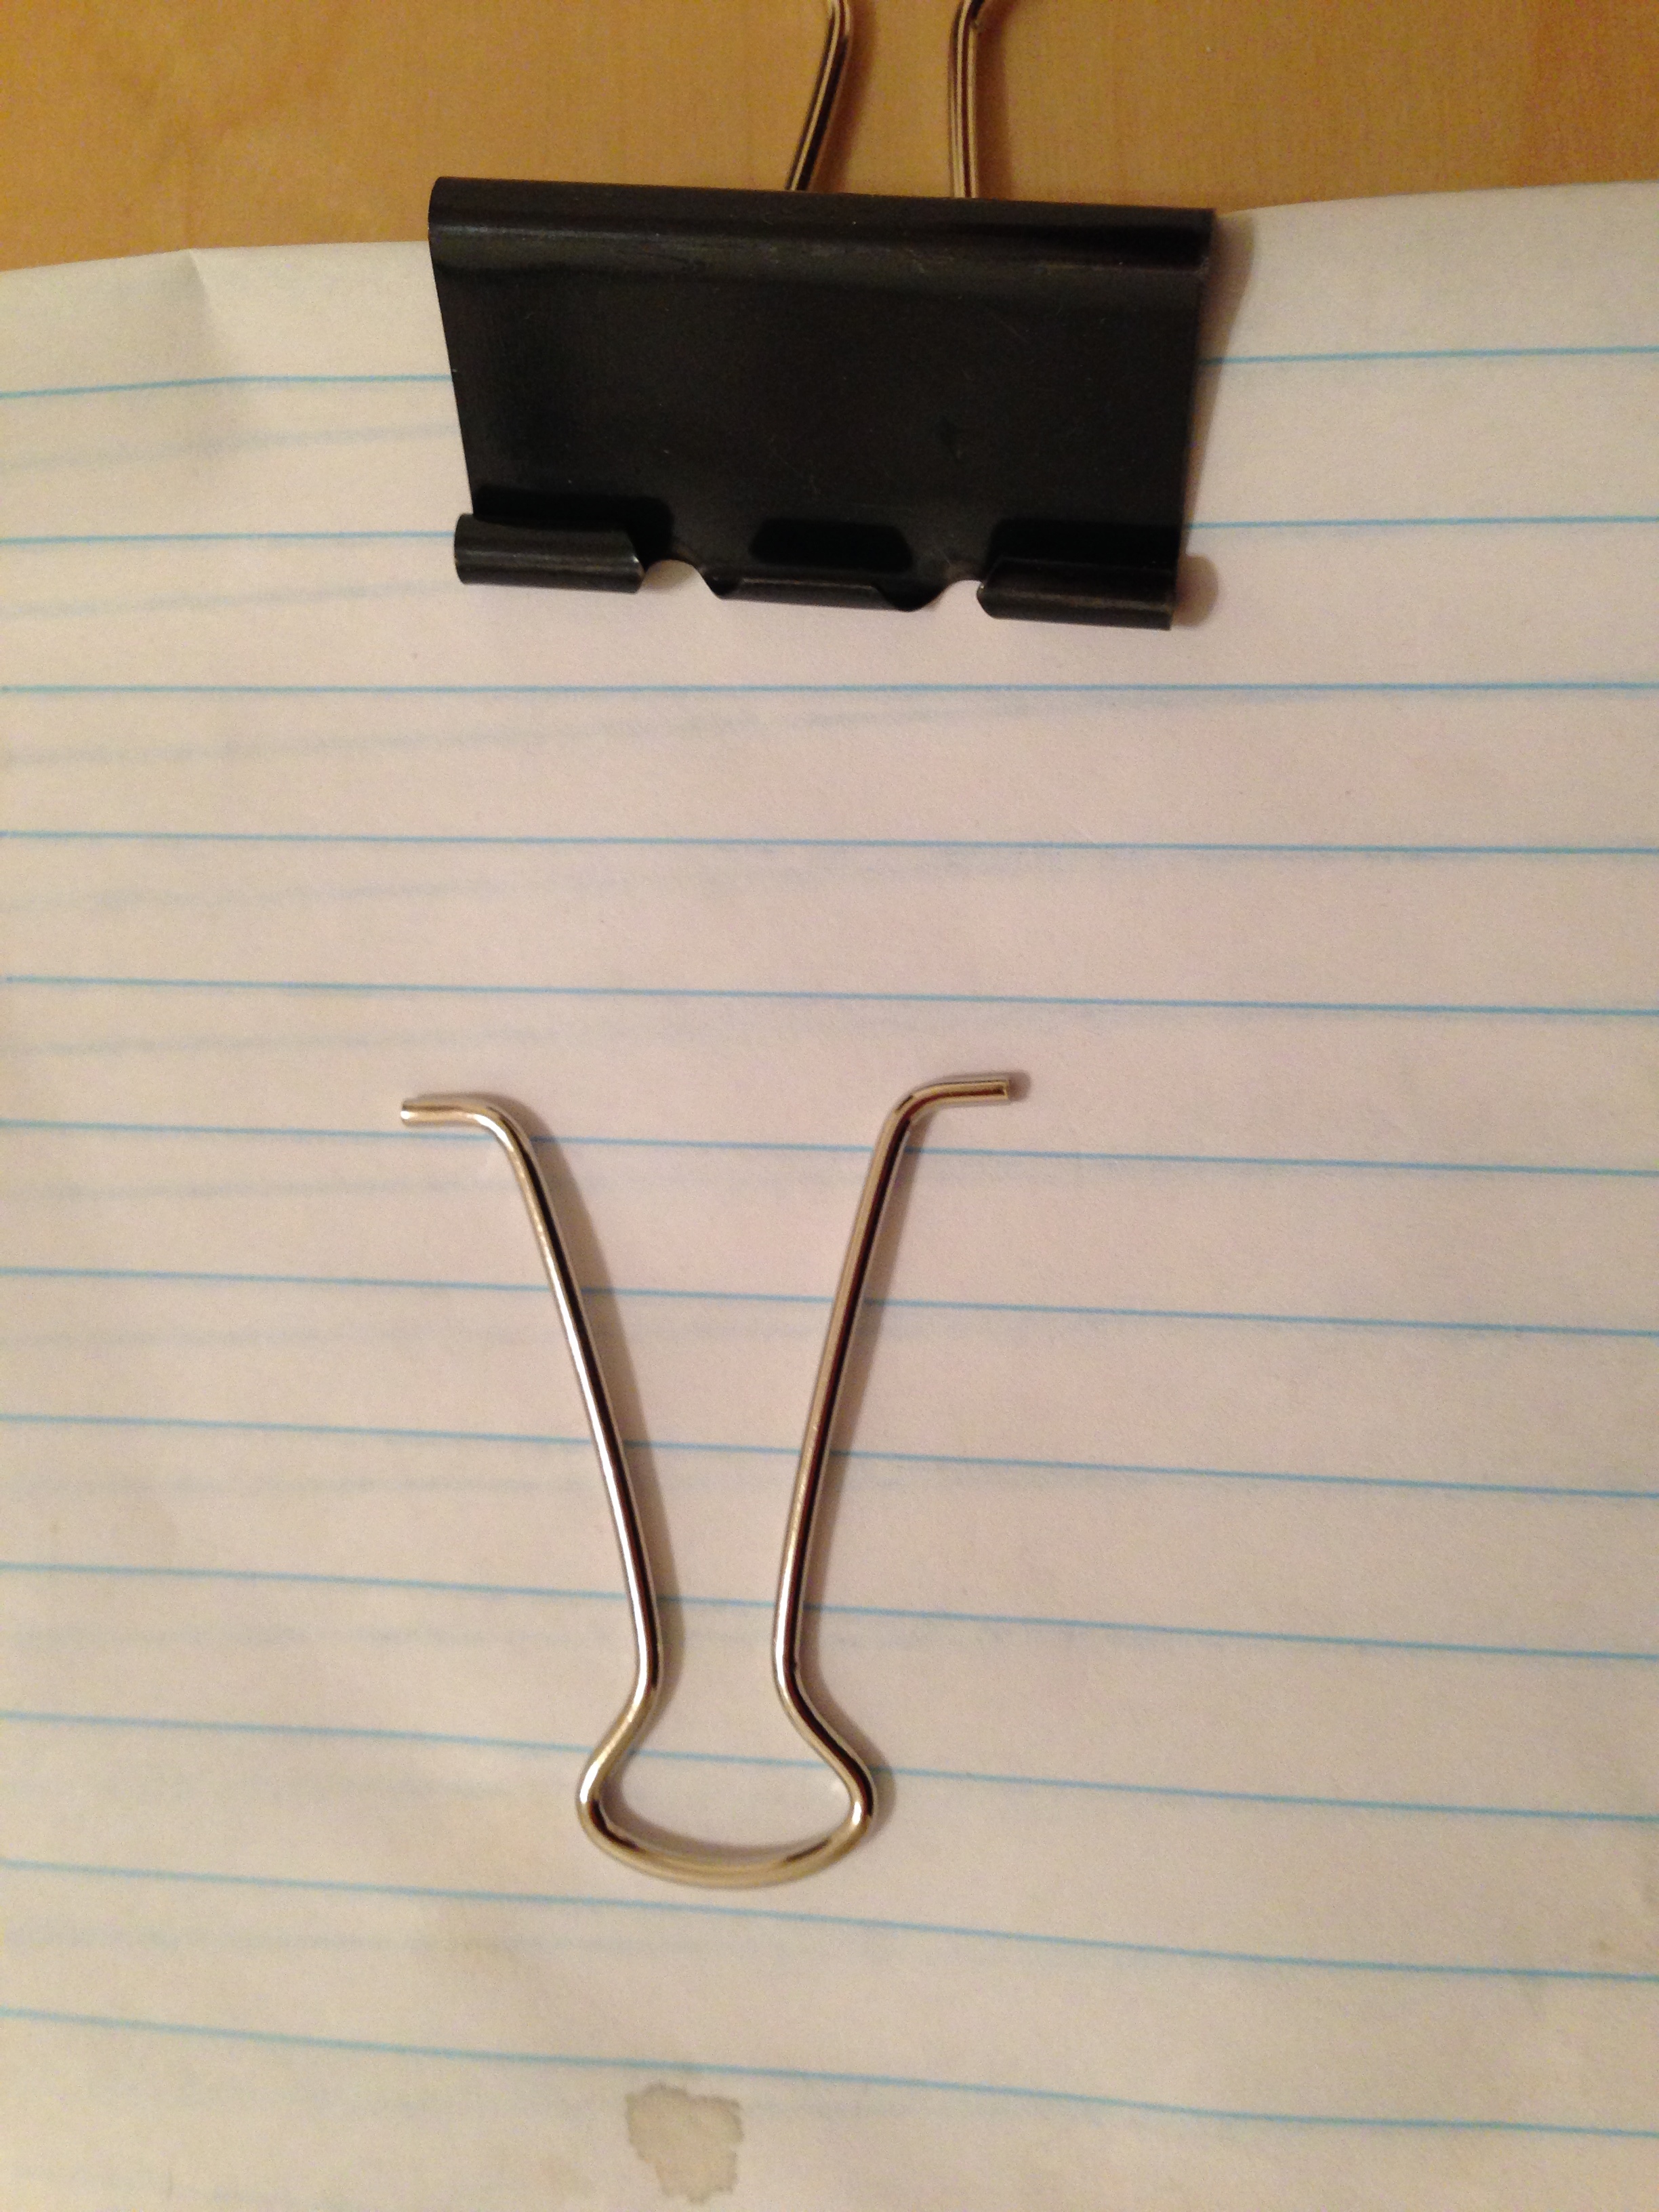
- A large binder clip
- Two 1" or so pipe clamps
- A four pack of furniture glides to put under the base
- A 1/4" x 20 hex hed cap screw, 3/4" long. This is the size of a standard camera mount.
- Two 1/4" x 20 nuts, one to hold the bolt into the cap, and one to lock the web-camera onto the end of the bolt.
- A pack of L brackets, some tie wraps, and some packing foam used for packing plates when moving, or something similar.
-
- Construction Details
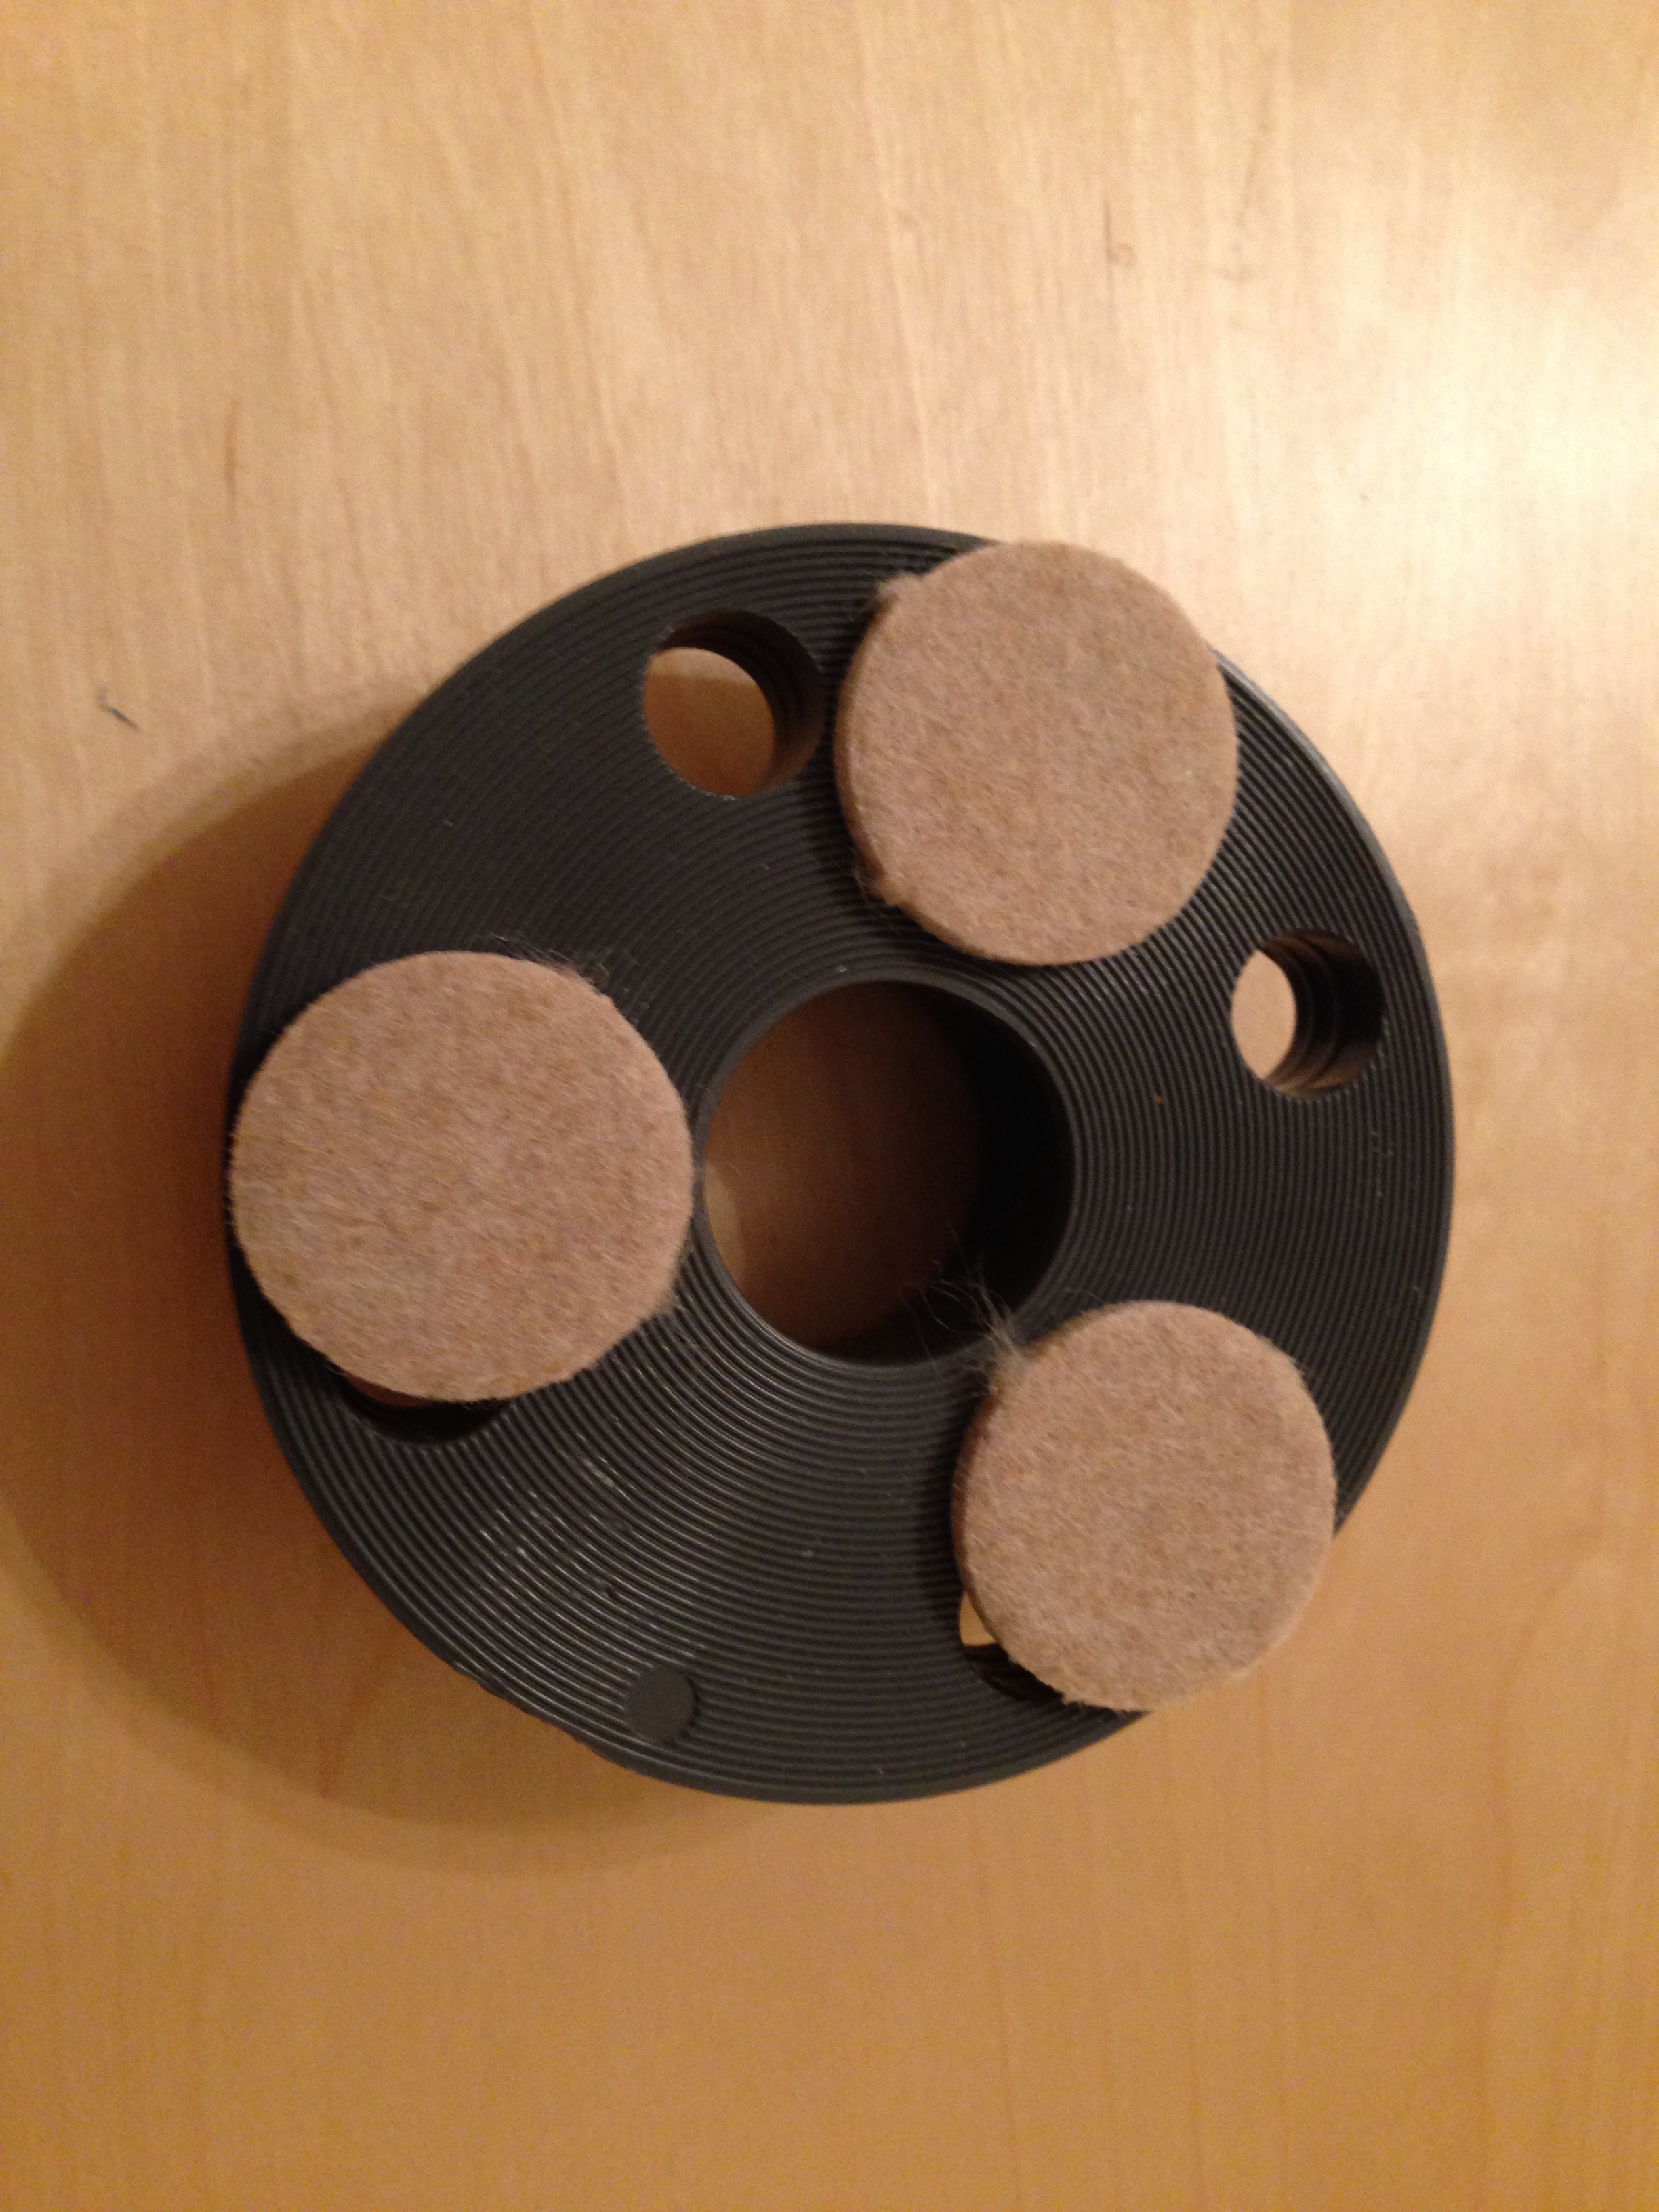
- Place 3 Furniture Glides on the base of the Flange
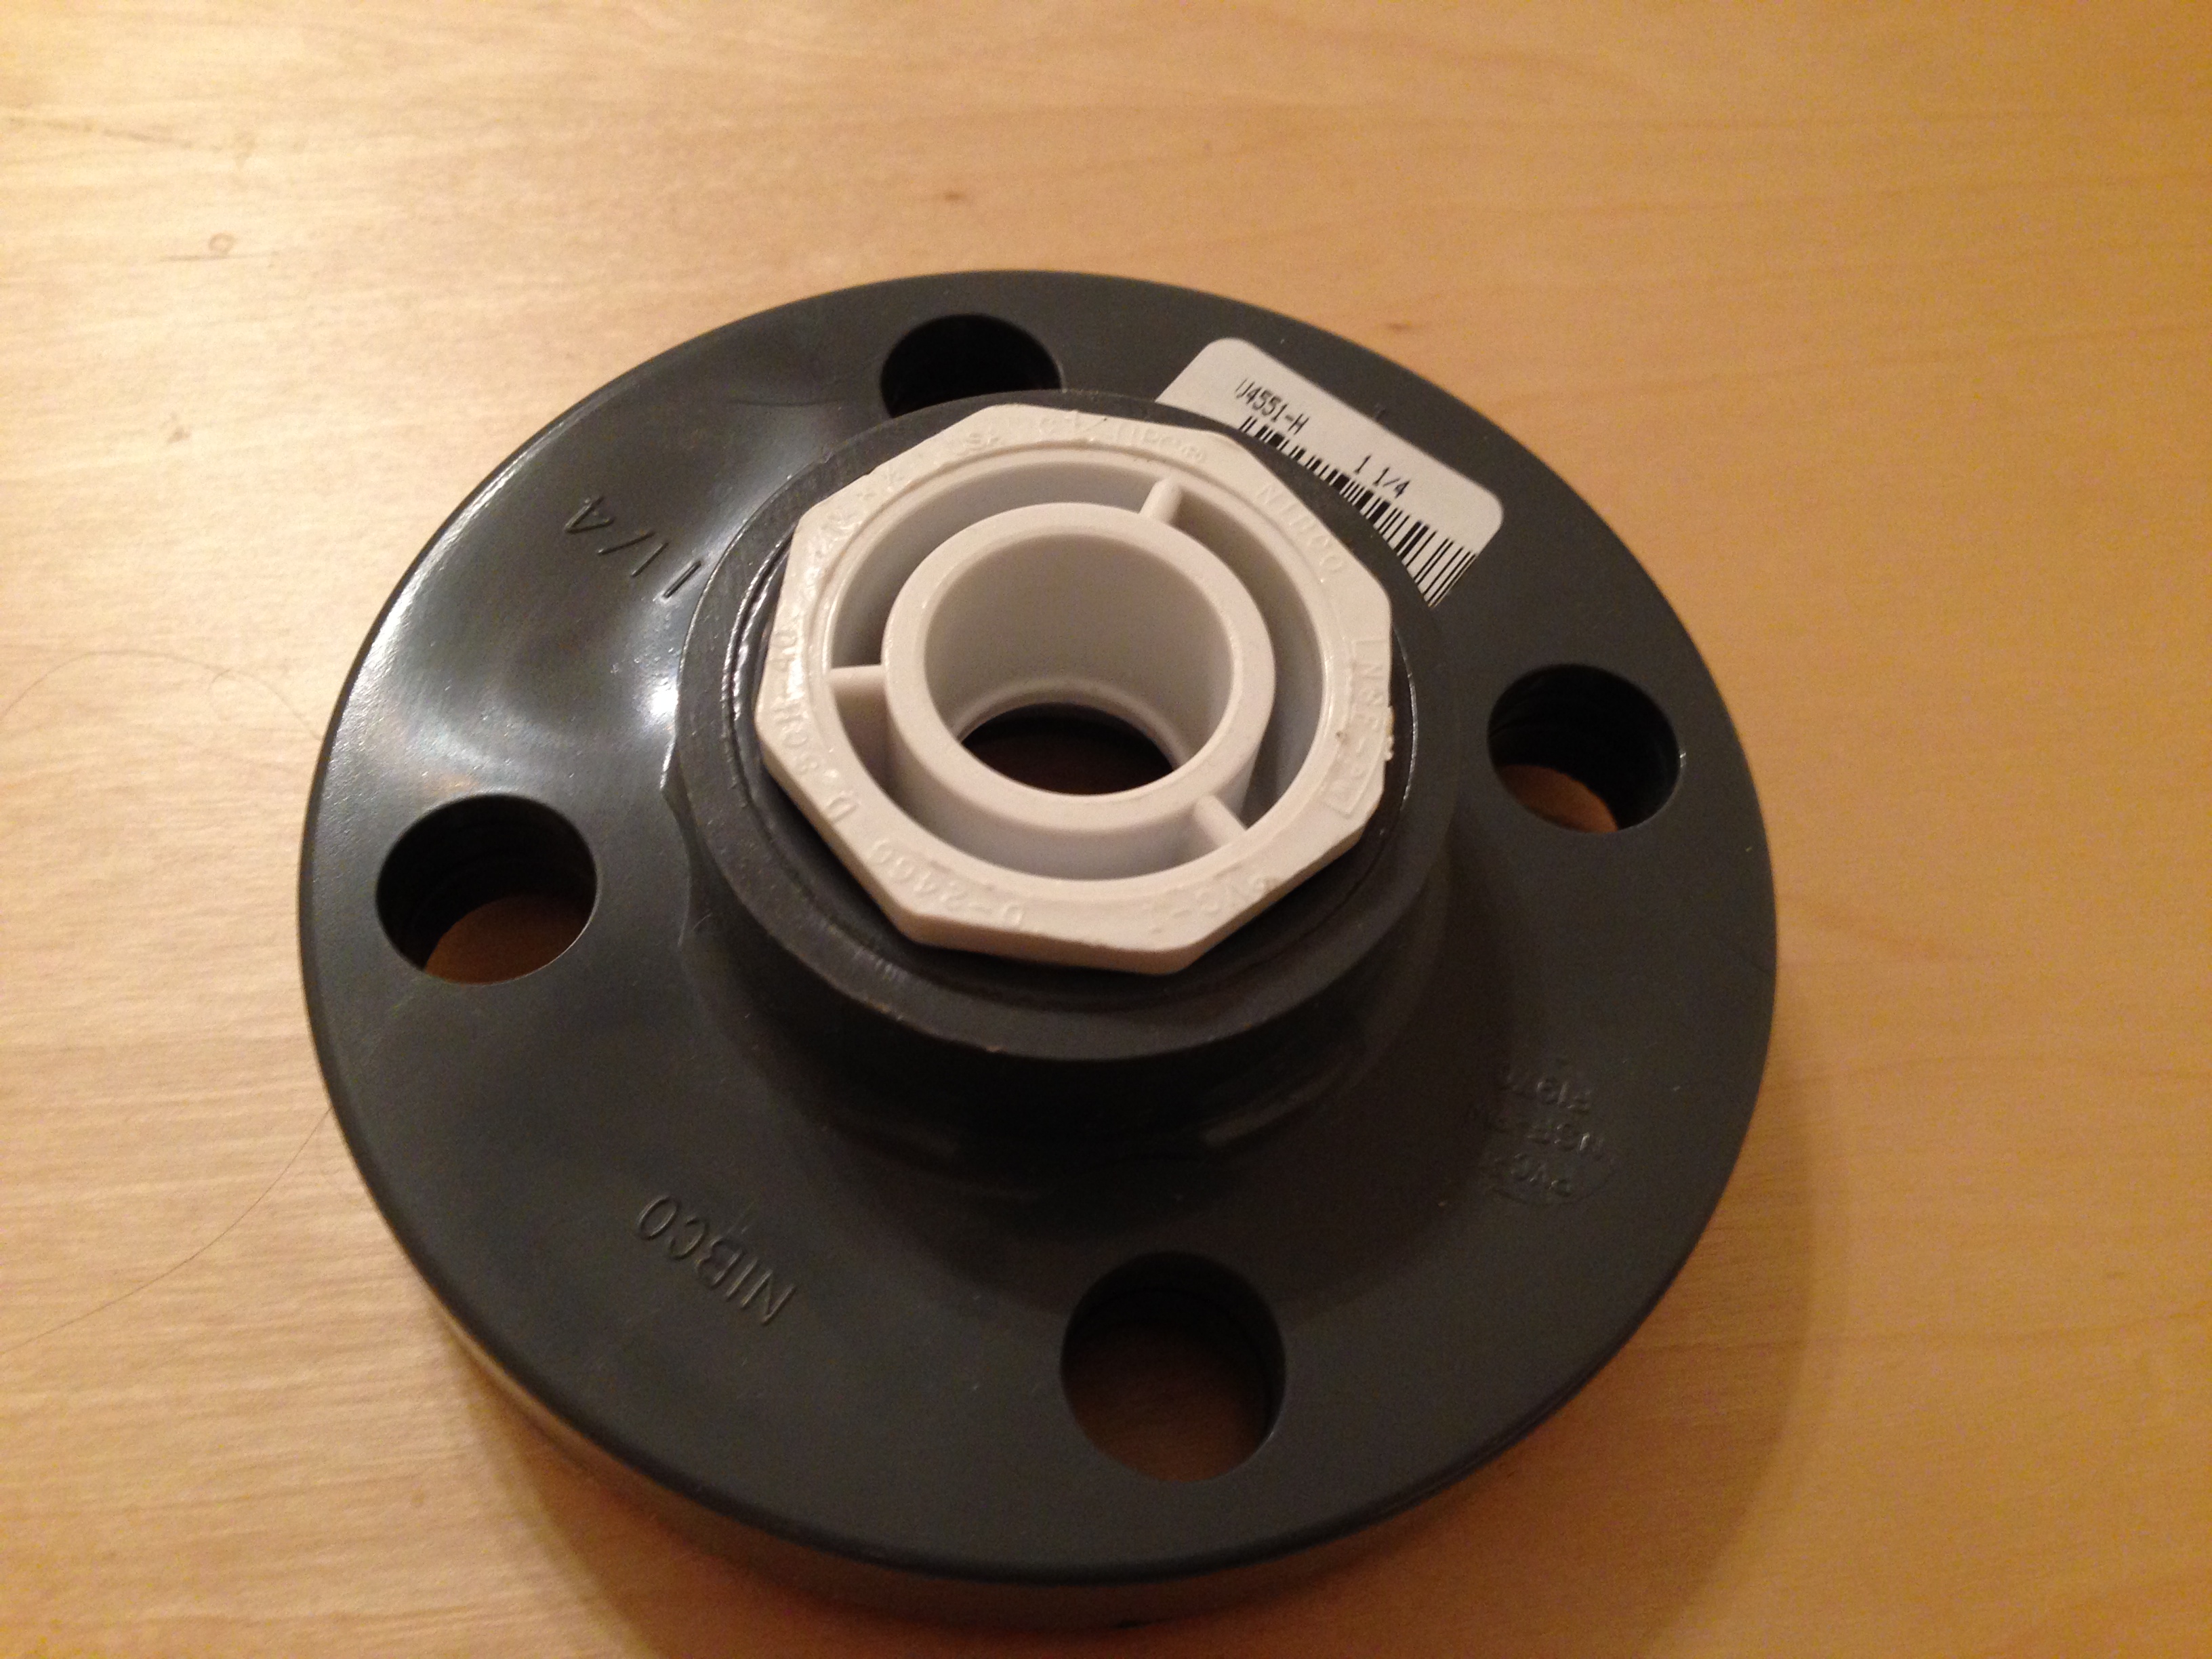
- Place the reducer into the flange
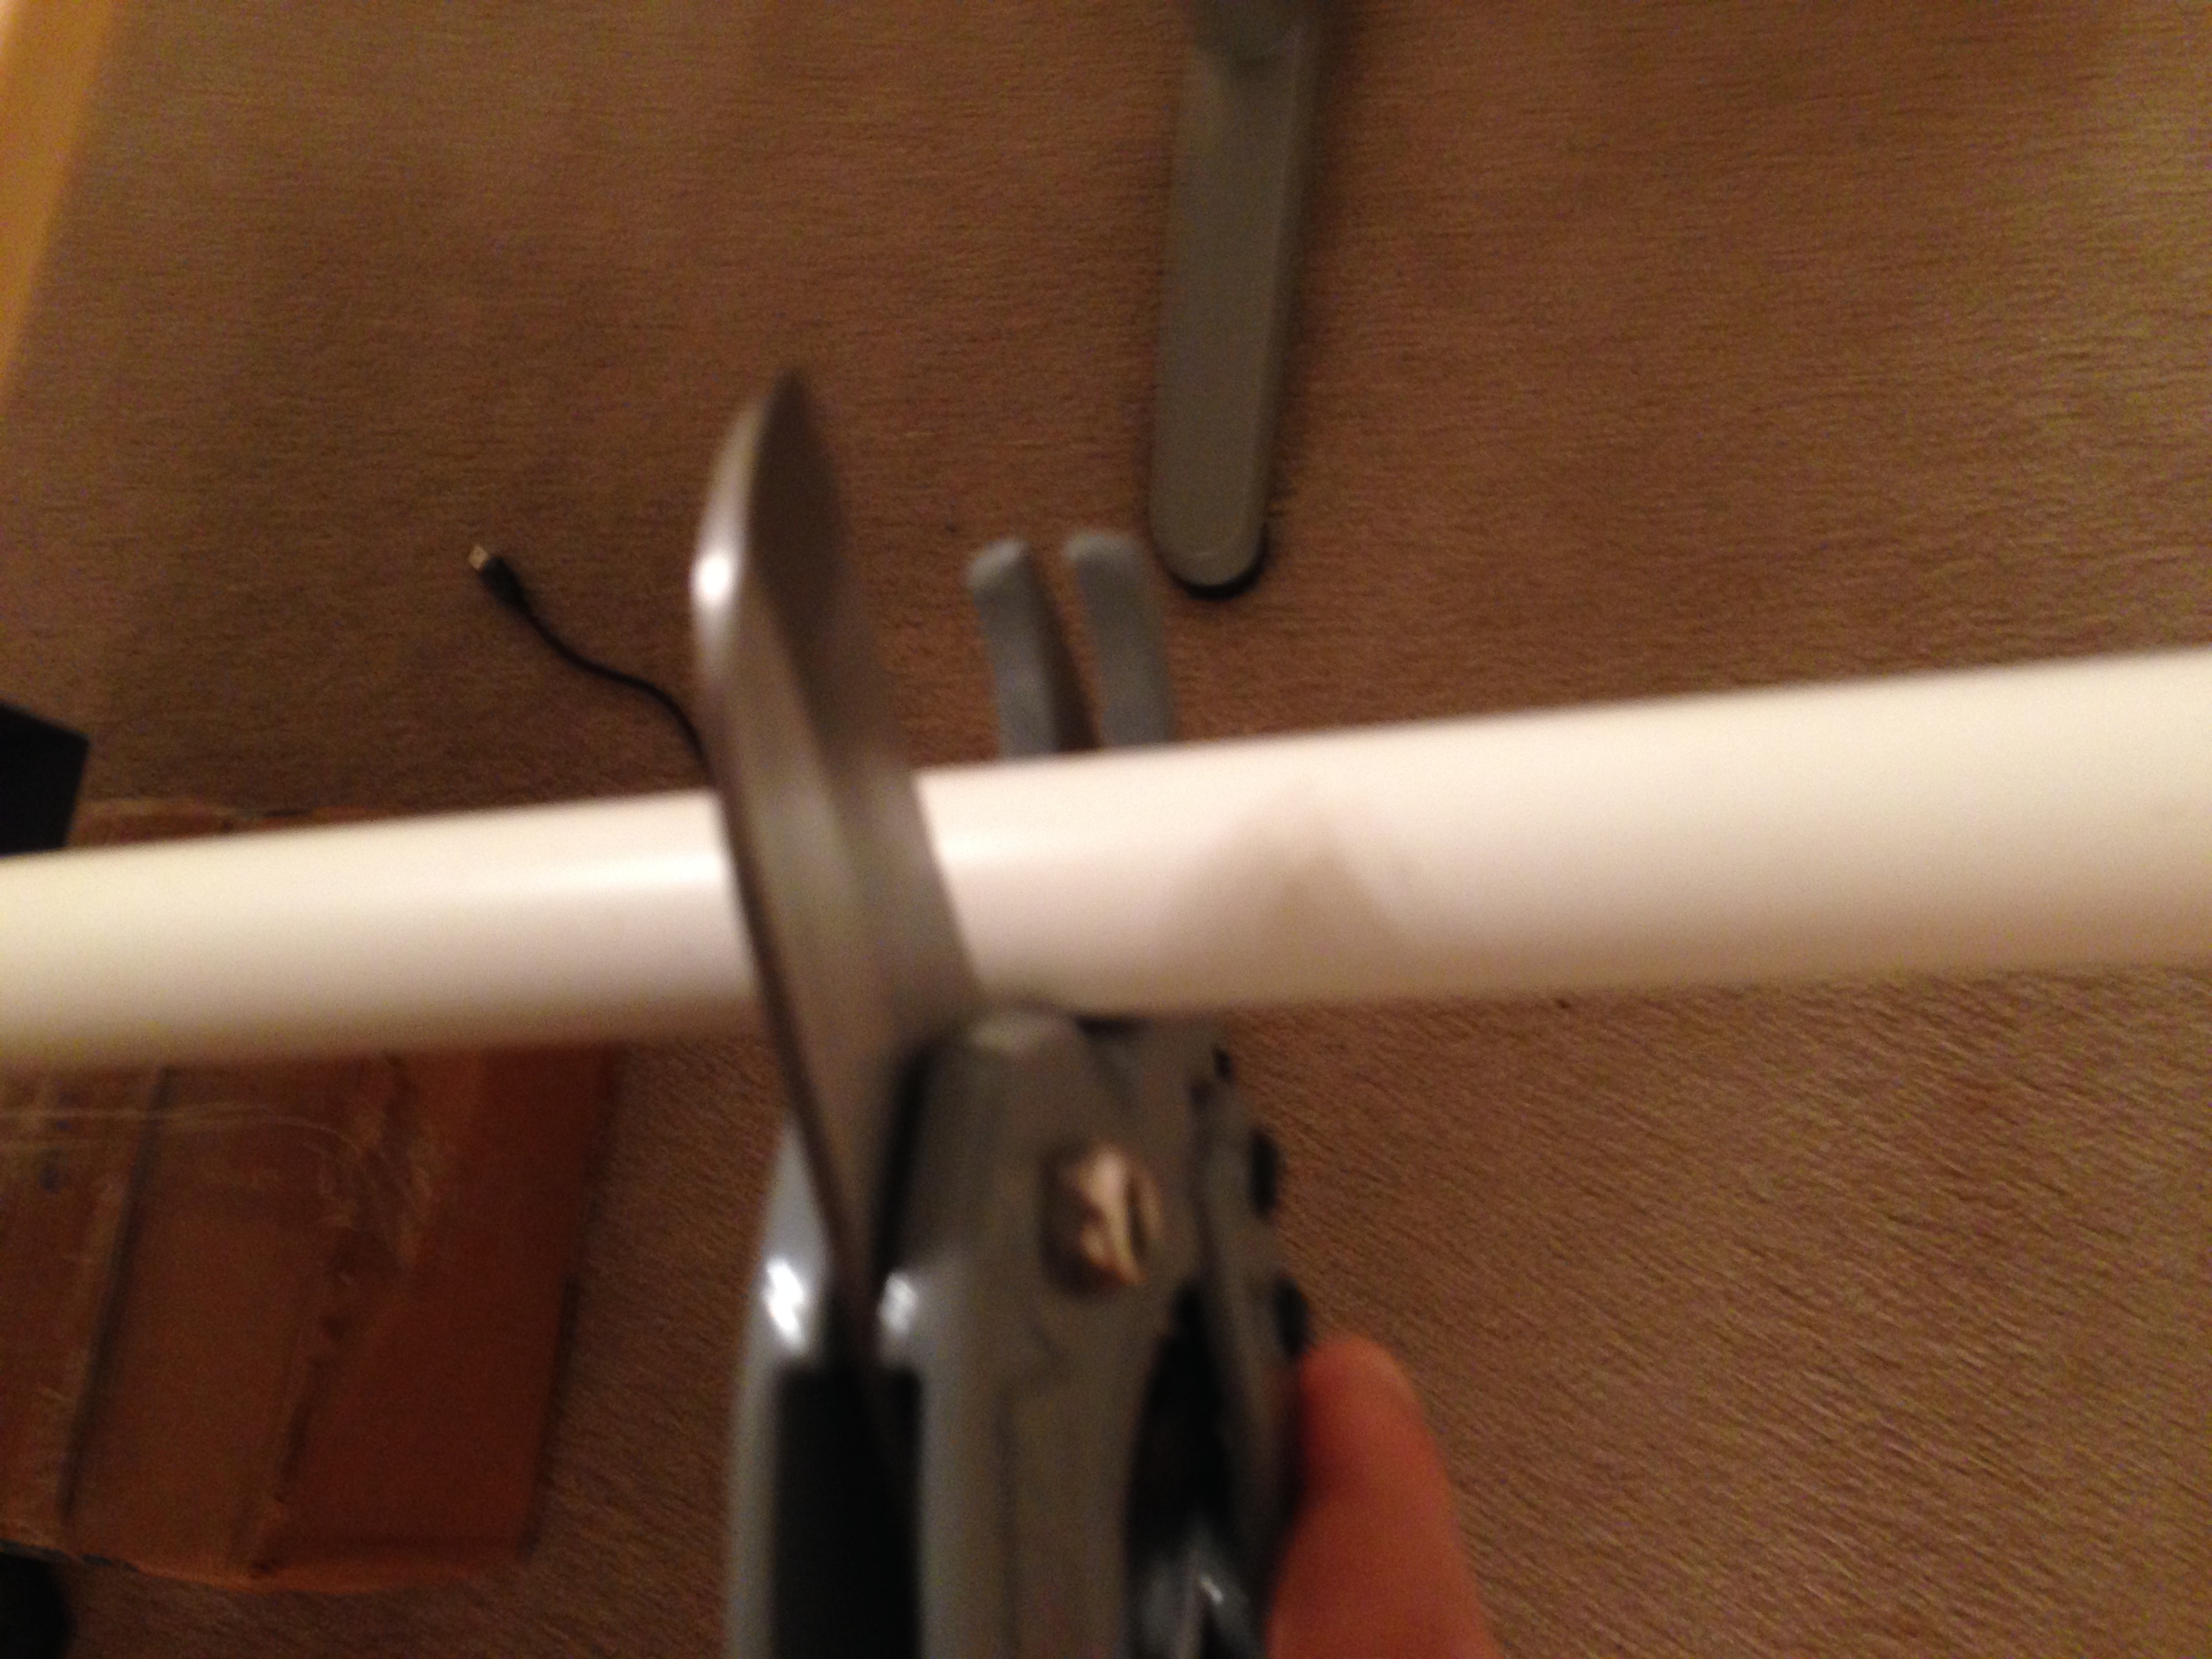
- Measure the 1/2" PVC pipe at 2', 1', 9" and 3" and cut with the PVC cutters.
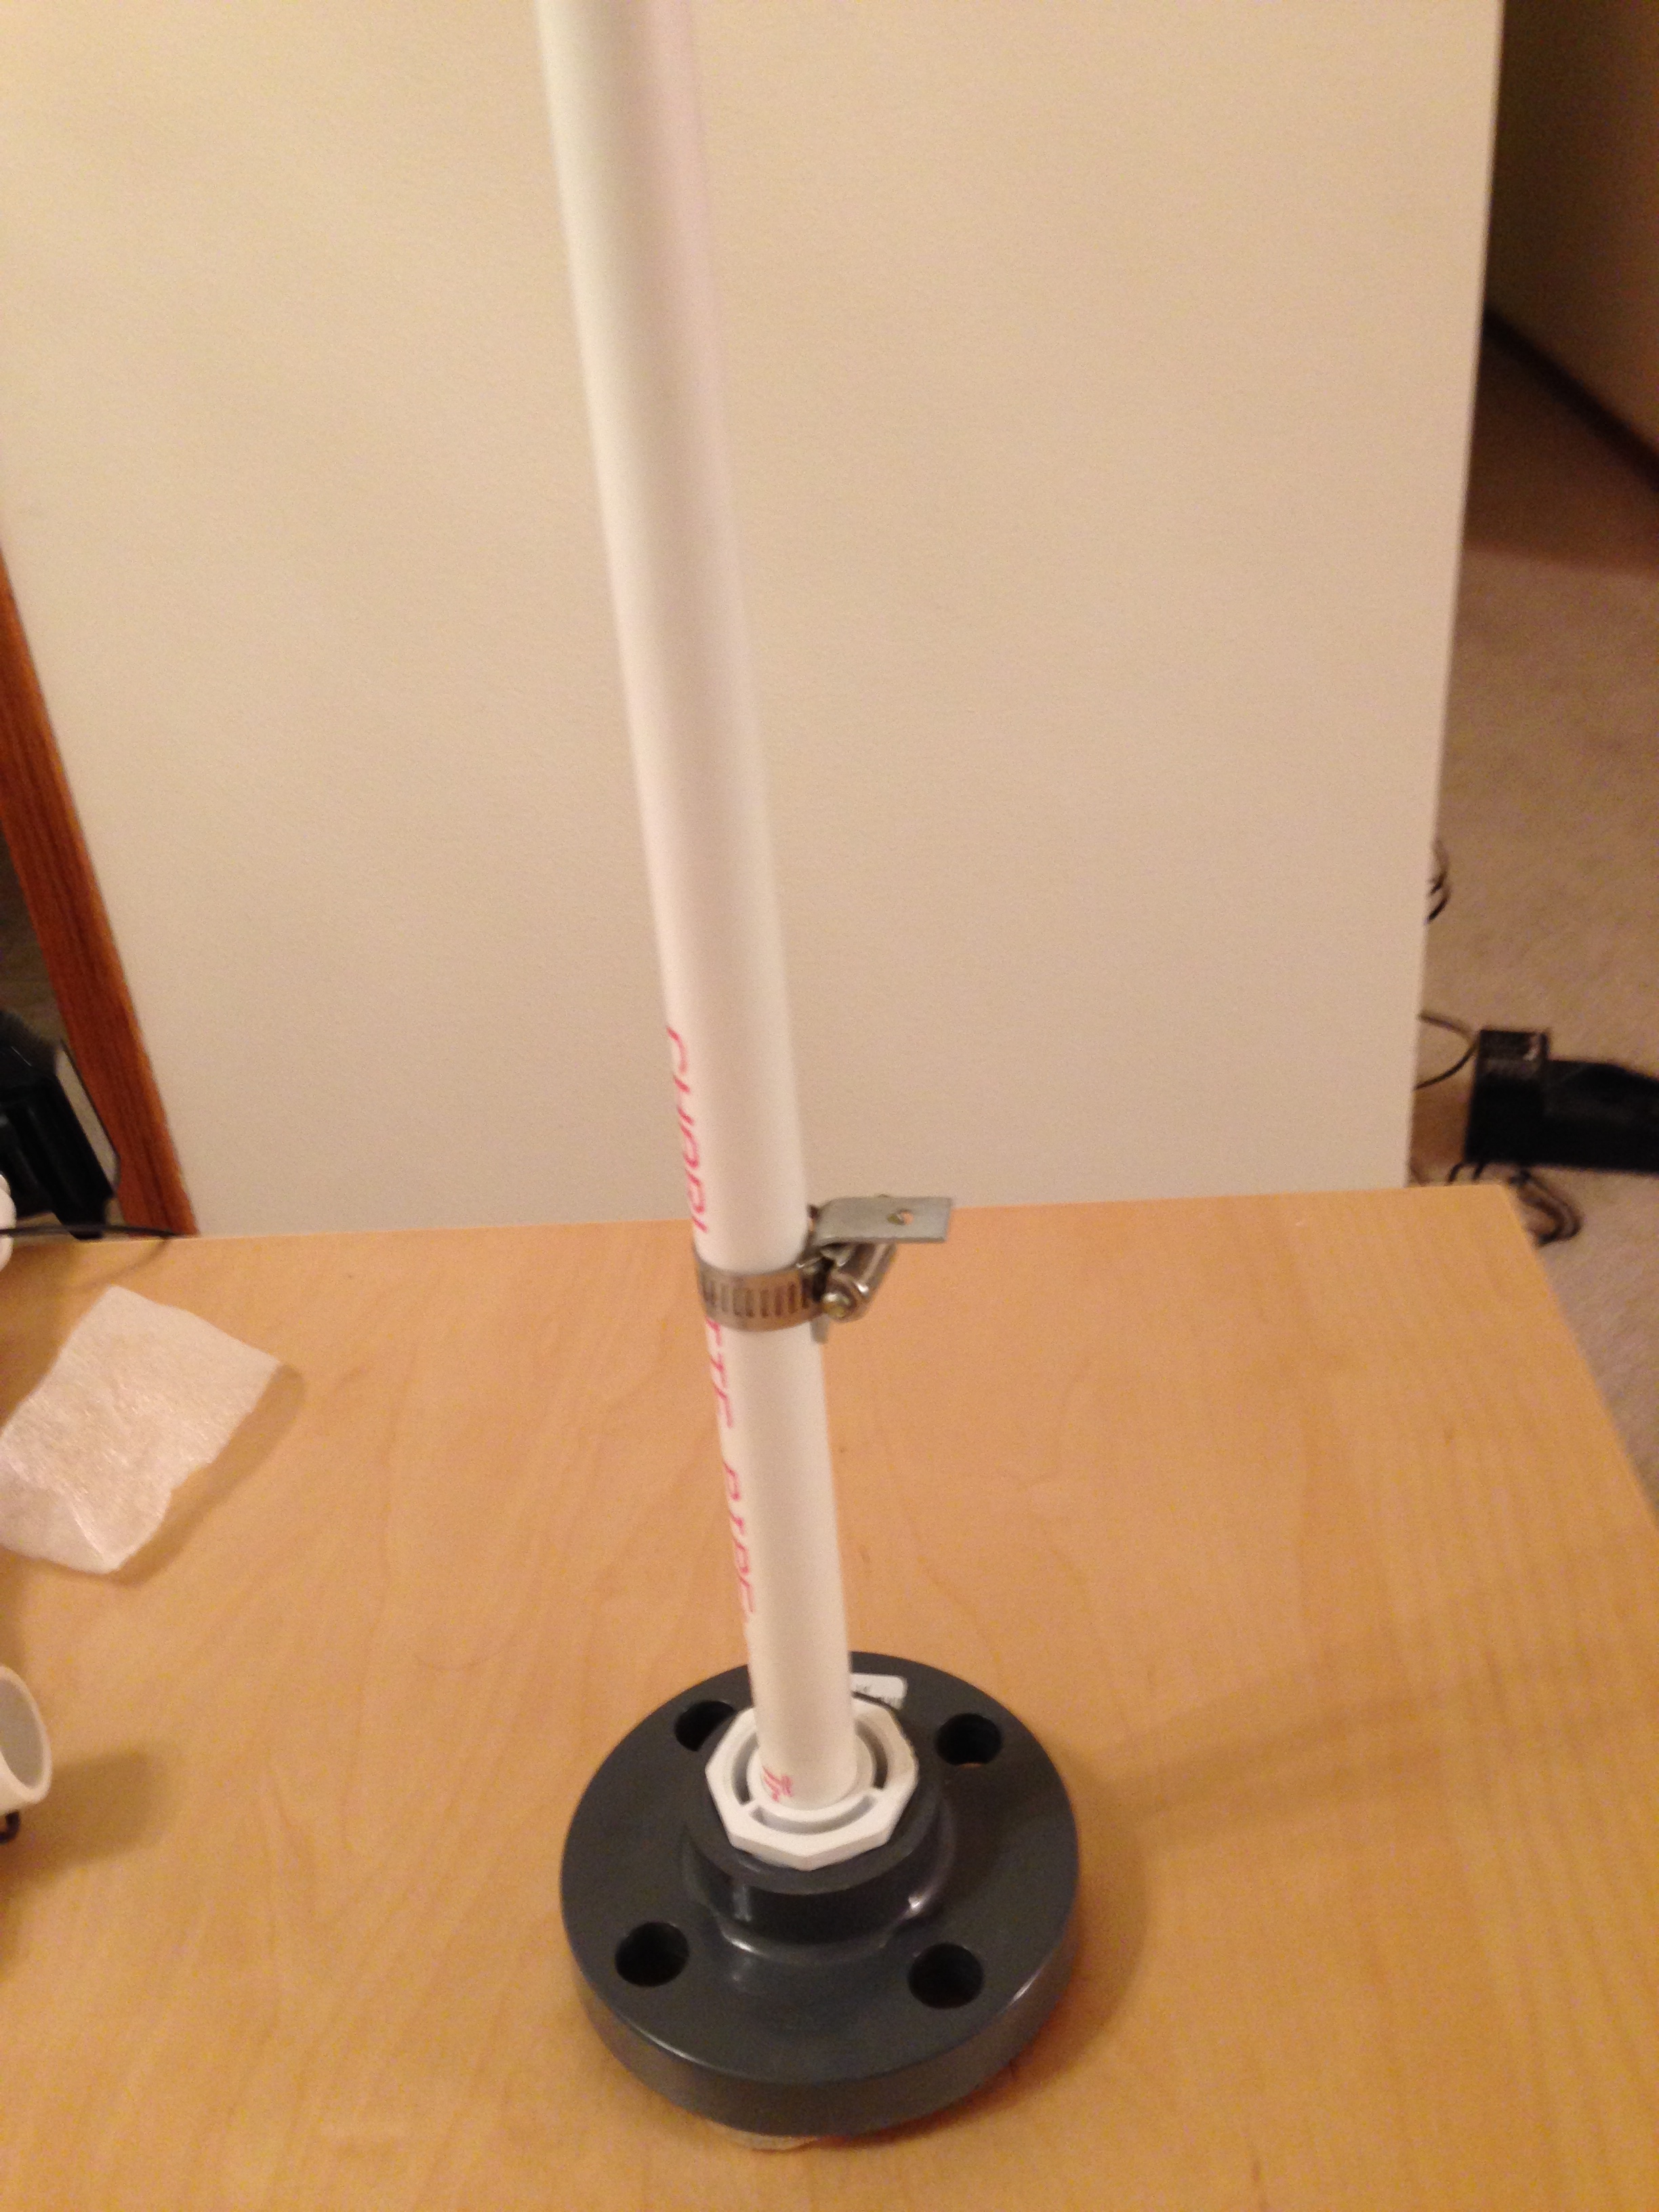
- Insert the 2' 1/2" PVC pipe into stand, attach an L bracket with a pipe clamp.
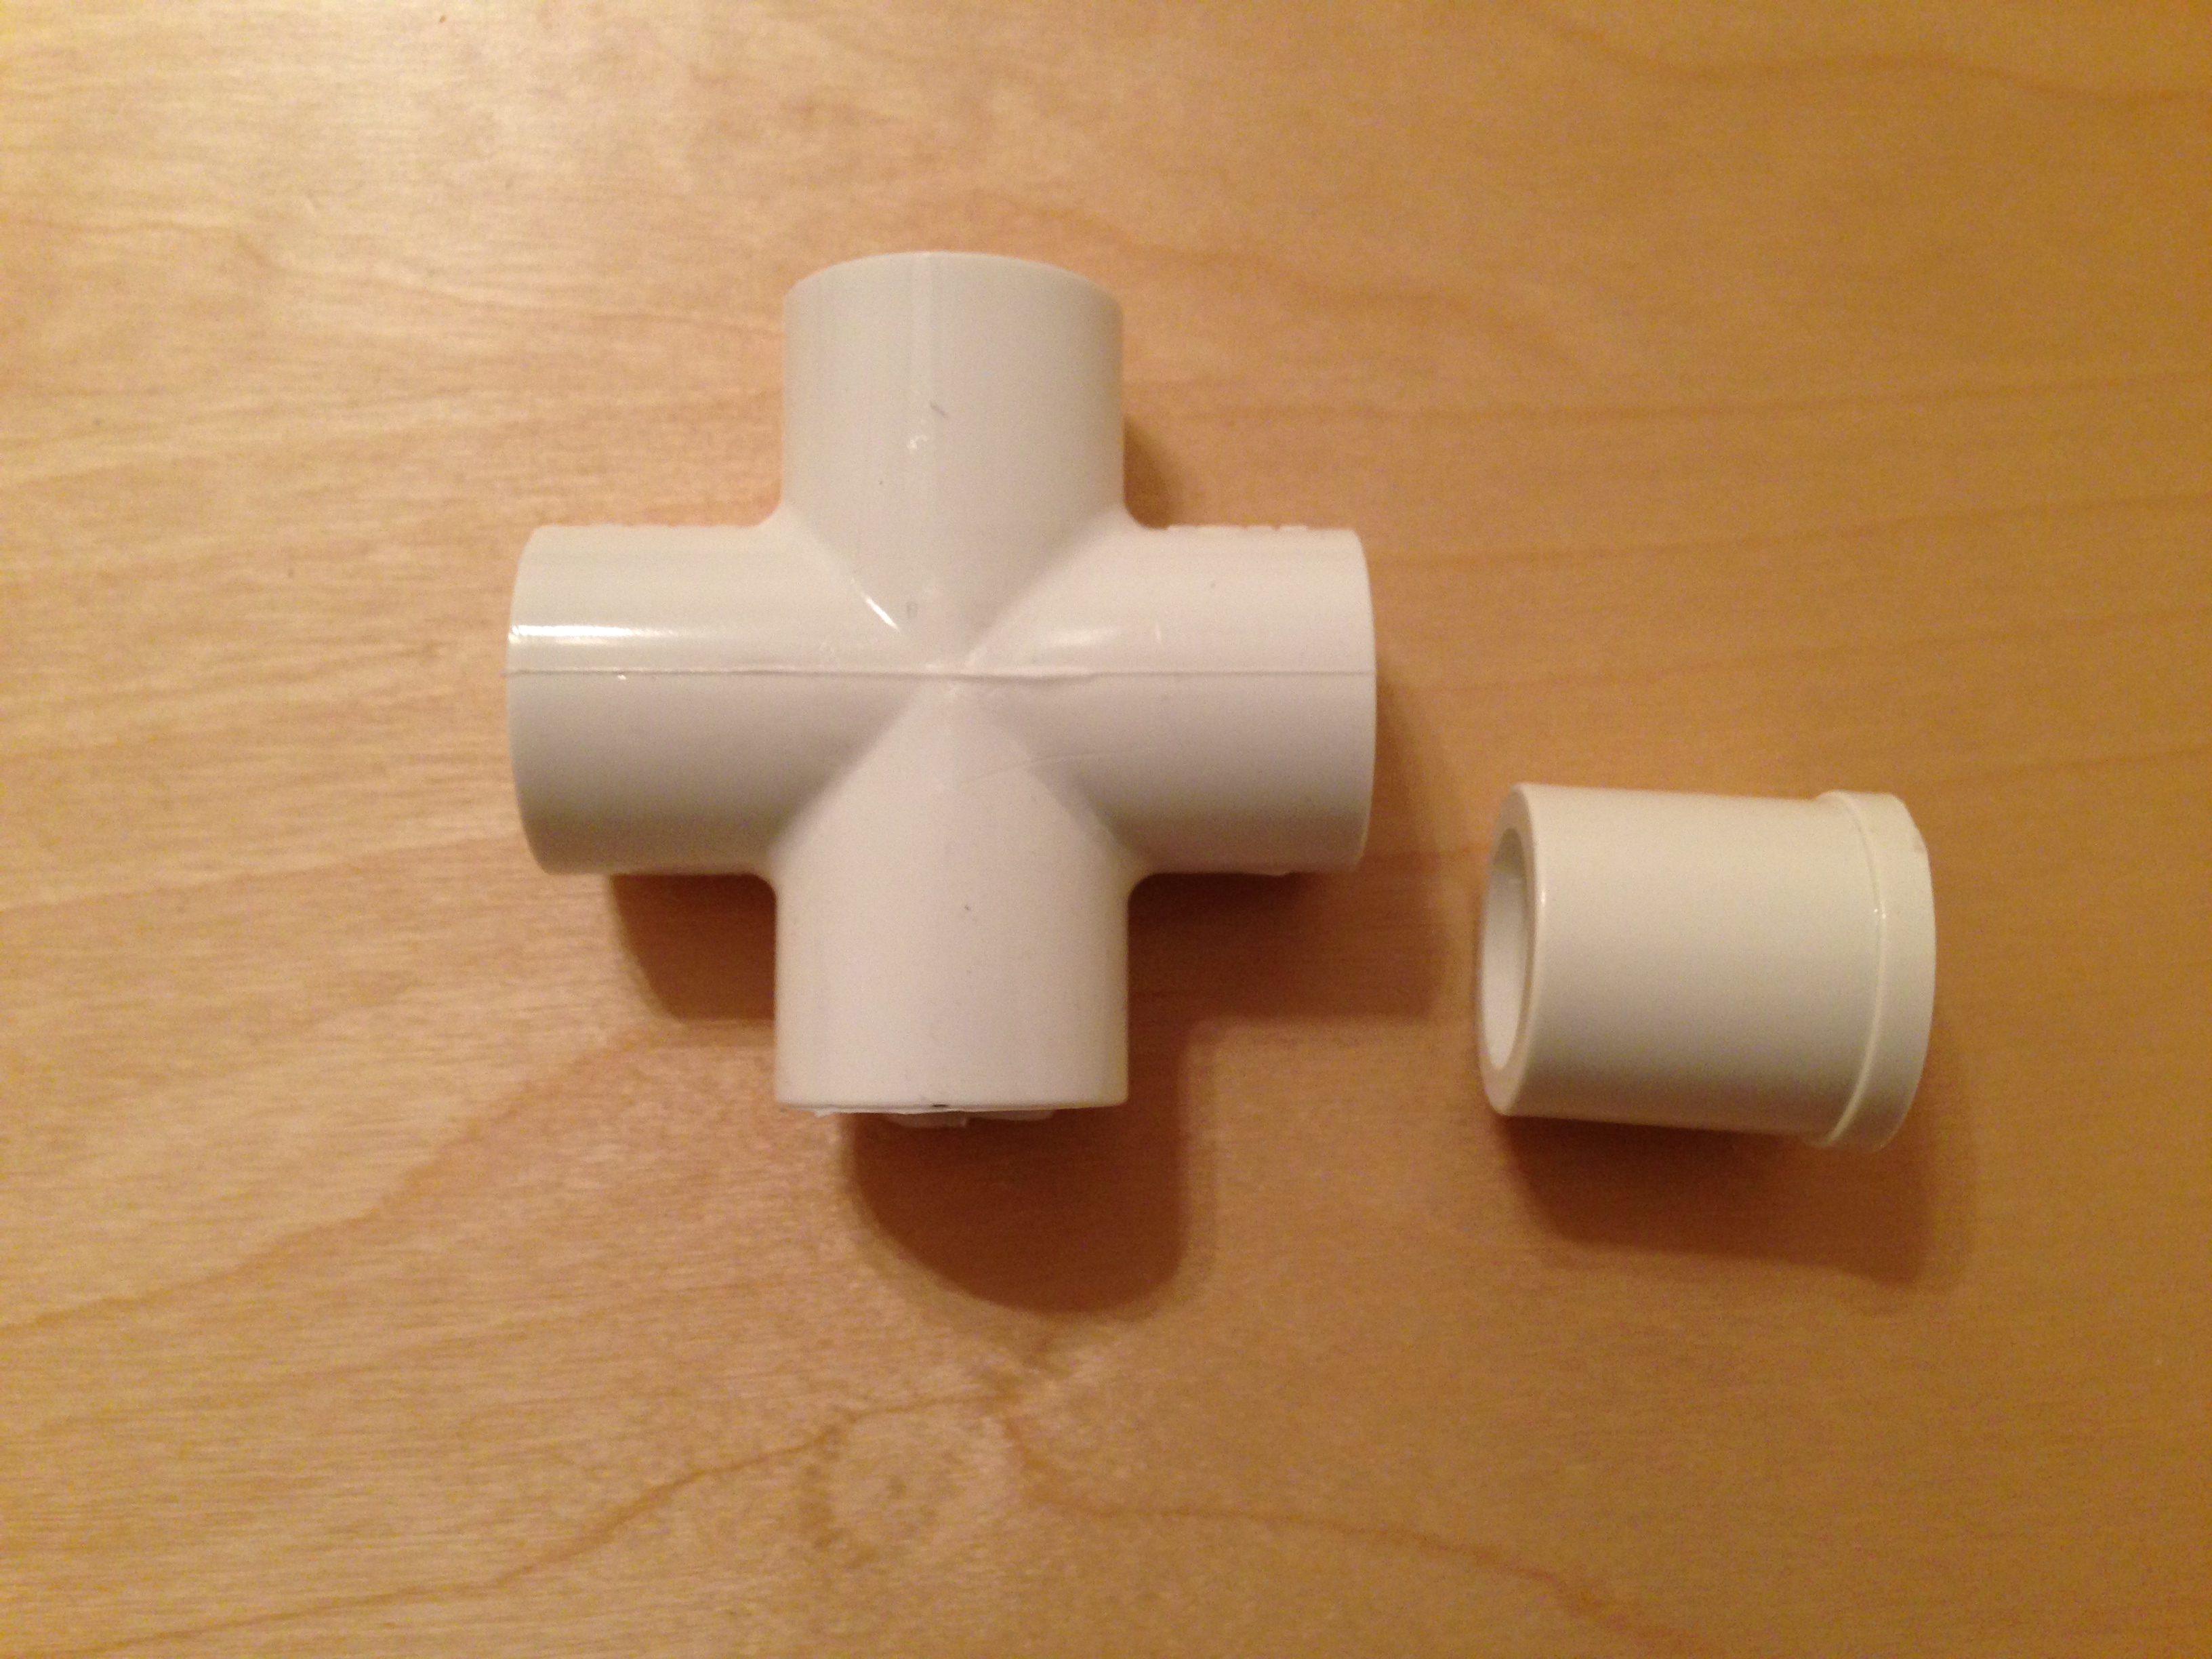
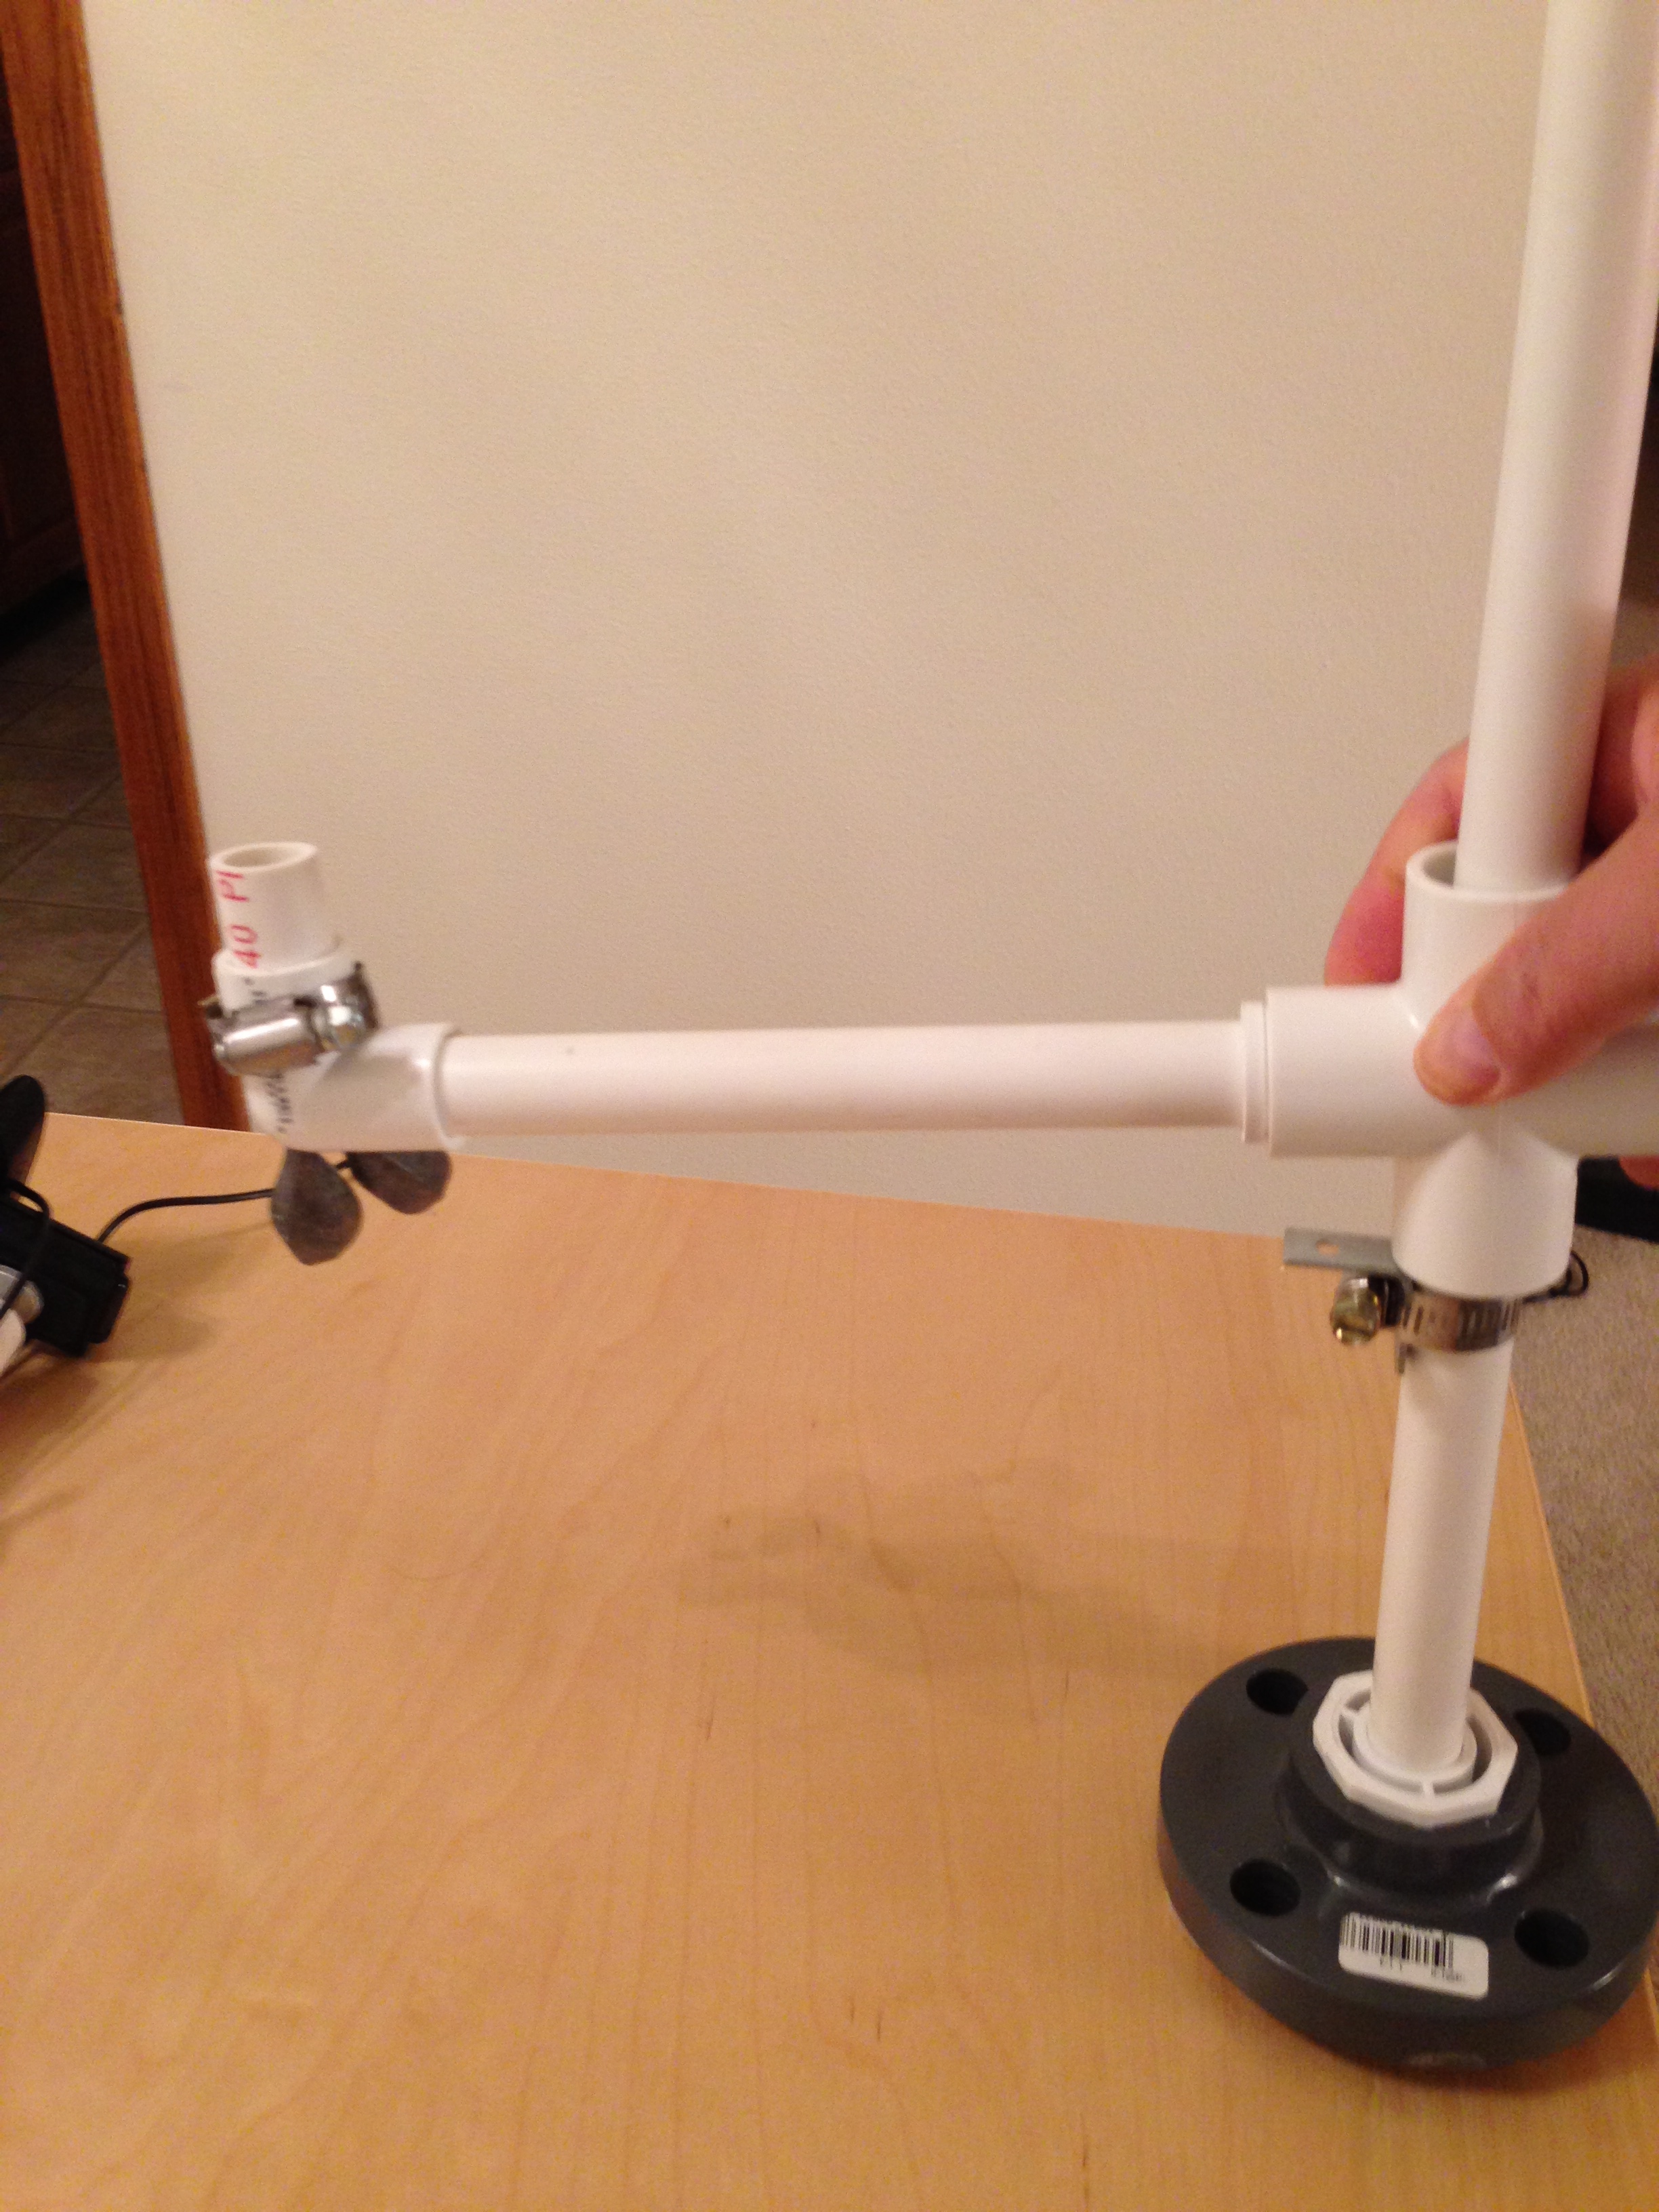
- Find the 3/4" PVC cross (4way adaptor) and the two 3/4" to 1/2" adaptor bushings. Note that this image is of a 1/2" cross, which is too small. But I already had assembled everything when I took this photo.
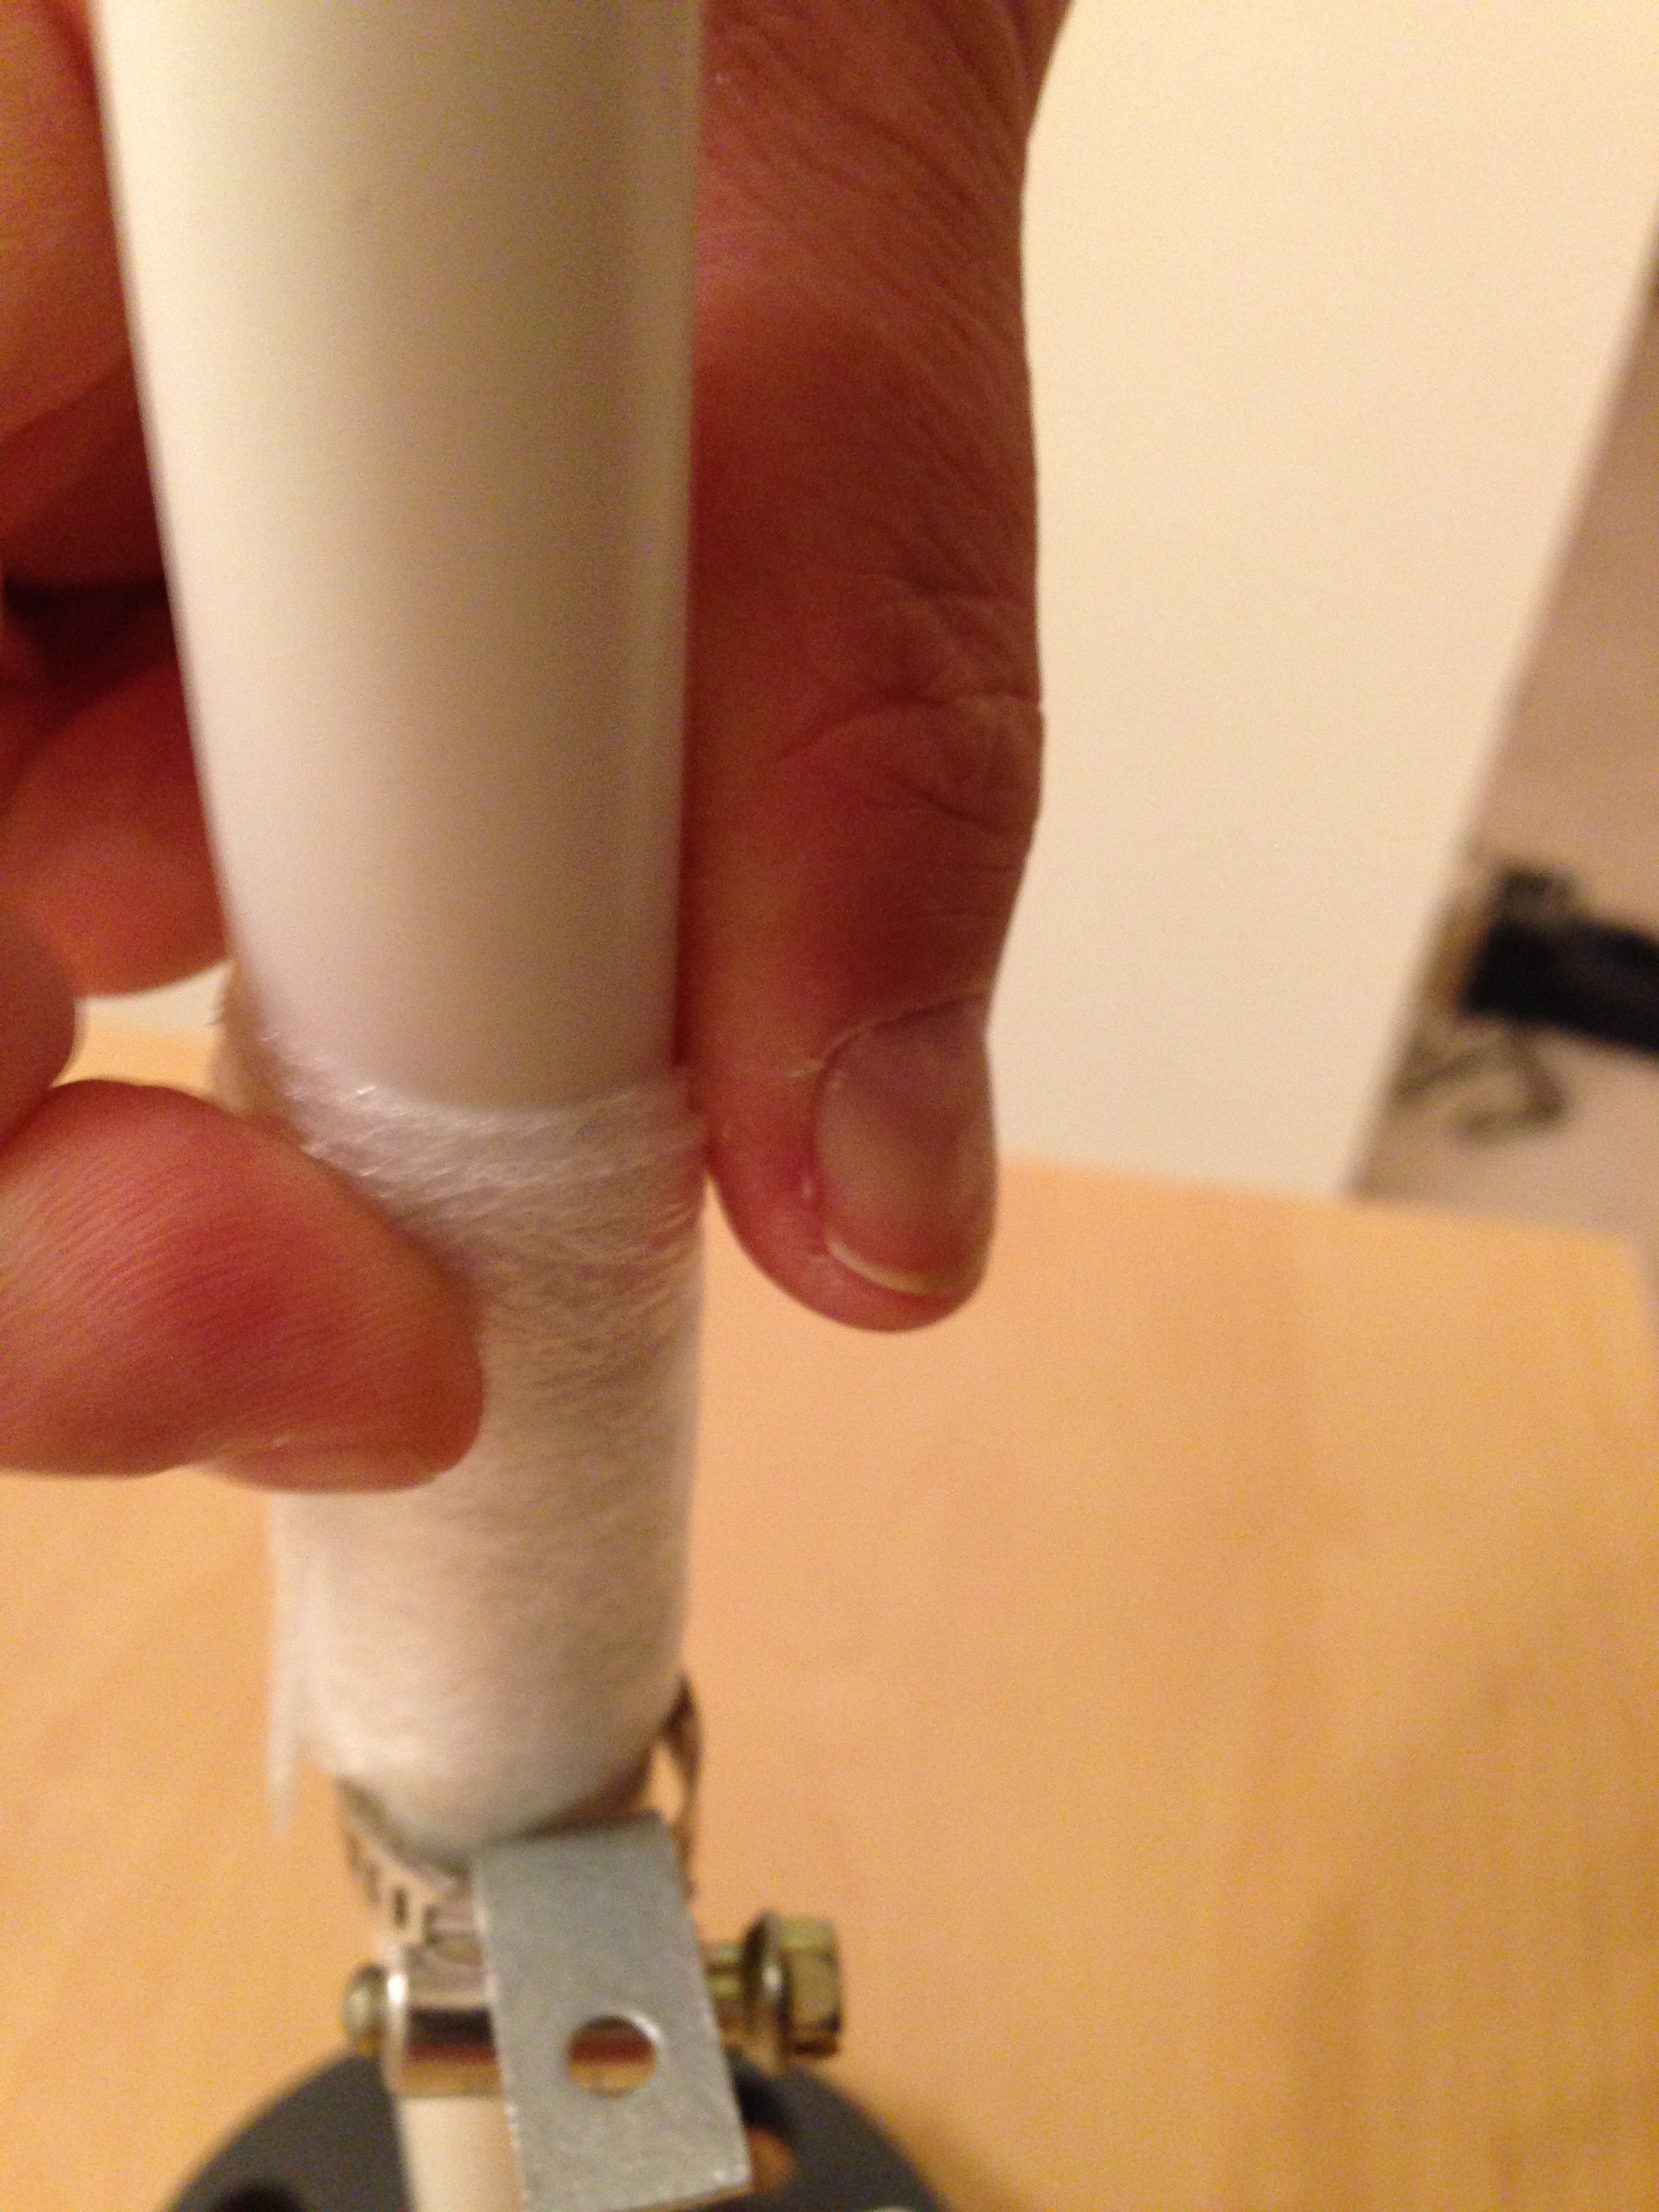
- Wrap a small piece of foam around the pipe stand, and then slide the 3/4" 4way piece over the foam onto the stand. Insert the 3/4" to 1/2" adaptors into each side of the 4way PVC cross.
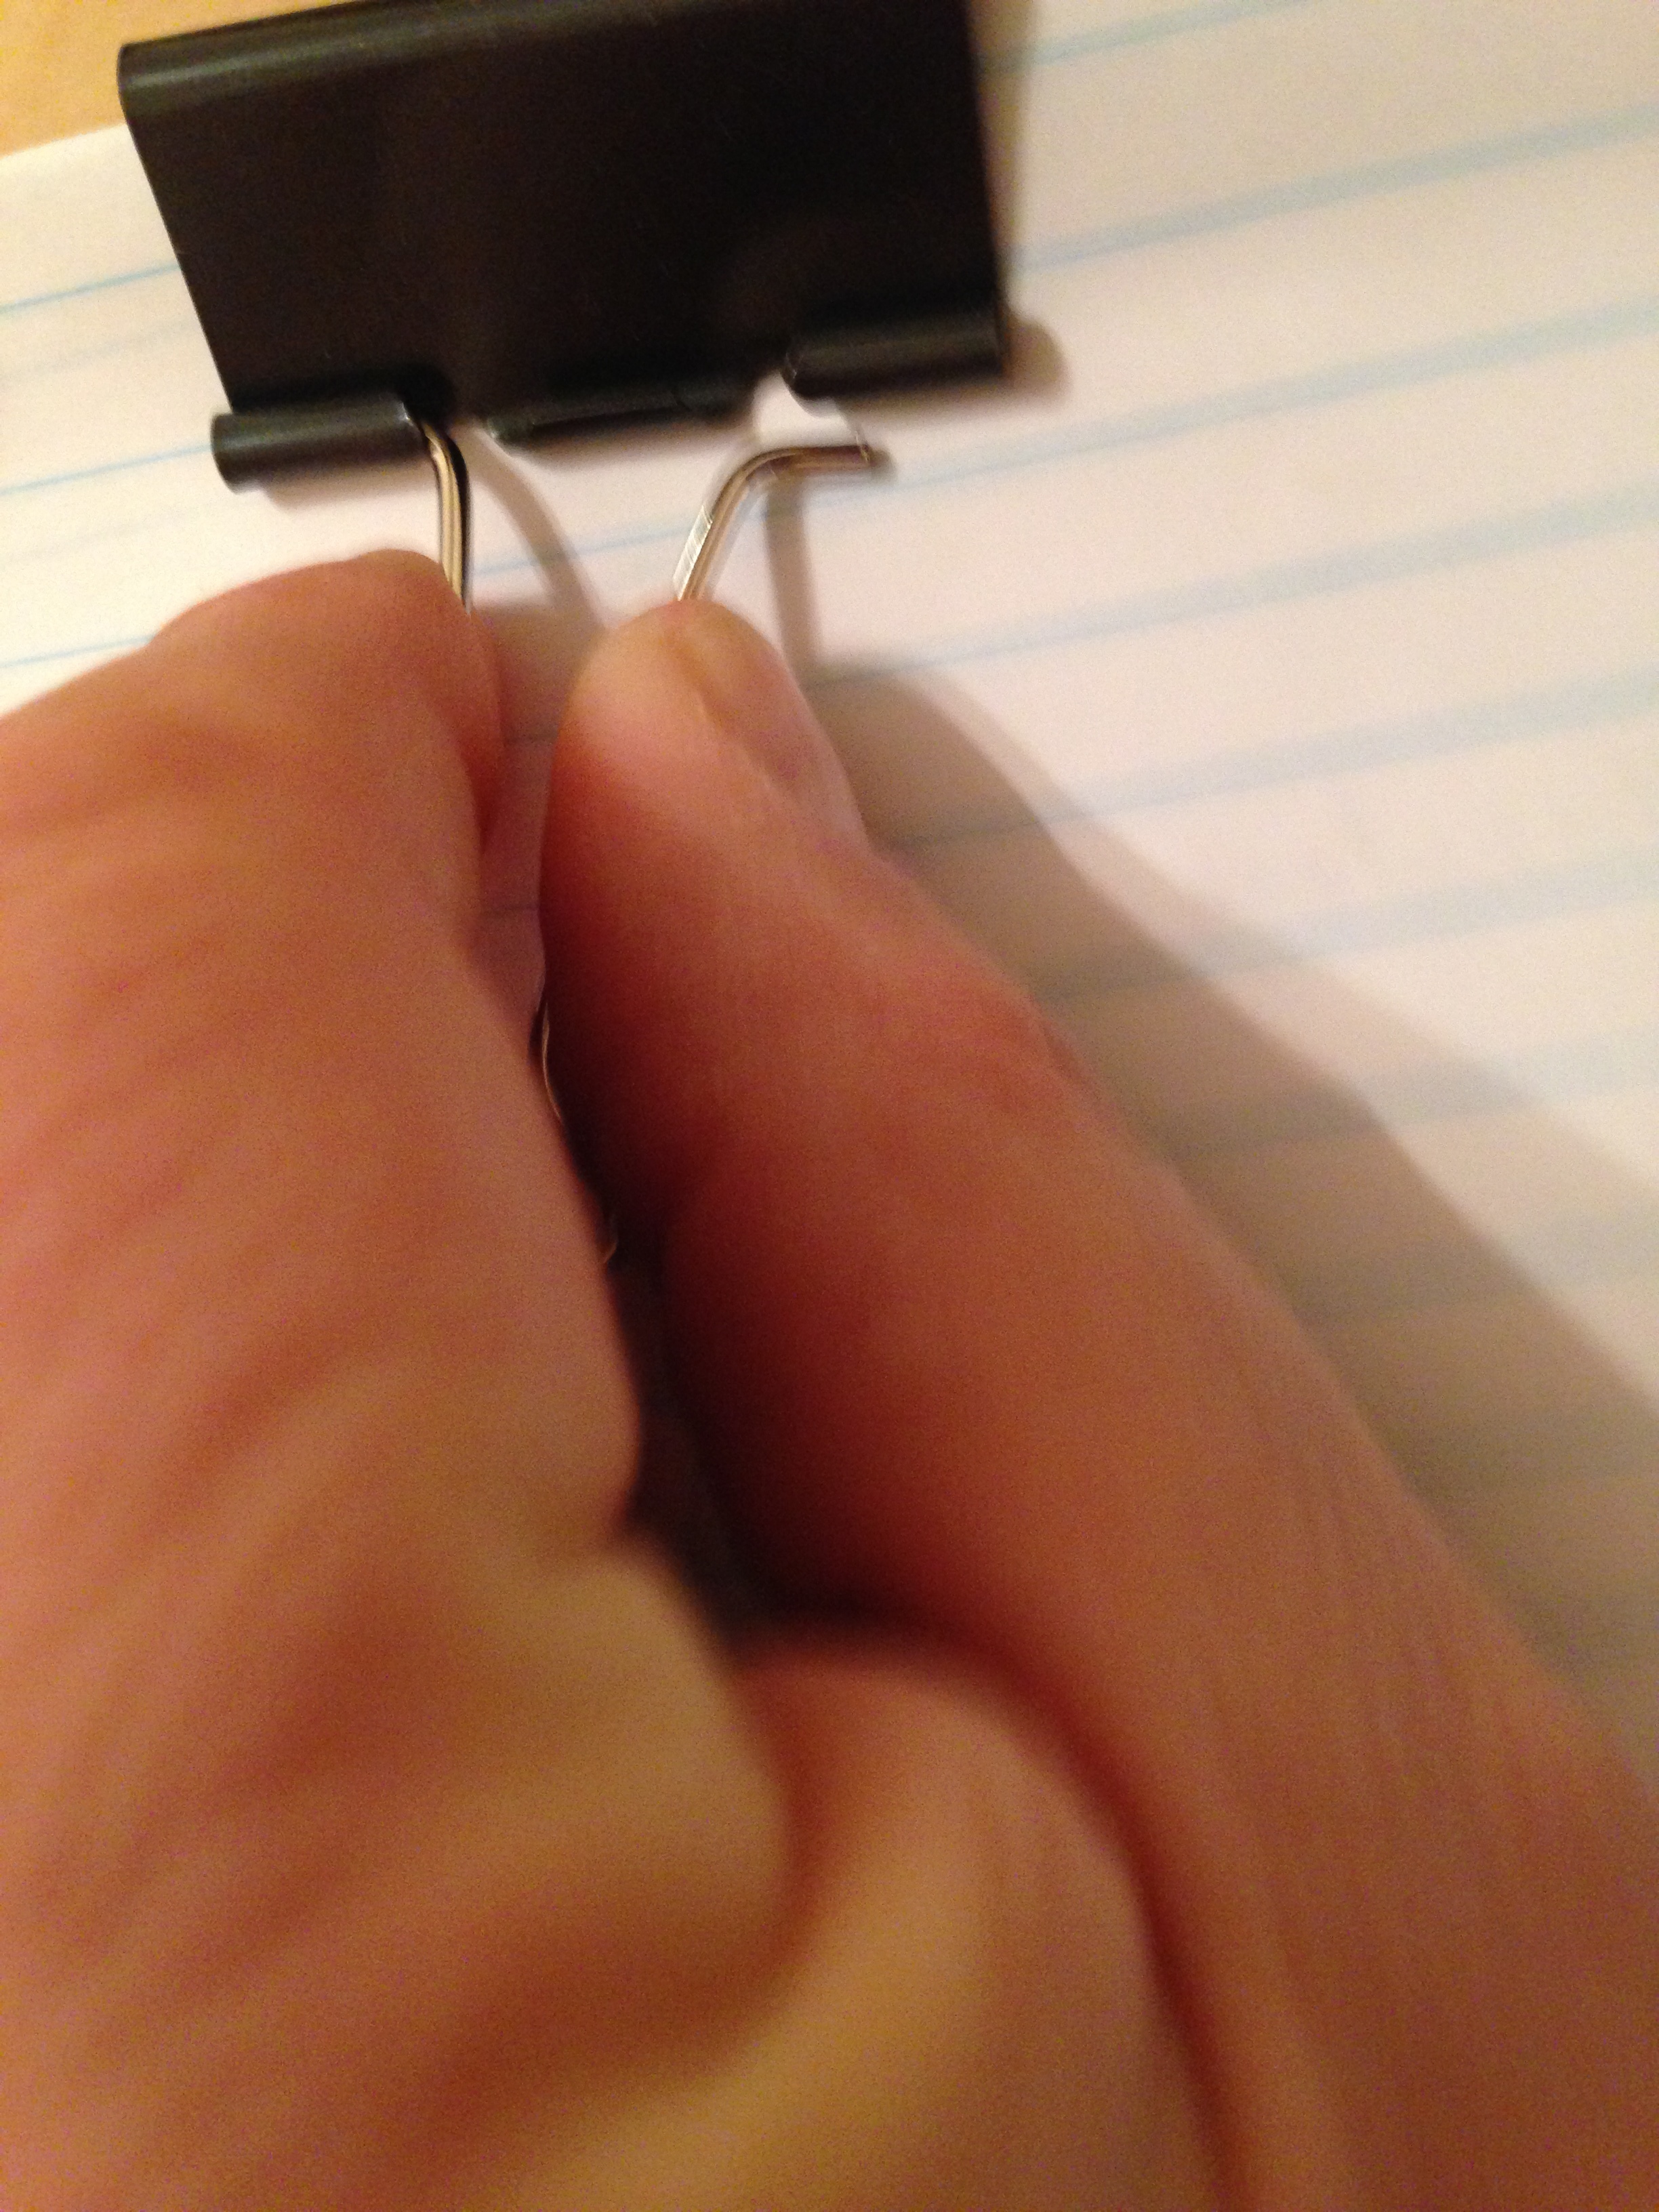
- Remove the metal piece from one half of a binder clip, and use it to attach the lead counterweights to the counter balance arm.
- Attach the rear arm to the stand, and using the pipe clamp, attach the weights to the rear arm.
- Build the Camera Mount (this could be a little more clear).
- Drill a 1/4" hole in the center of a 1/2" PVC pipe cap, and run a 1/4" by #20 allen-head bolt from the inside of the cap to the outside. Use a 1/4" x #20 lock nut to hold the bolt in place..
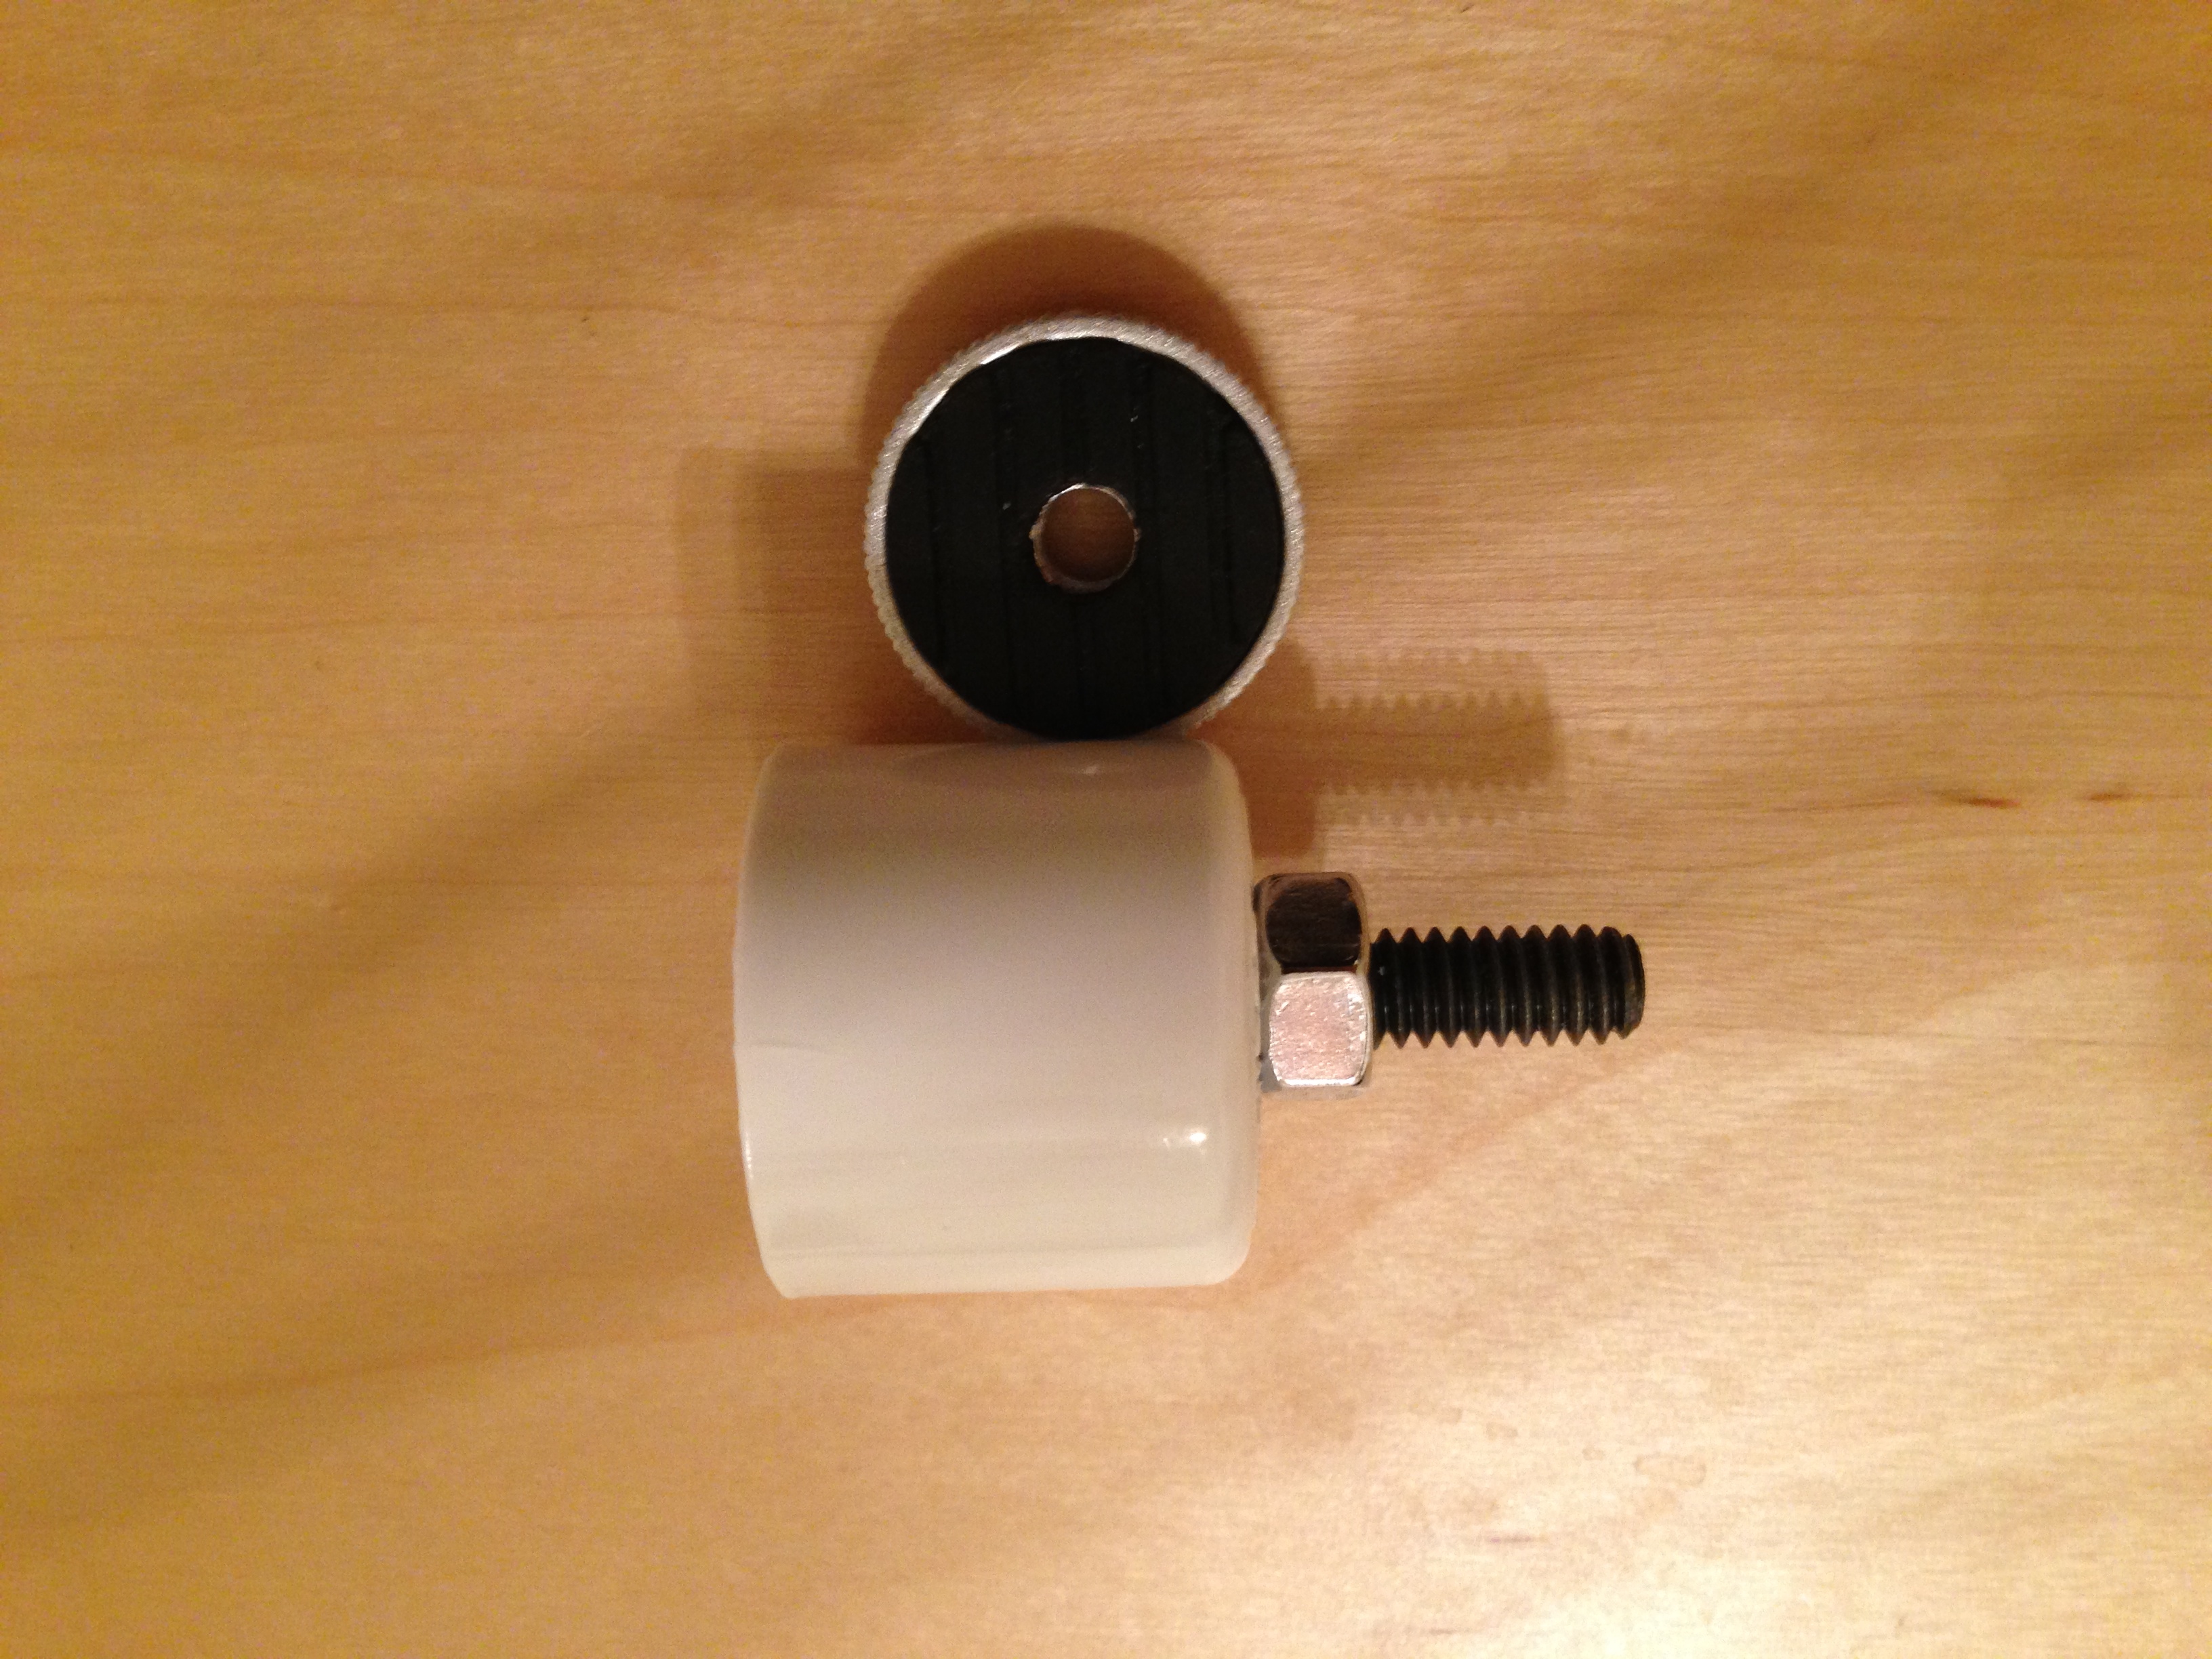
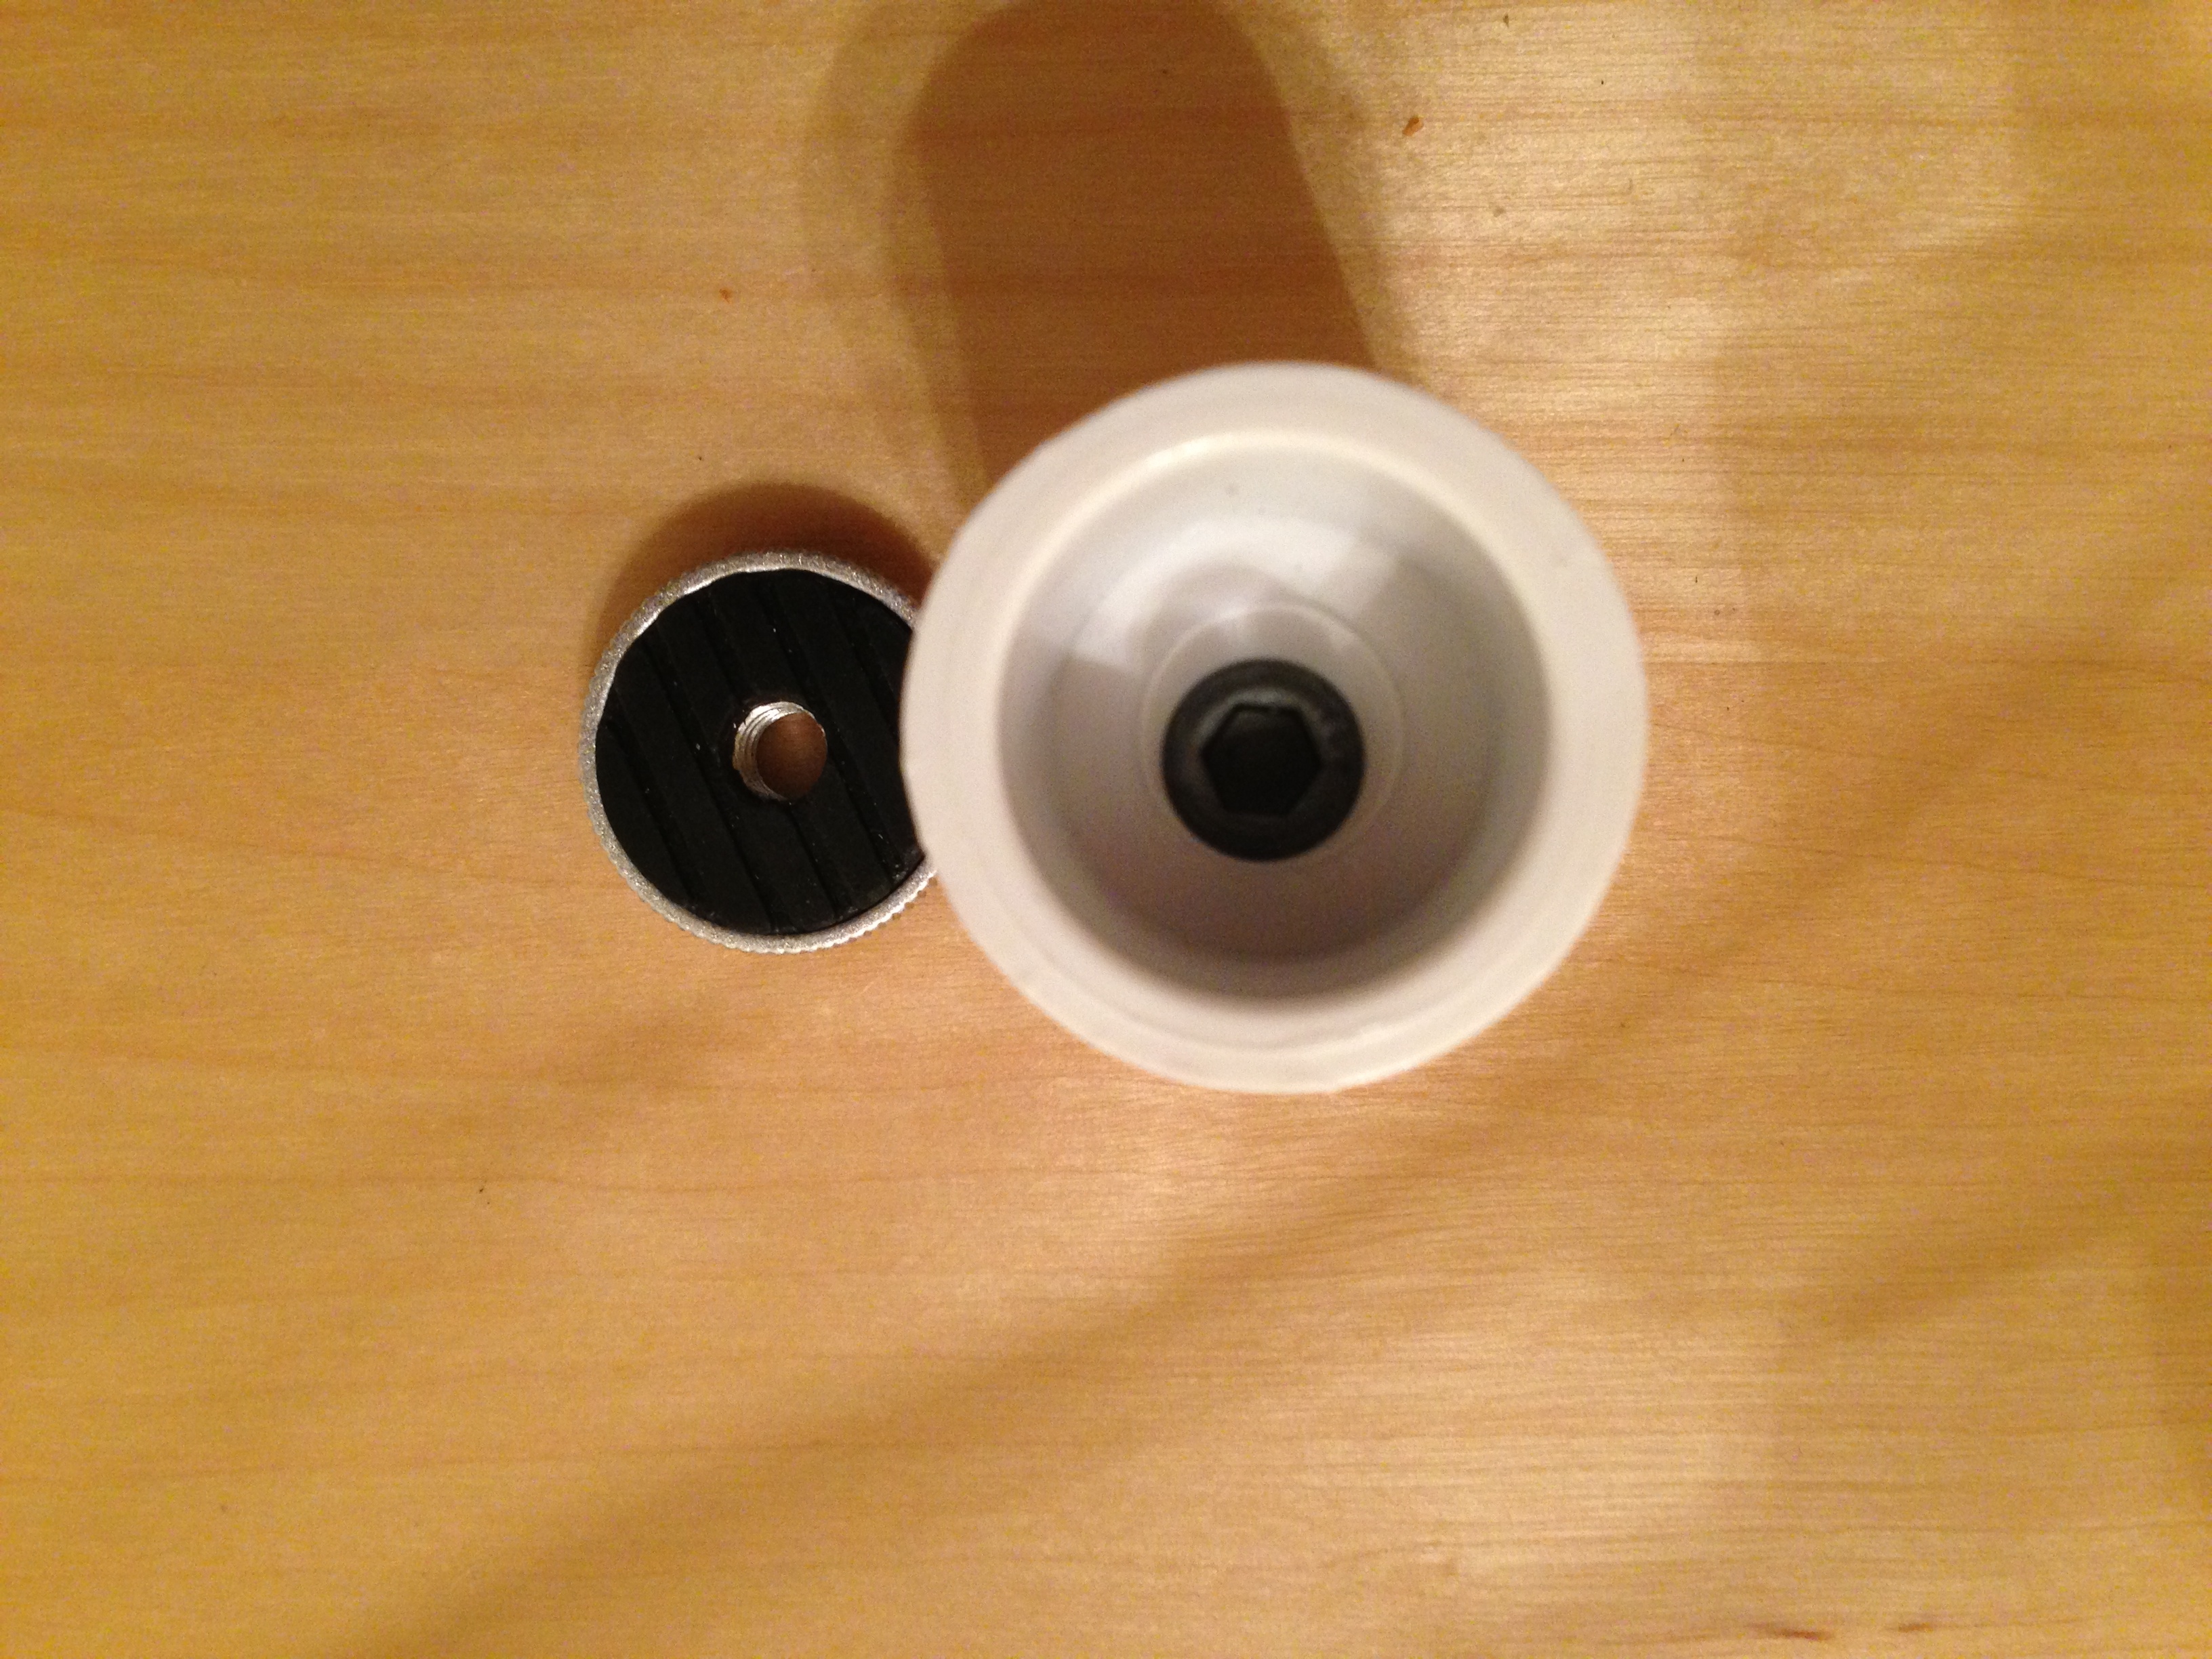
- Attach another 1/4 x #20 nut to the outside to use as a locknut for the web camera. If you have a large flat 1/4" nut, use that instead.
- Thread on the webcam, and use the locknut to lock it in place.
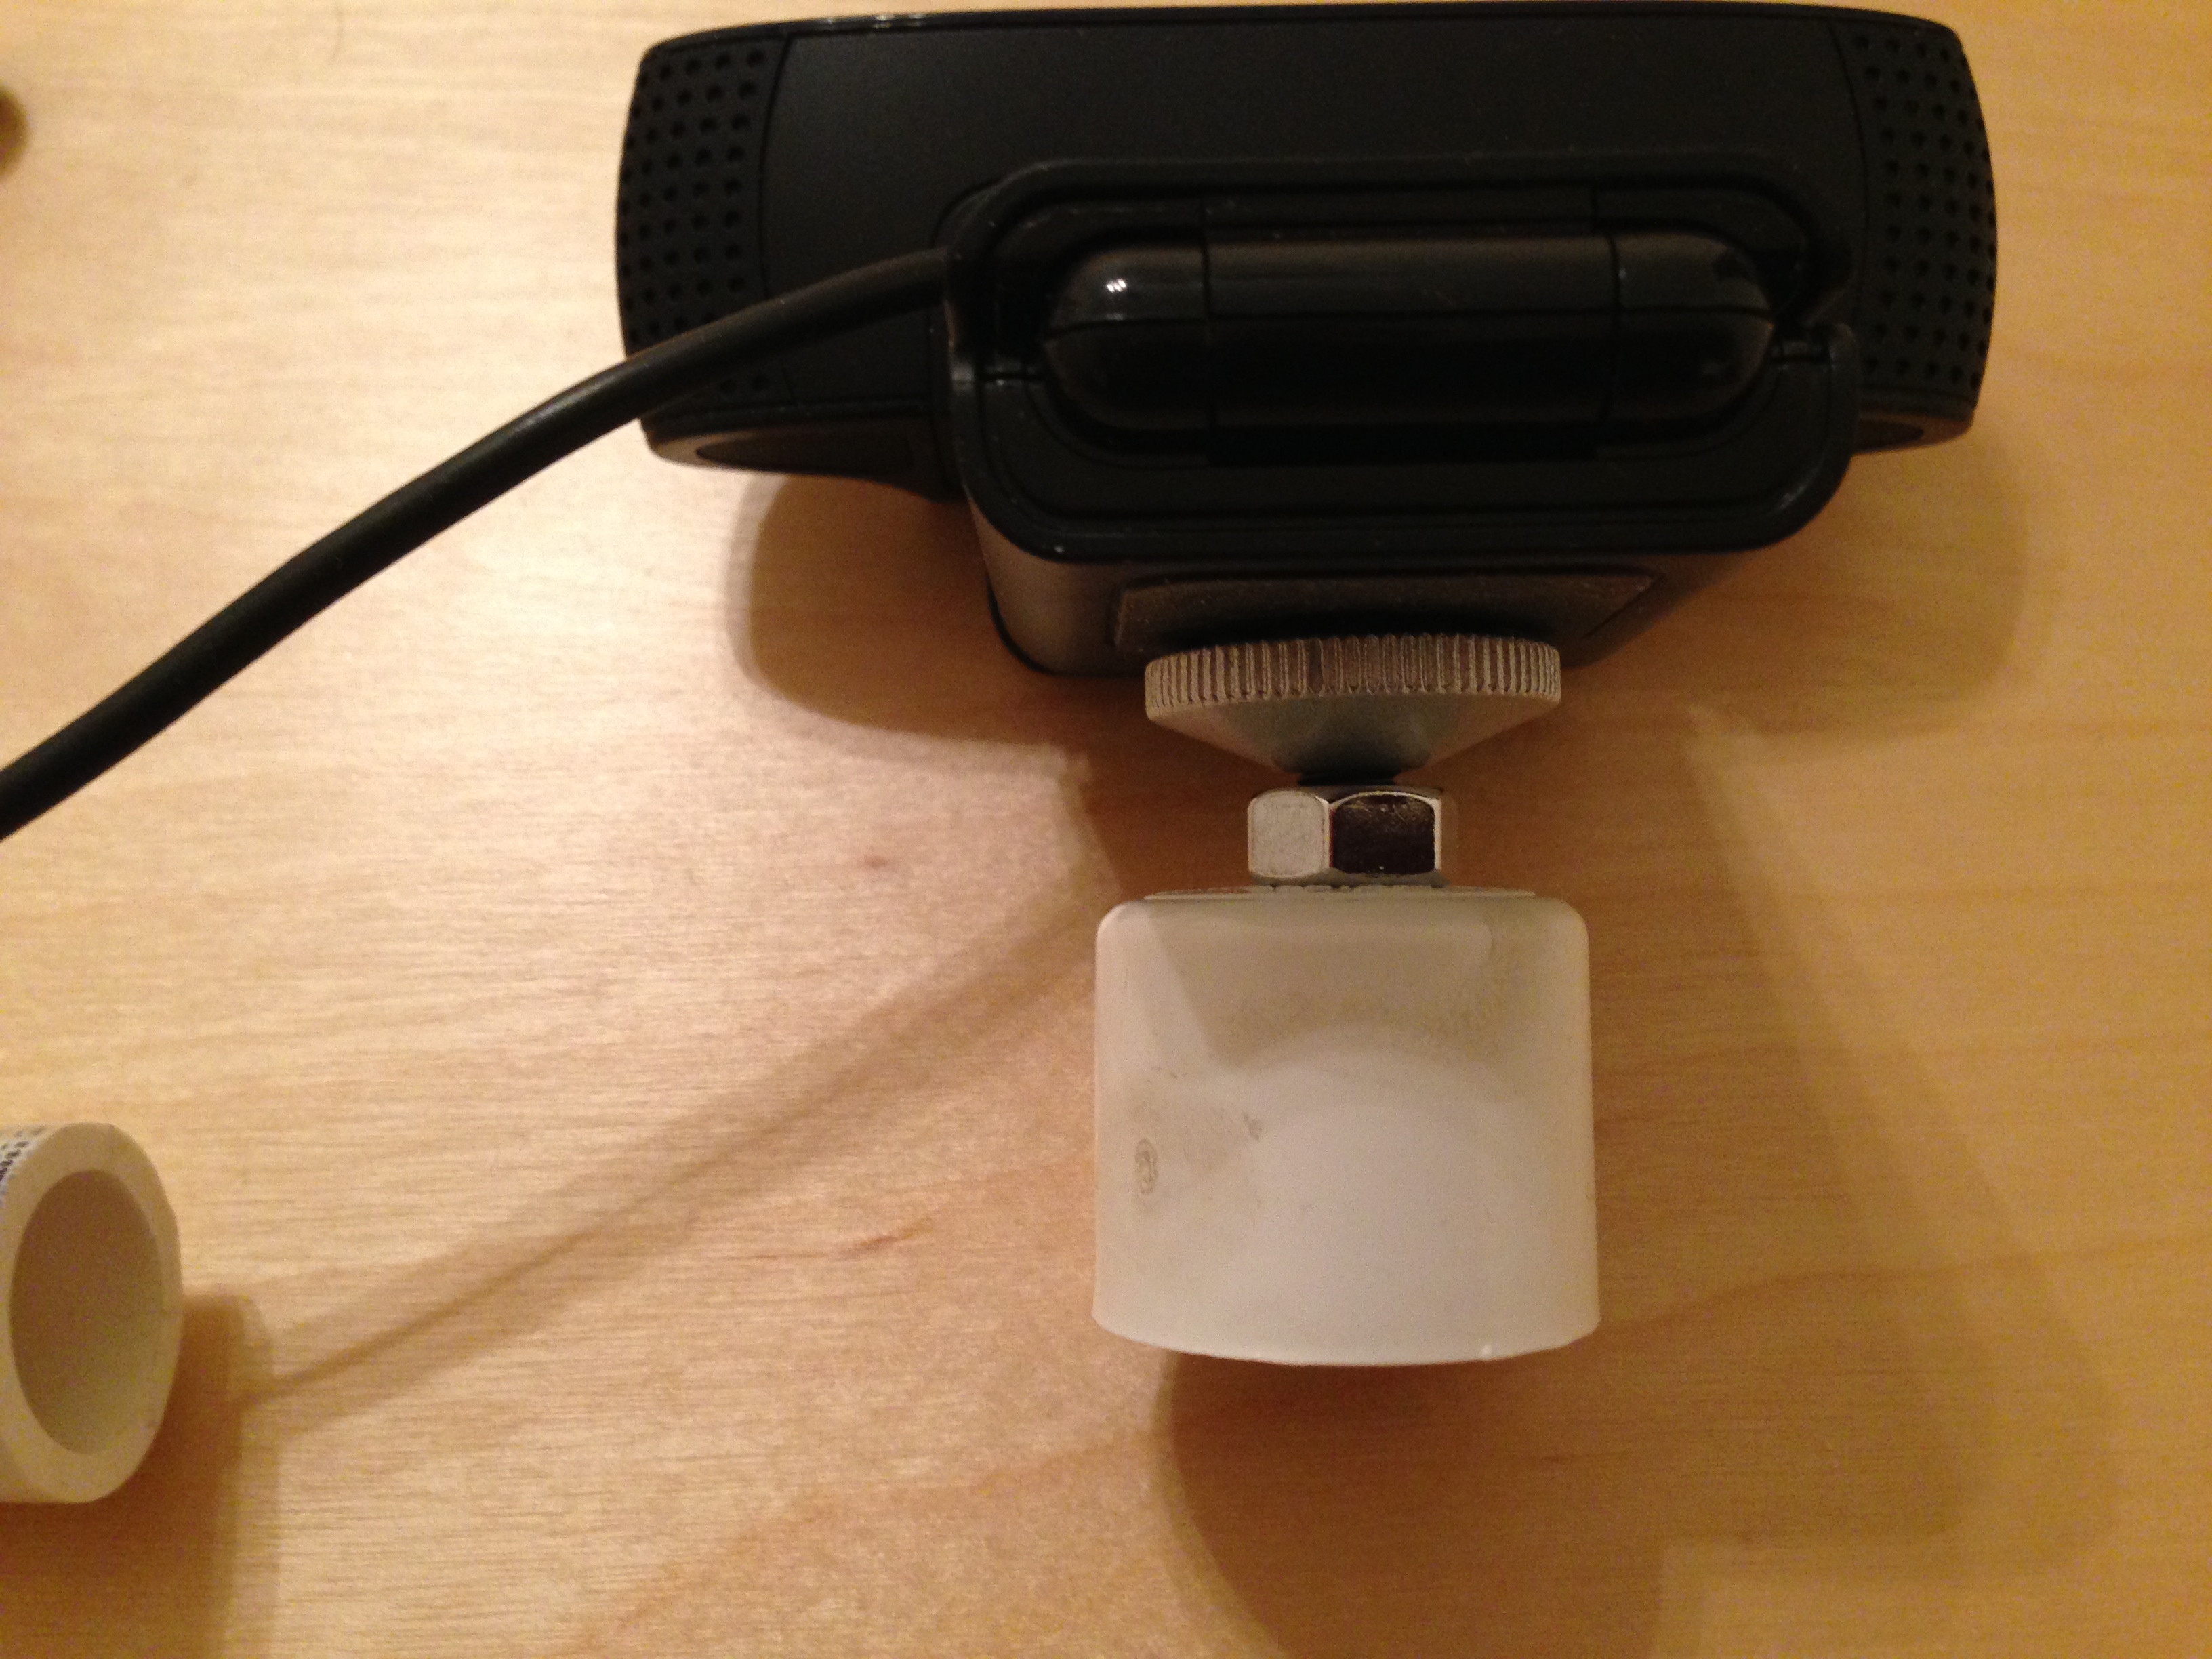

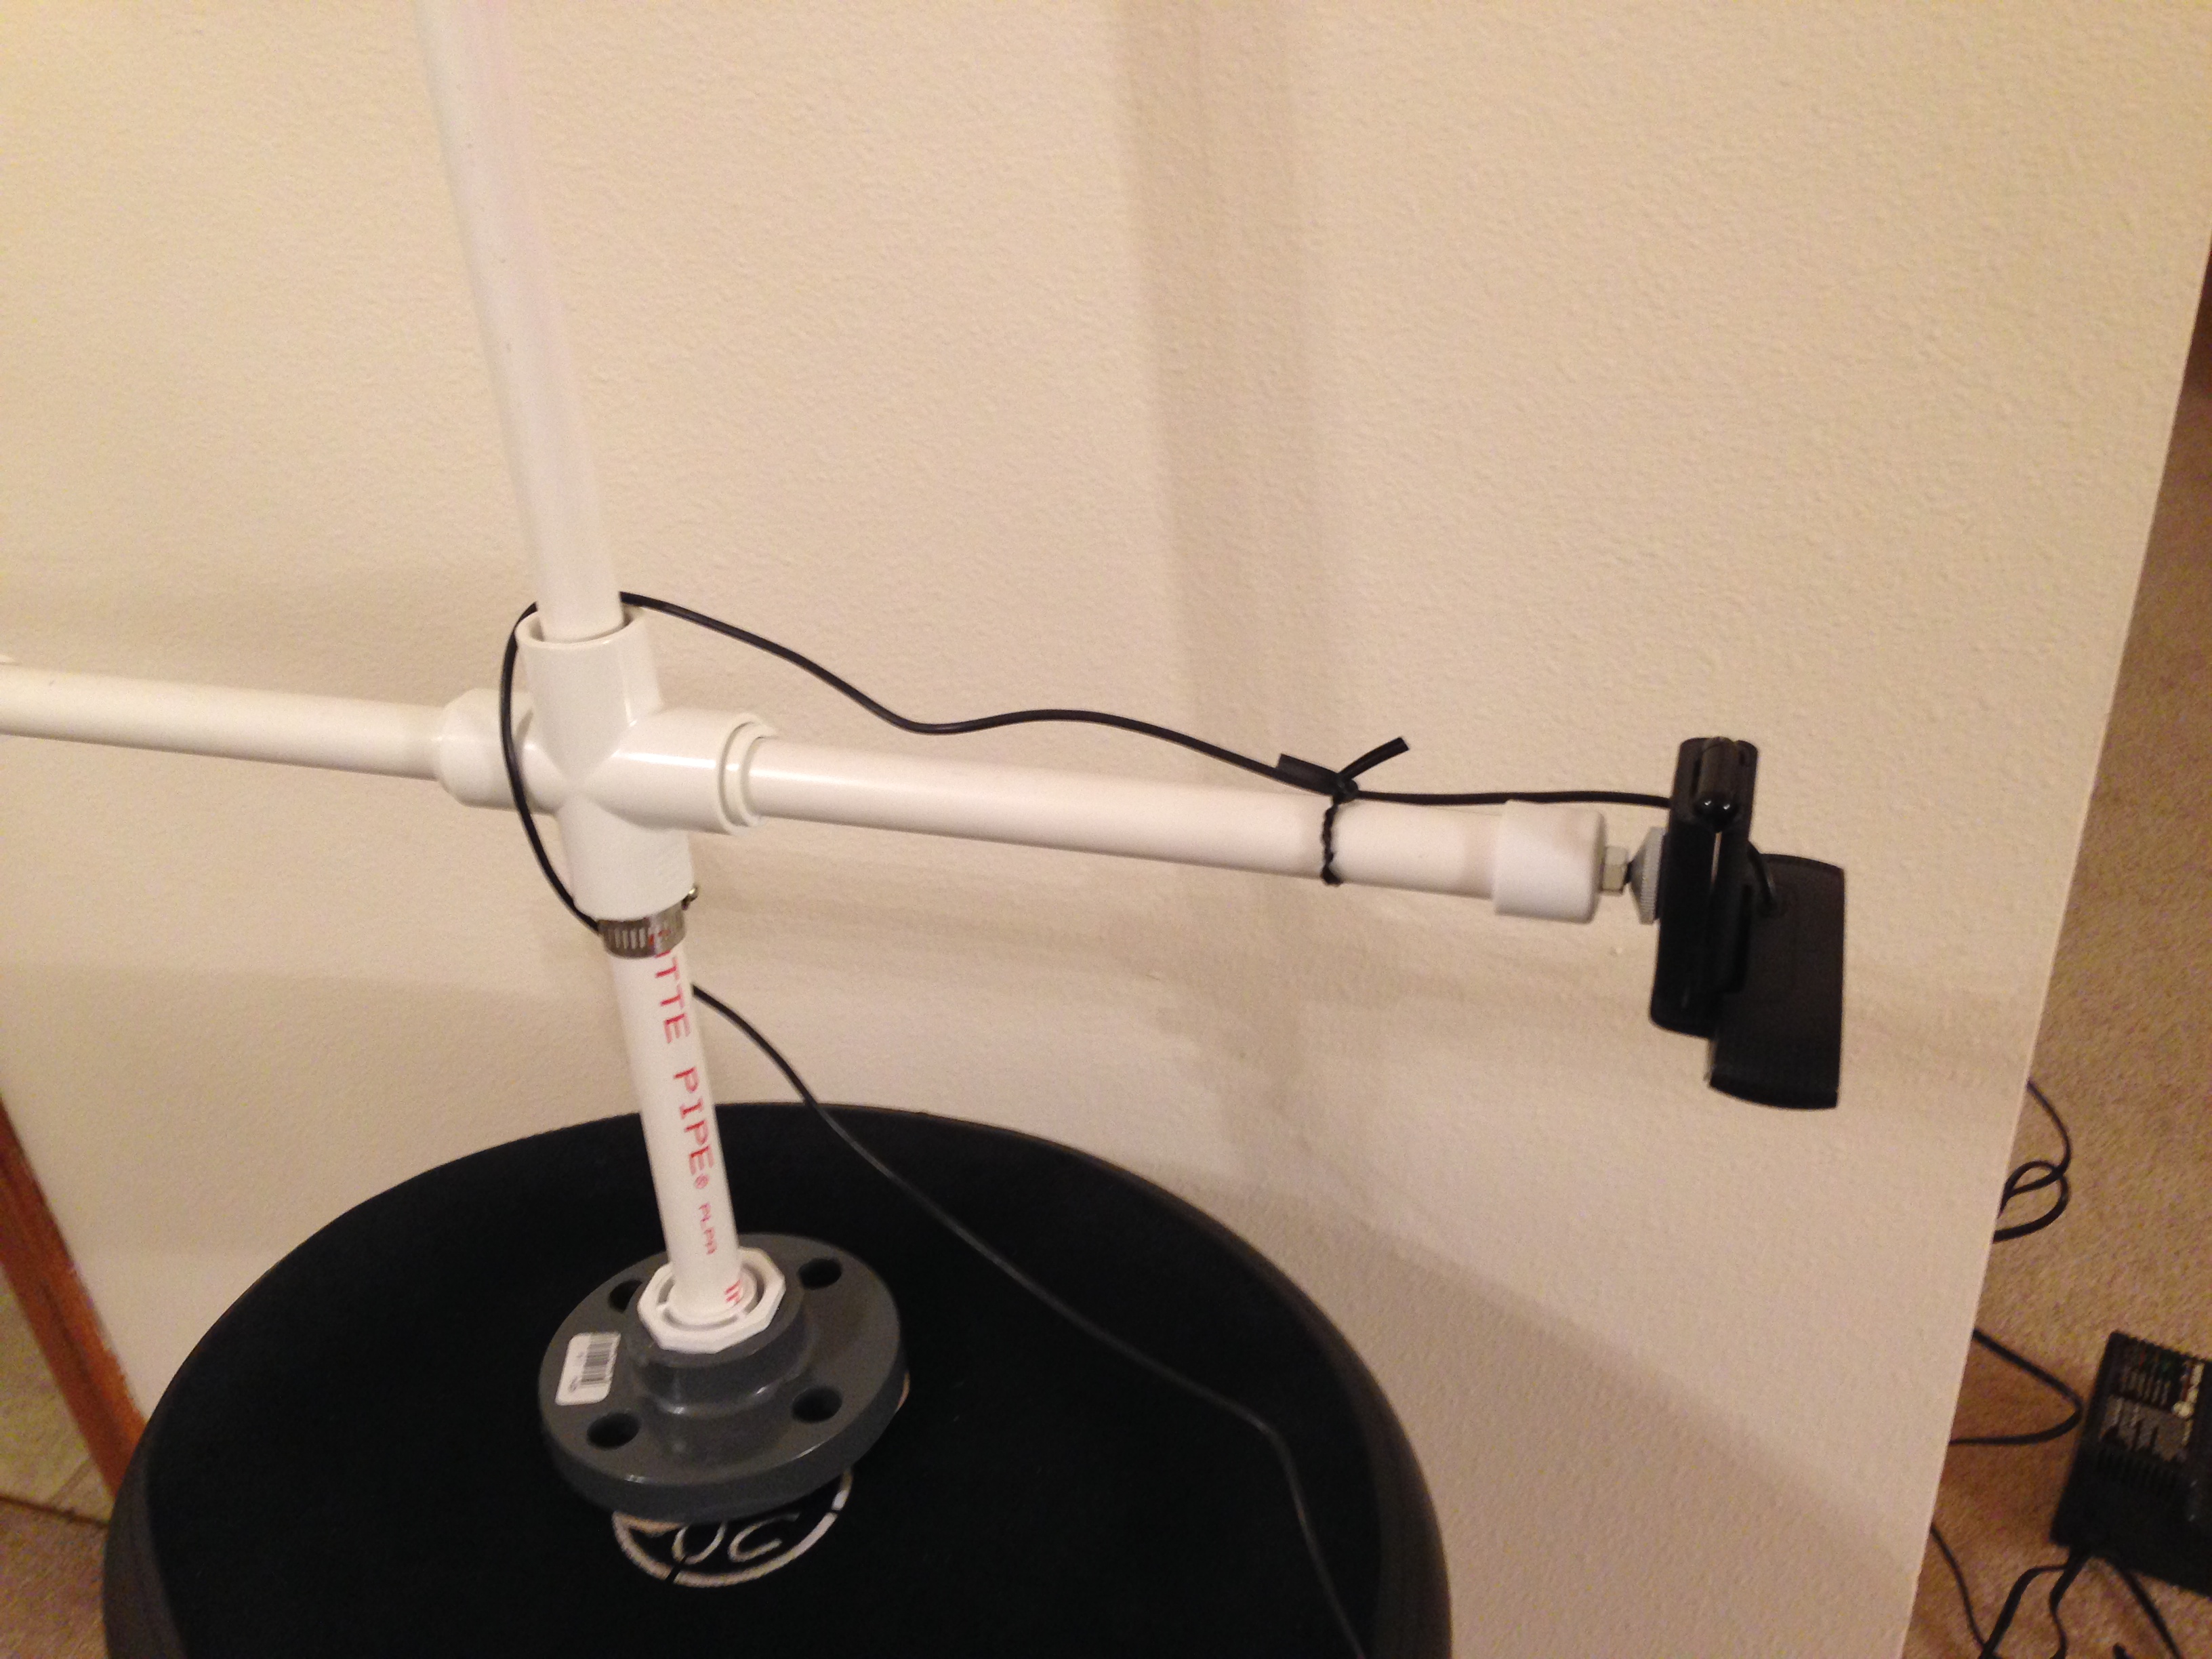
- Attach the webcam, via the 1/2" PVC cap, to the 1' long 1/2" PVC pipe front arm, and attach the front arm to the PVC cross.
You're done! Adjust the height using the pipe clamp and enjoy.
This is quite possibly the cheesiest animation camera mounting stand ever made, but I am from Wisconsin, and we do cheesy here. After I have made a few short animations, I'll probably spend the time and effort to make a better stand. But this should let you get started for around $25-$40 dollars, and if you like making stop motion films, you can always buy better gear after you've got more experience, and know what you want.